Results 1 to 7 of 7

Detailed A/C Breakdown

| Scrap Breakdowns
  1. #1
    DevinThaScrapper started this thread.
    DevinThaScrapper's Avatar
    SMF Badges of Honor

    Member since
    Nov 2012
    Location
    Nebraska
    Posts
    588
    Thanks
    120
    Thanked 605 Times in 247 Posts

    Detailed A/C Breakdown

    Hello, In this thread I will be showing you how to breakdown an a/c and share different tactics that work, and some things not to do.


    This a/c unite was pre-drained of fluids and you must drain yours before scrapping it!

    Due to the fact you can only post 10 pictures per post I will have many posts for this. This is a contest entry so please direct all likes from the below post to this main one if you found it interesting or it helped you in any way! Thanks for reading.


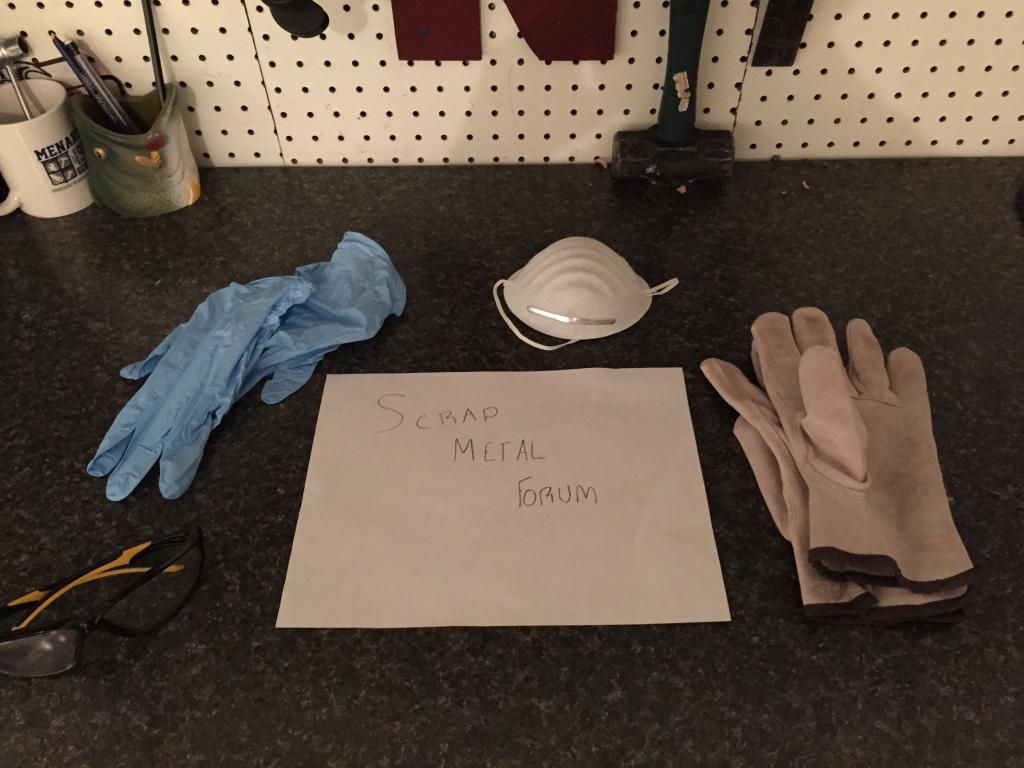
    Safety Equiptment:


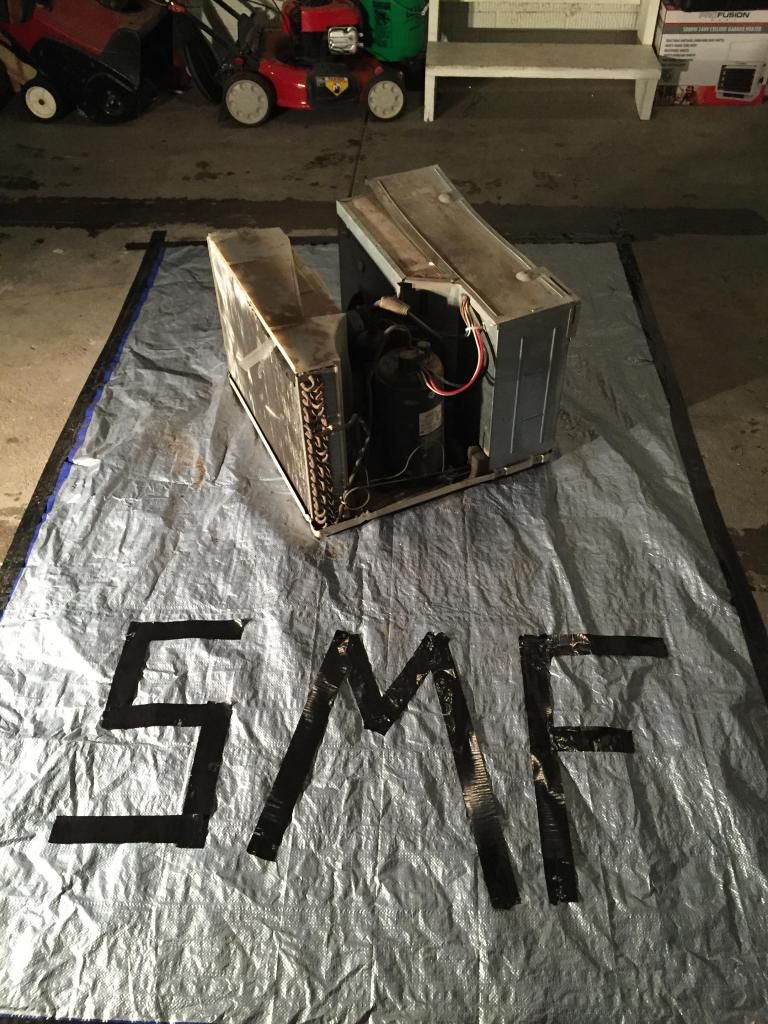
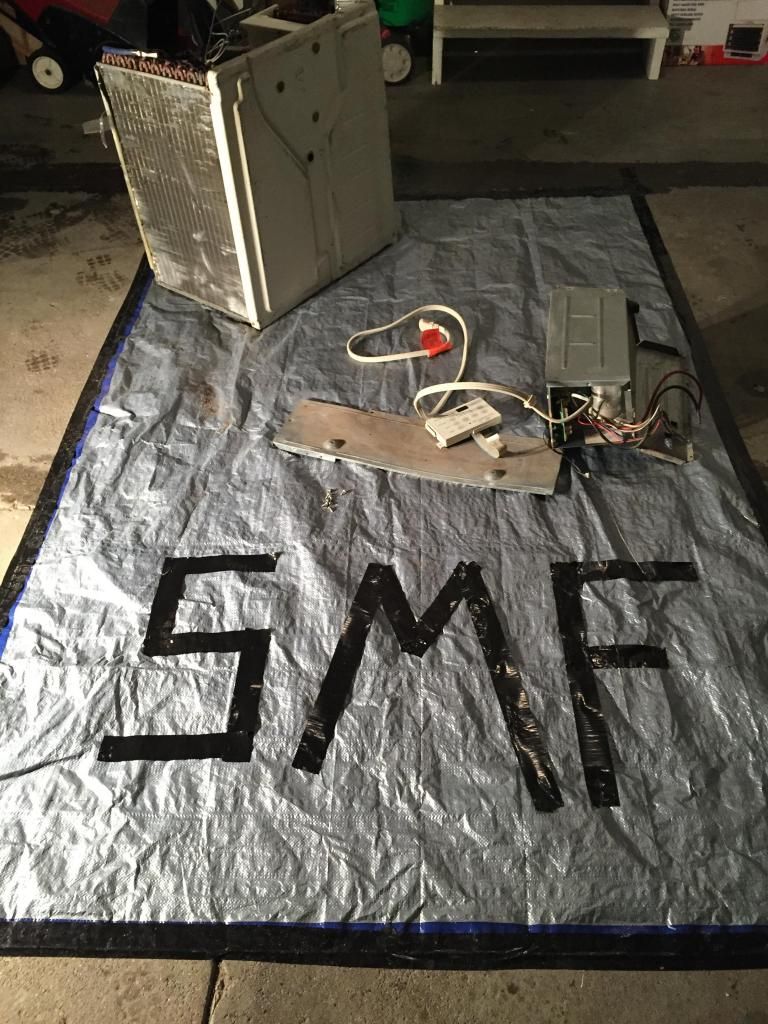
    So the first thing I did was tarp the ground to avoid getting any oil from compressor dripping onto concrete. I taped the tarp at edges to make it stay down. Than I set the a/c unit on-top.


    Another Picture from a different angle:


    So now I flipped the a/c over and unscrewed the capacitor storage box that the control pad and main power was hooked to, and was able to pull that out. (We will dis-assemble this more later)


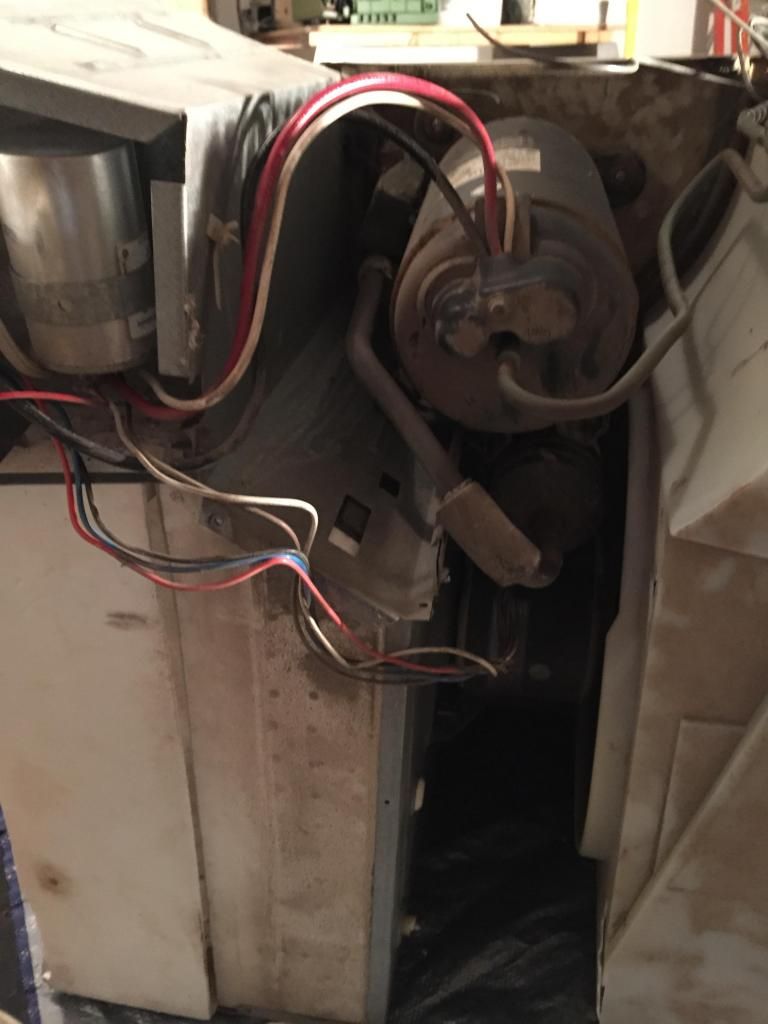
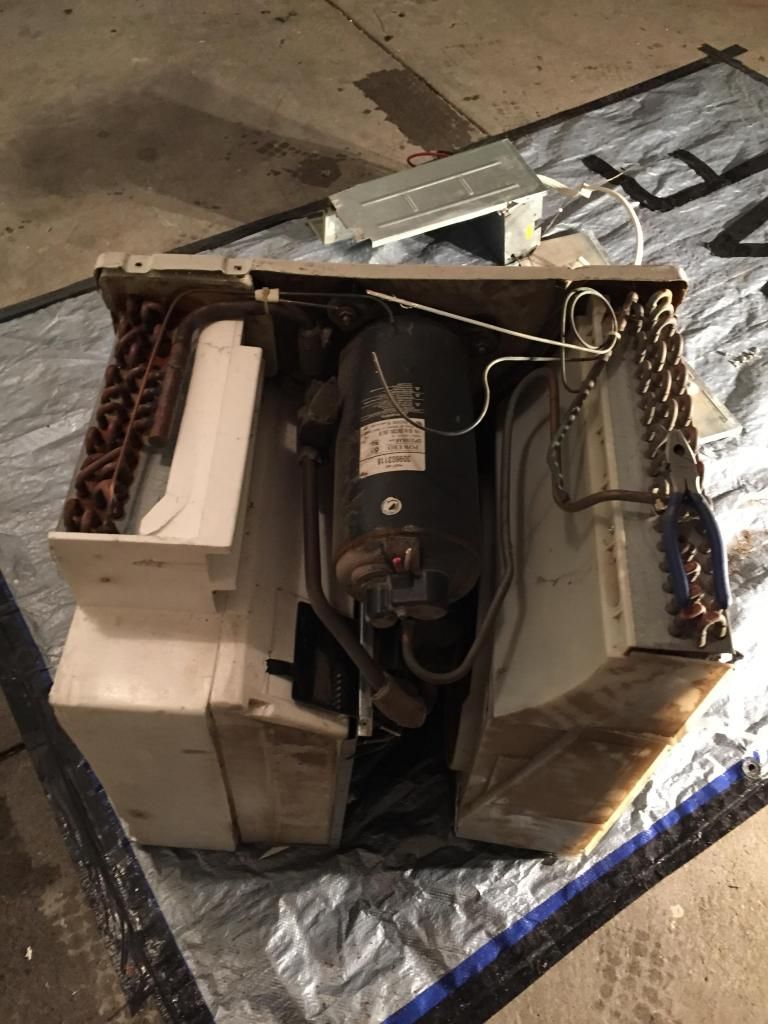
    So here is a view of the side of the a/c where you can see the 2 dirty copper fins and the compressor.


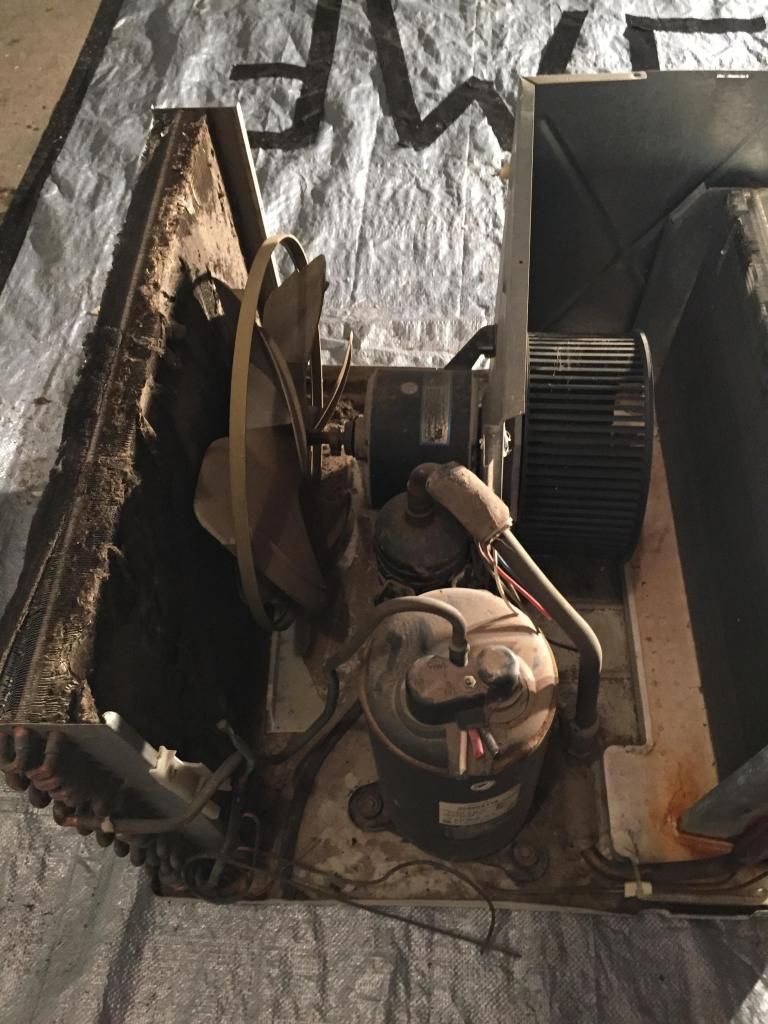
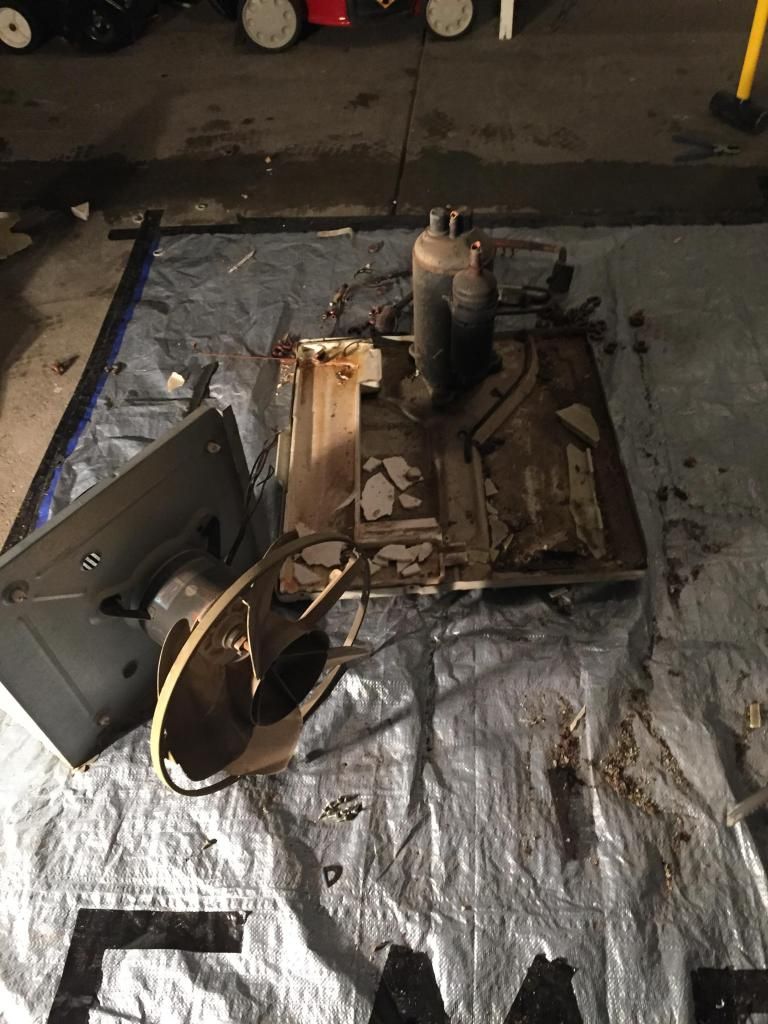
    Than you are going to want to remove all the foam insulation and plastics from the a/c unit so you can access the other stuff, the foam will pull right out but you either have to break the plastic out or find the screws and unscrew it. Here is a picture of it all removed, revealing all of the scrap we will be removing.


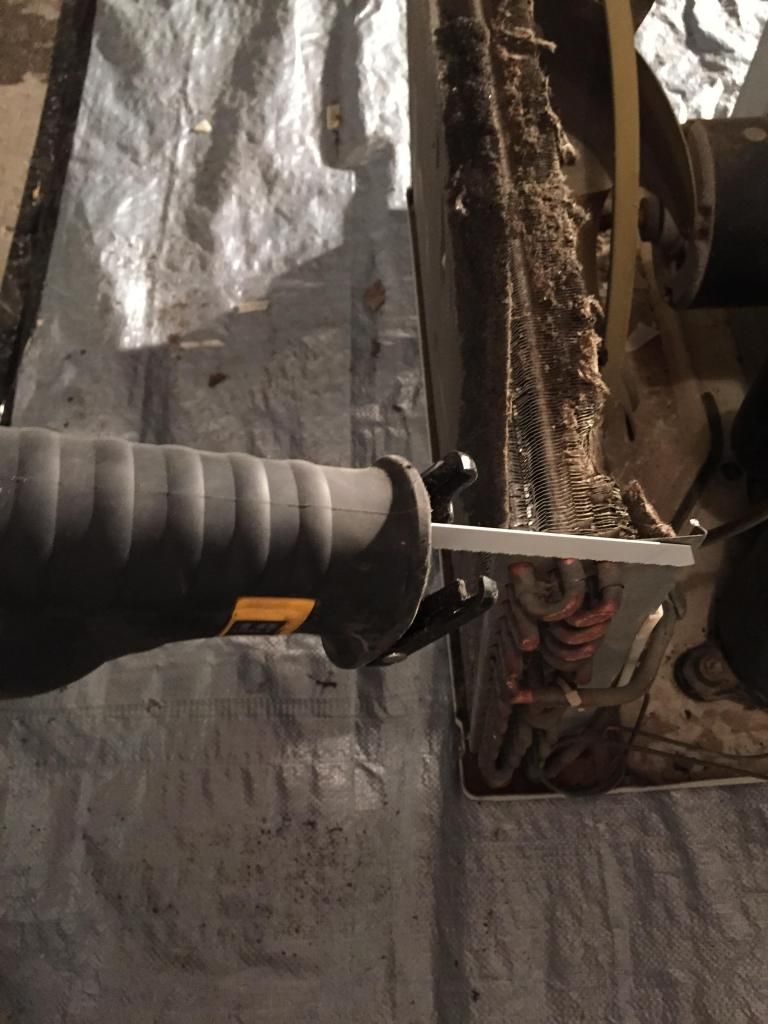
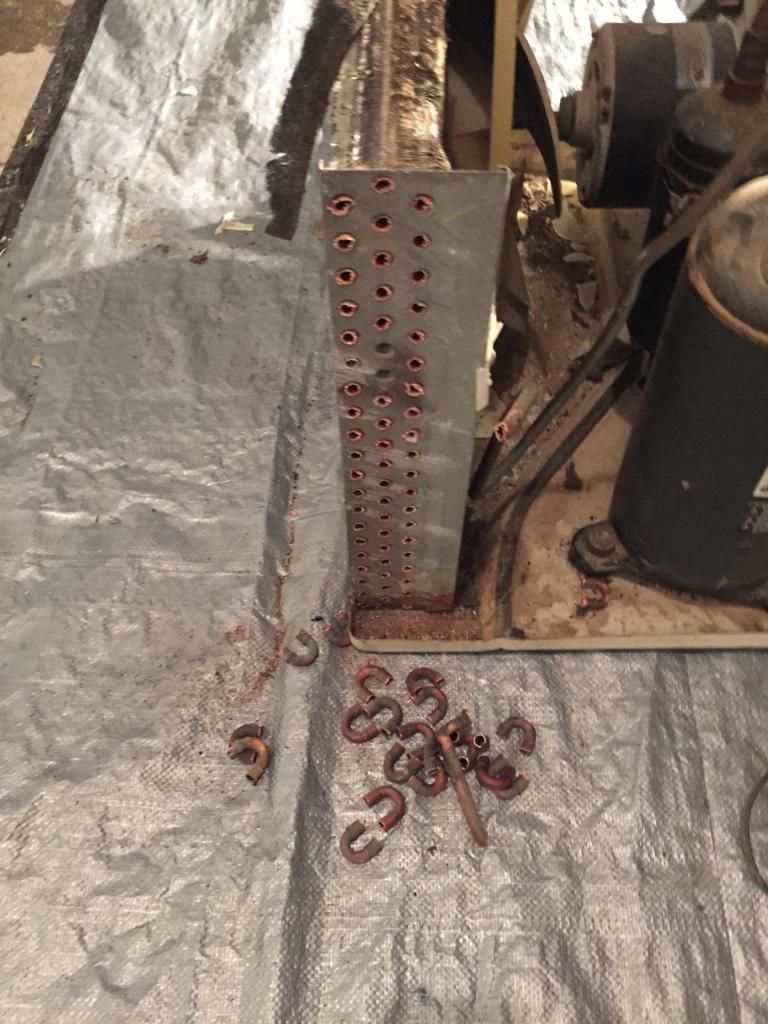
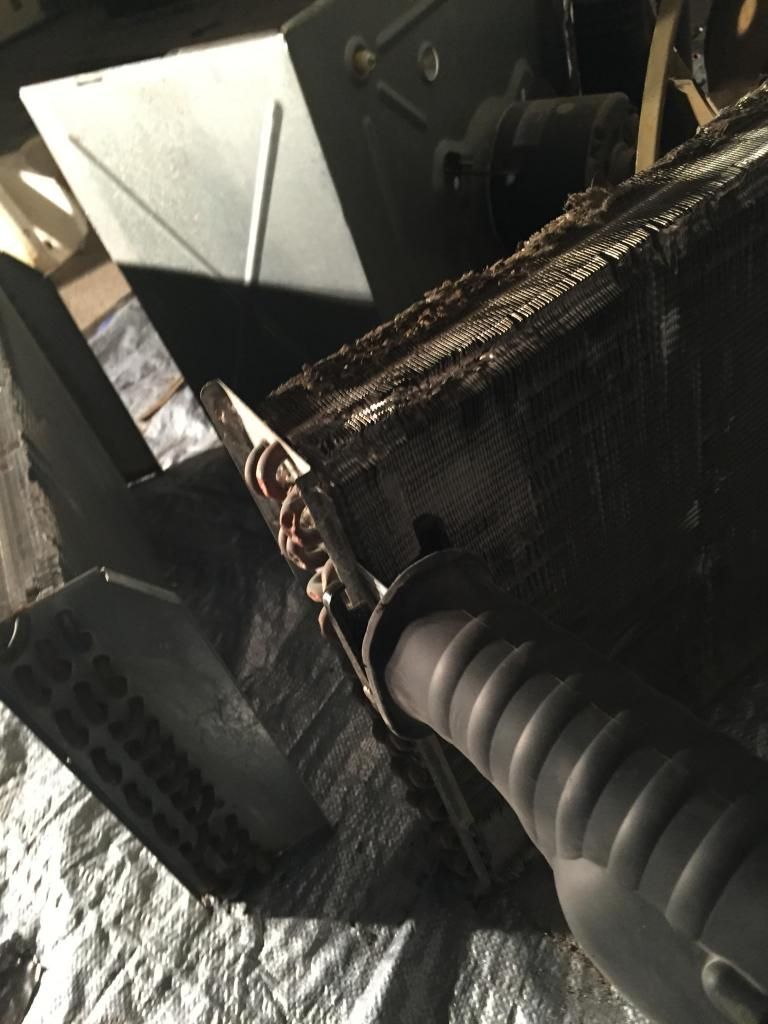
    Now that we can see where everything is you will need too cut the copper elbows on the ends of the fins as shown. There is 2 ways to do this you can either cut a long the outside as shown or on the inside to pull the metal off aswell, this makes you able to sell it for a lot more as clean fin and not dirty fin. This is the way of cutting it off the outside, than pulling metal off seperate. Both ways will be shown in full so read more to see!


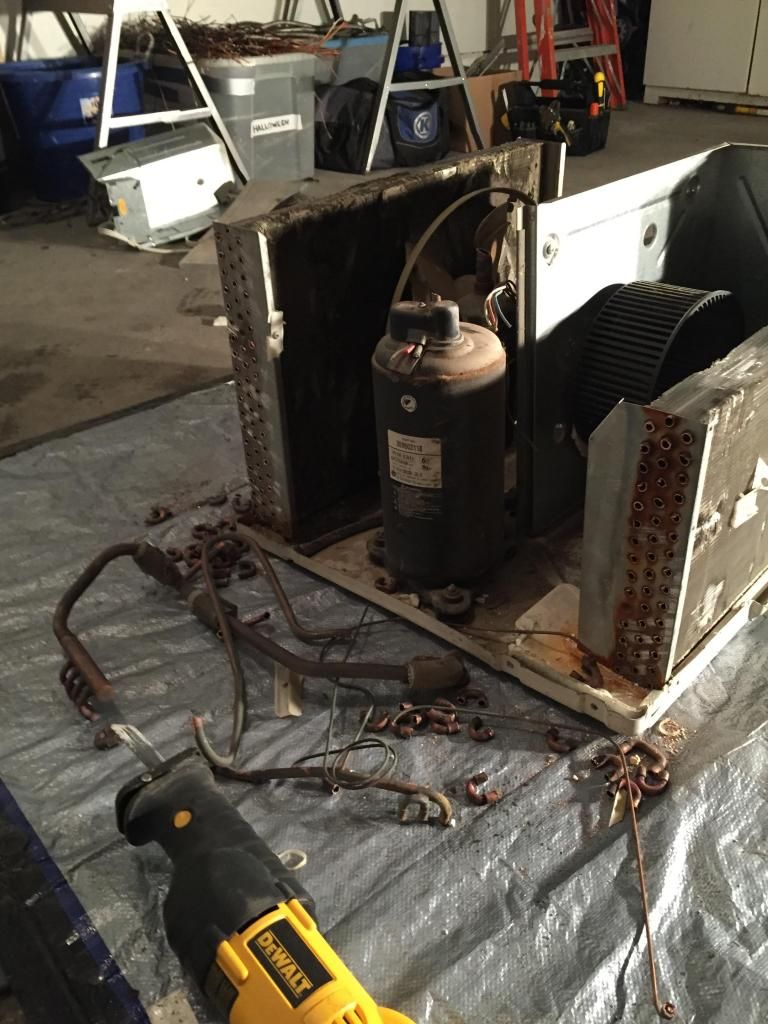
    Also cut the rest of the lines leading to compressor, and leading anywhere else and pull the copper.


    This is what it should look like after you cut it.


    Continues in post below, direct likes to this thread please. Thank you


  2. #2
    DevinThaScrapper started this thread.
    DevinThaScrapper's Avatar
    SMF Badges of Honor

    Member since
    Nov 2012
    Location
    Nebraska
    Posts
    588
    Thanks
    120
    Thanked 605 Times in 247 Posts
    Direct all likes to post above. Thank you


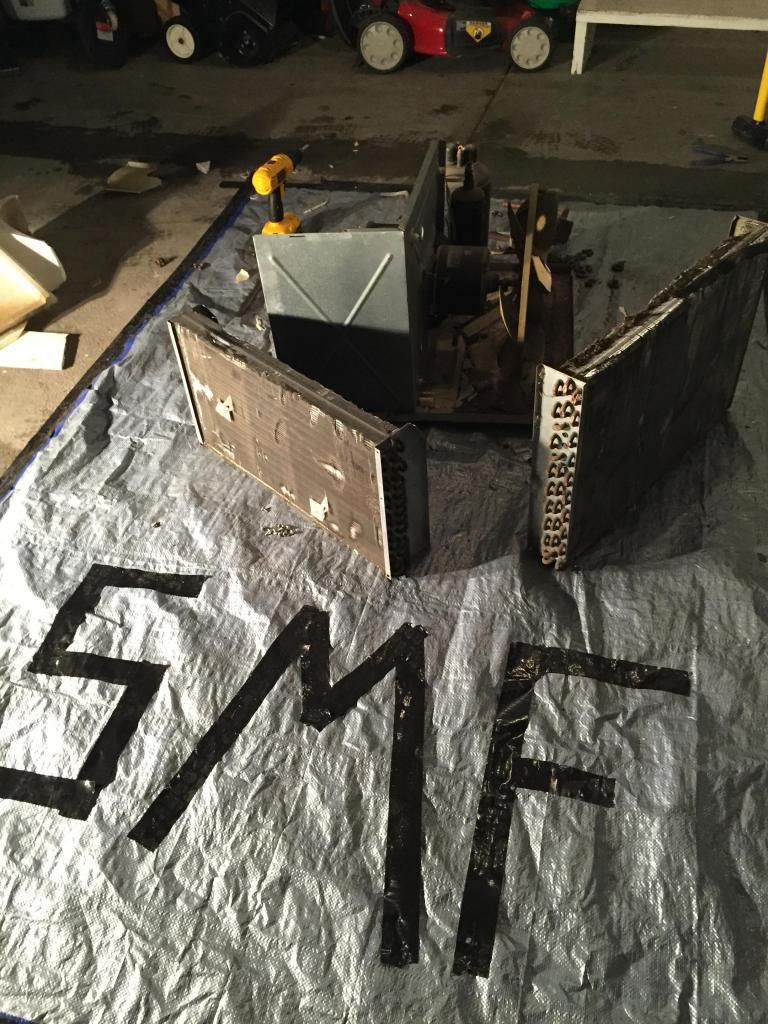
    Coils should easily slide out after removing 2 screws that attack each fin to the base.


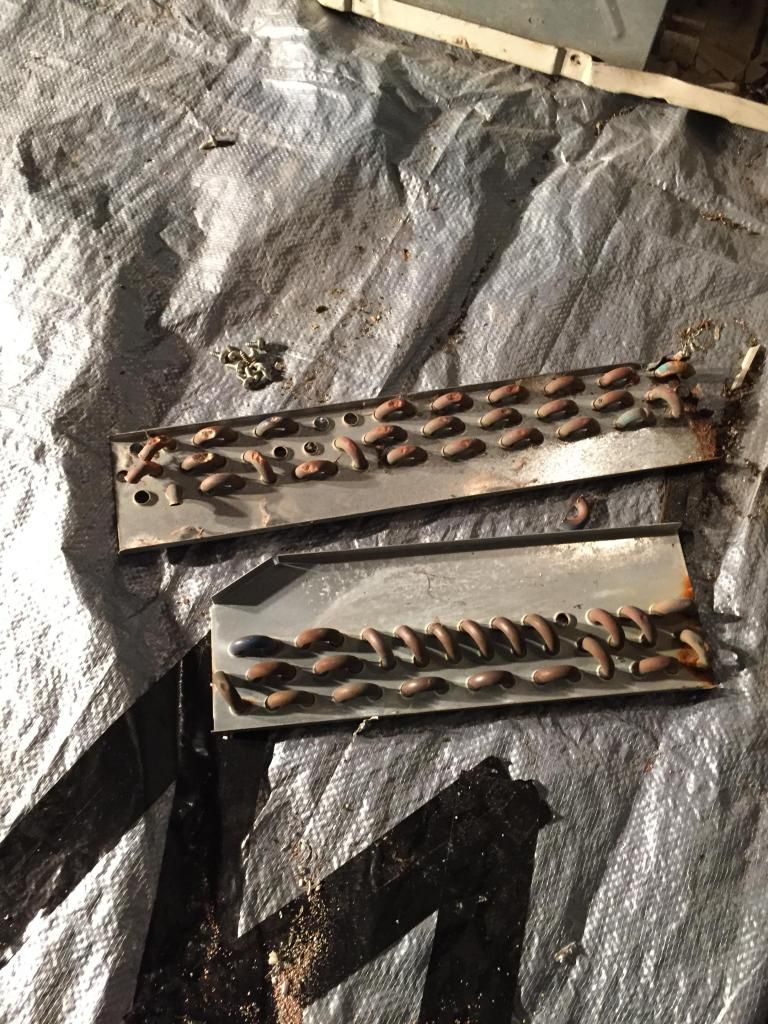
    Now here is method 2 for de-taching the elbows and cleaning the fins, I am demonstrating this one on the other side on both fins. You lay sawzall blade behind the metal and the elbow copper and cut straight down. Both methods in my opinion take the same amount of time, but stay tuned to see how to finish them.


    This is the end result of that.


    Now go back to the a/c unit and there should be 4 screws holding the piece of metal with the fan on it to the base, unscrew that and remove the fan:


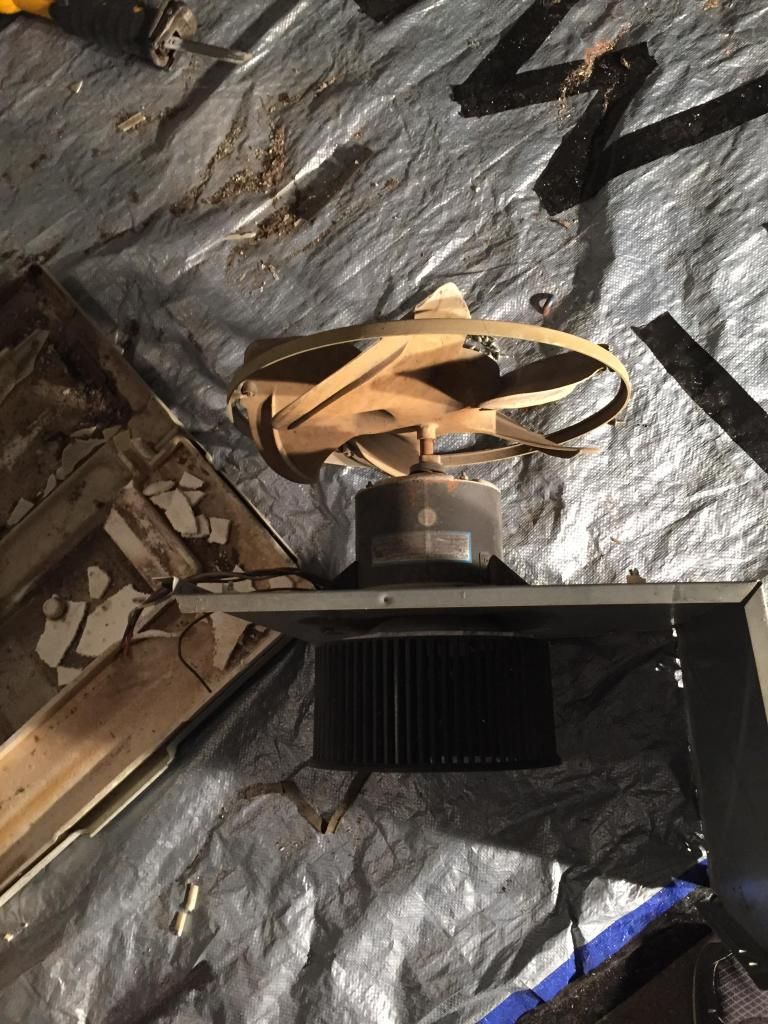
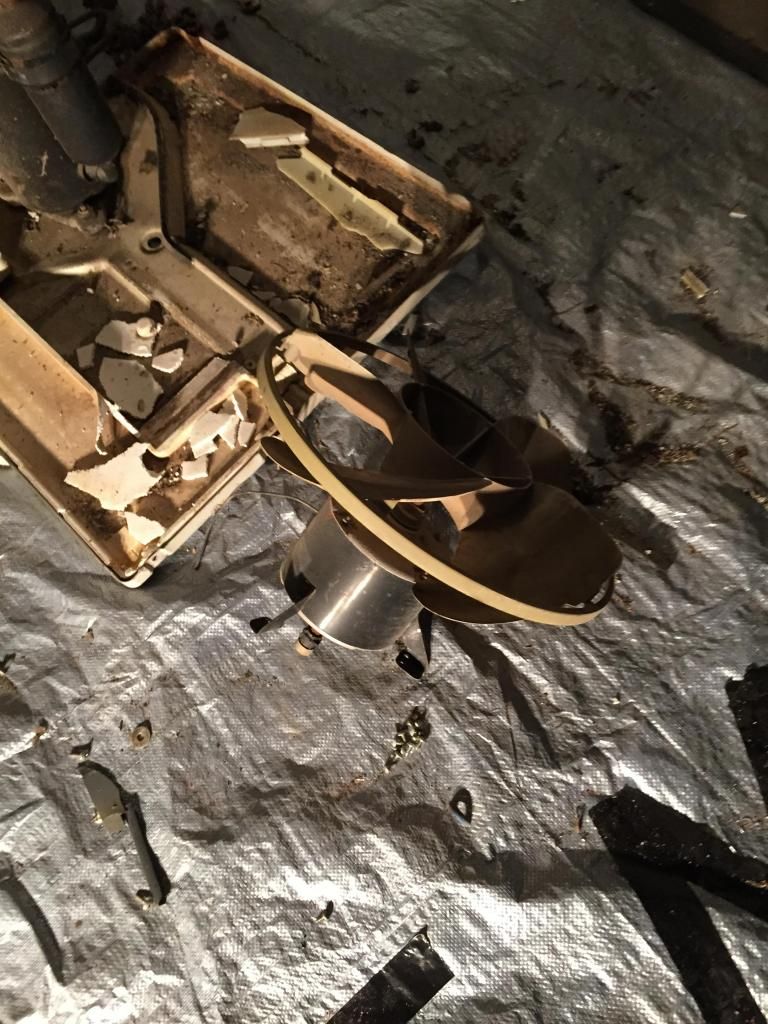
    This is what the fan looks like, this particular one the blades are plastic.


    The black plastic needs to be removed to get to the screws to remove the fan motor, hitting it with a 10lb sledge is the fastest way in my opinion, heres what it should look like:


    Now you can take out the screws holding in the fan, and pull it out. This is what you will get:


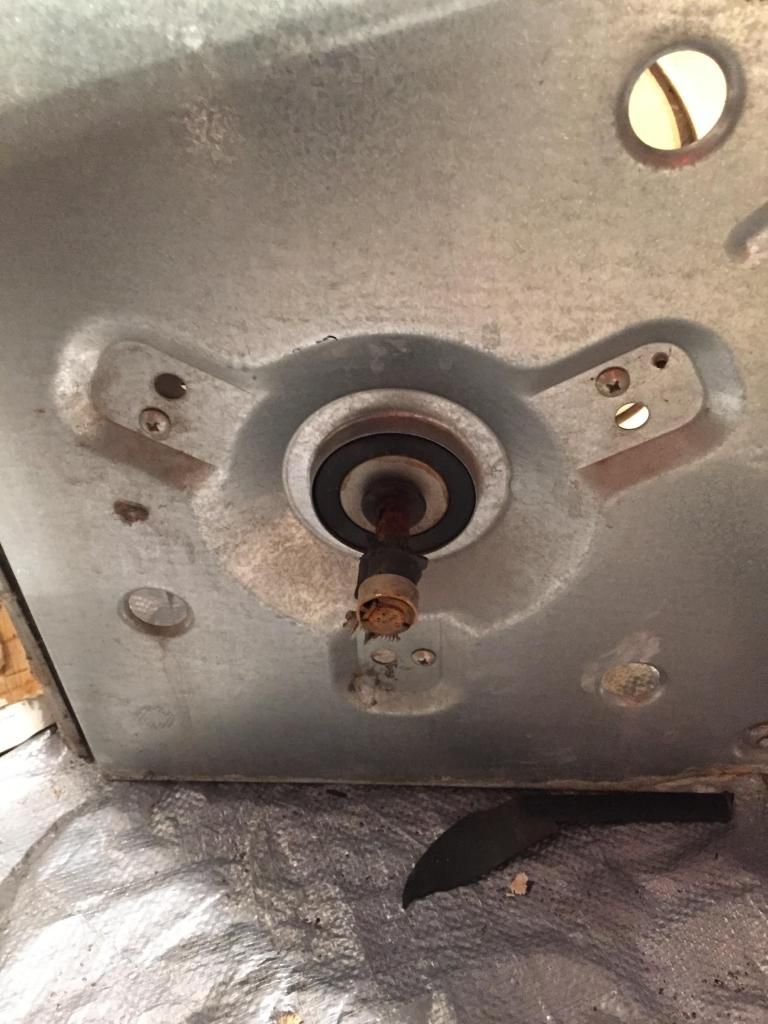
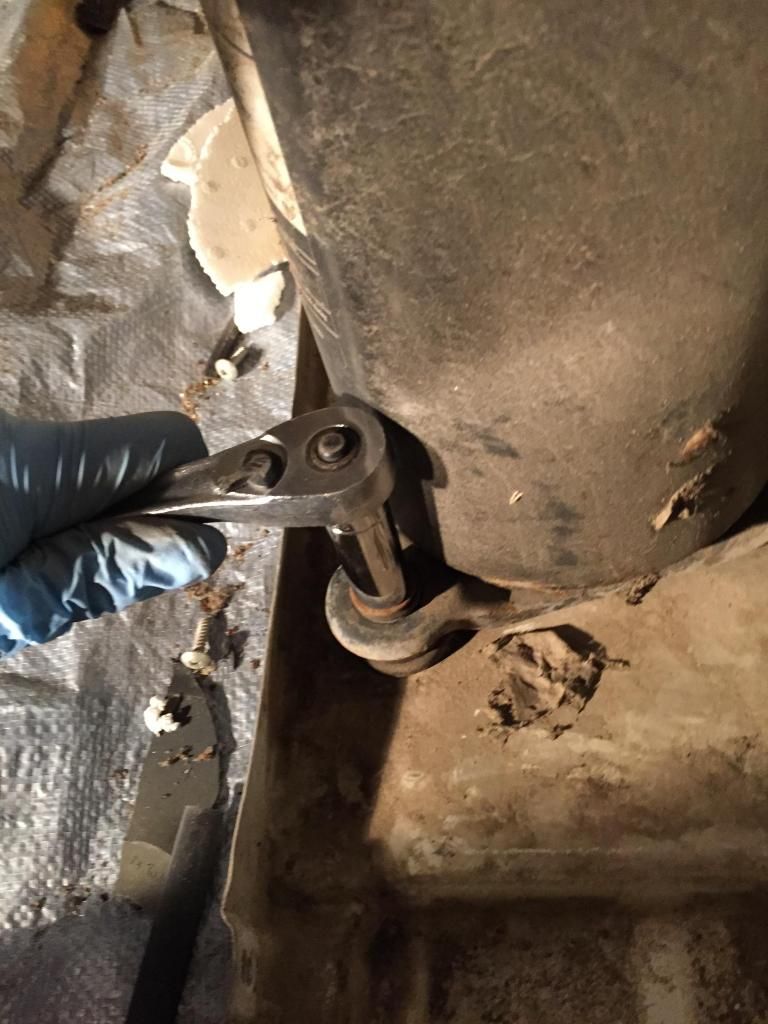
    Now you will need a nut driver attachment for a drill, or in this picture I used a ratchet because the drill couldn't get close enough to grip the nut. Take out the 3 nuts and lift out the compressor, (careful of oil)


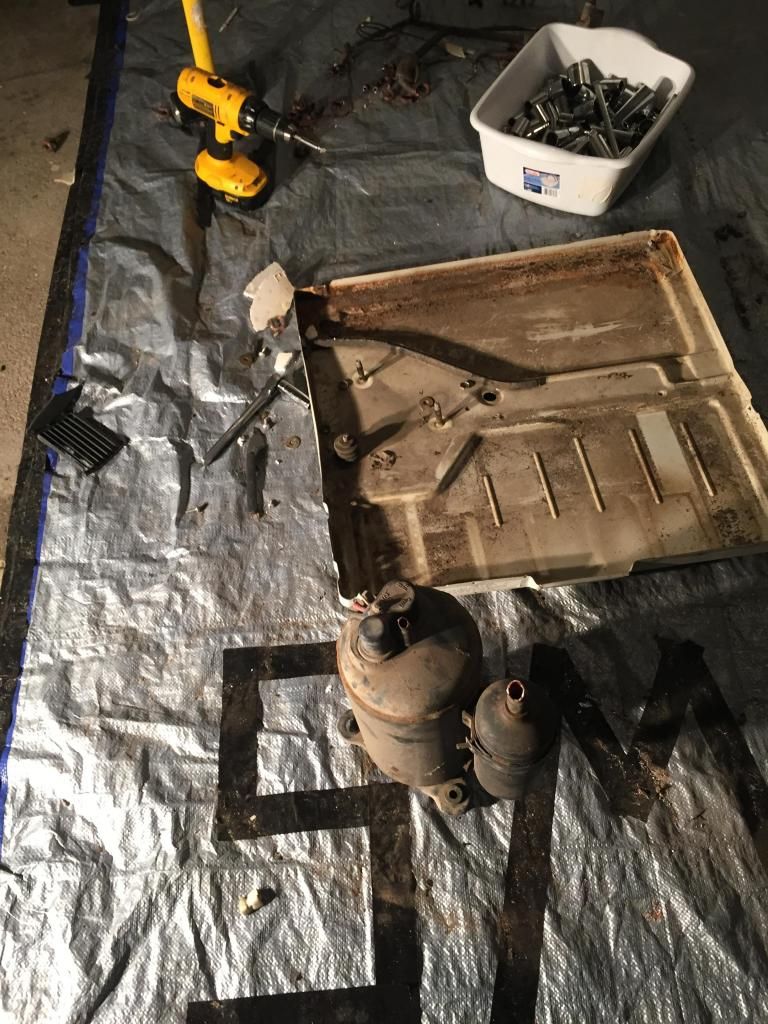
    Heres the picture after its off.


    More in next thread, read ahead

  3. #3
    DevinThaScrapper started this thread.
    DevinThaScrapper's Avatar
    SMF Badges of Honor

    Member since
    Nov 2012
    Location
    Nebraska
    Posts
    588
    Thanks
    120
    Thanked 605 Times in 247 Posts
    Direct all likes to the first thread post, thank you

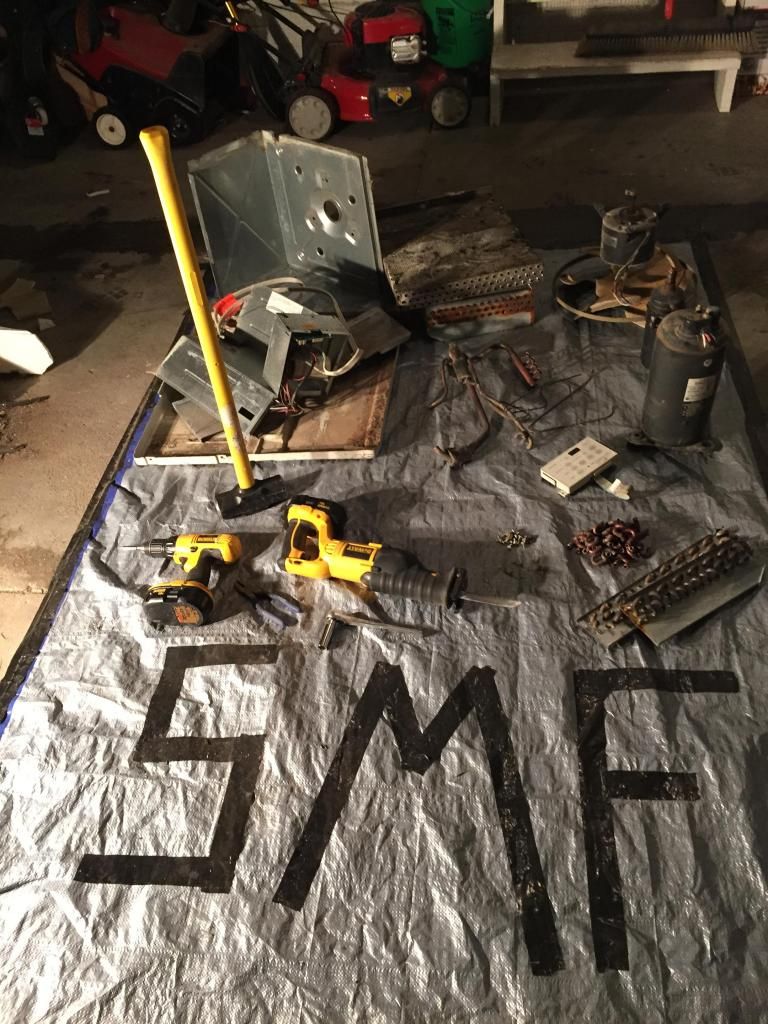
    Now that Its parted out here is a complete picture of everything I removed and the tools I used to do so.


    Now lets continue to breaking down the pieces I took off:


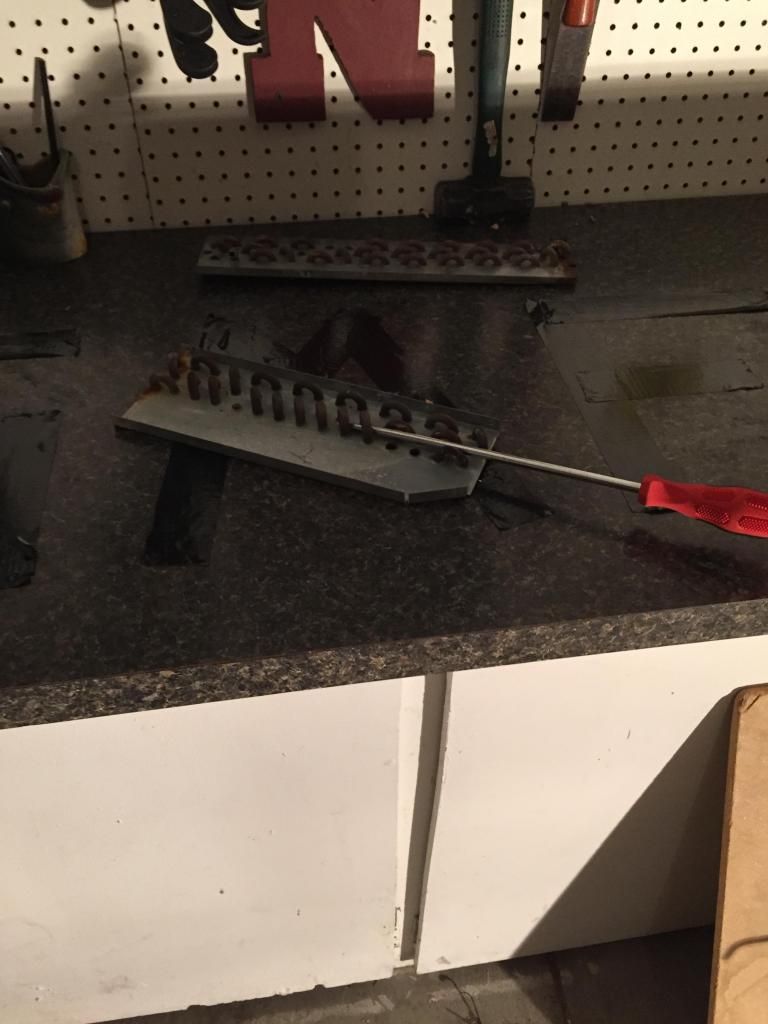
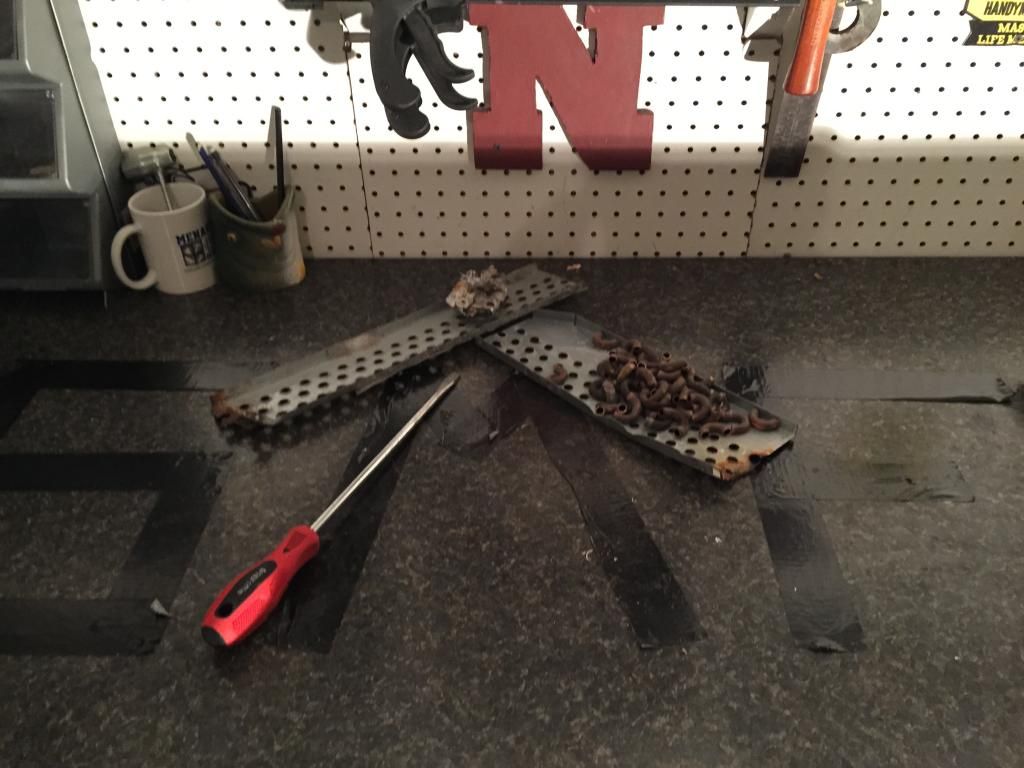
    First is the ends of the fins. This is method #2 thats being shown here where you cut behind the metal and get the elbows still on the fins, simply pry with a screwdriver and they will pop off


    Finished Product: (don't forget to peel the aluminum off thats stuck to back of steel after you cut it, if there is any)


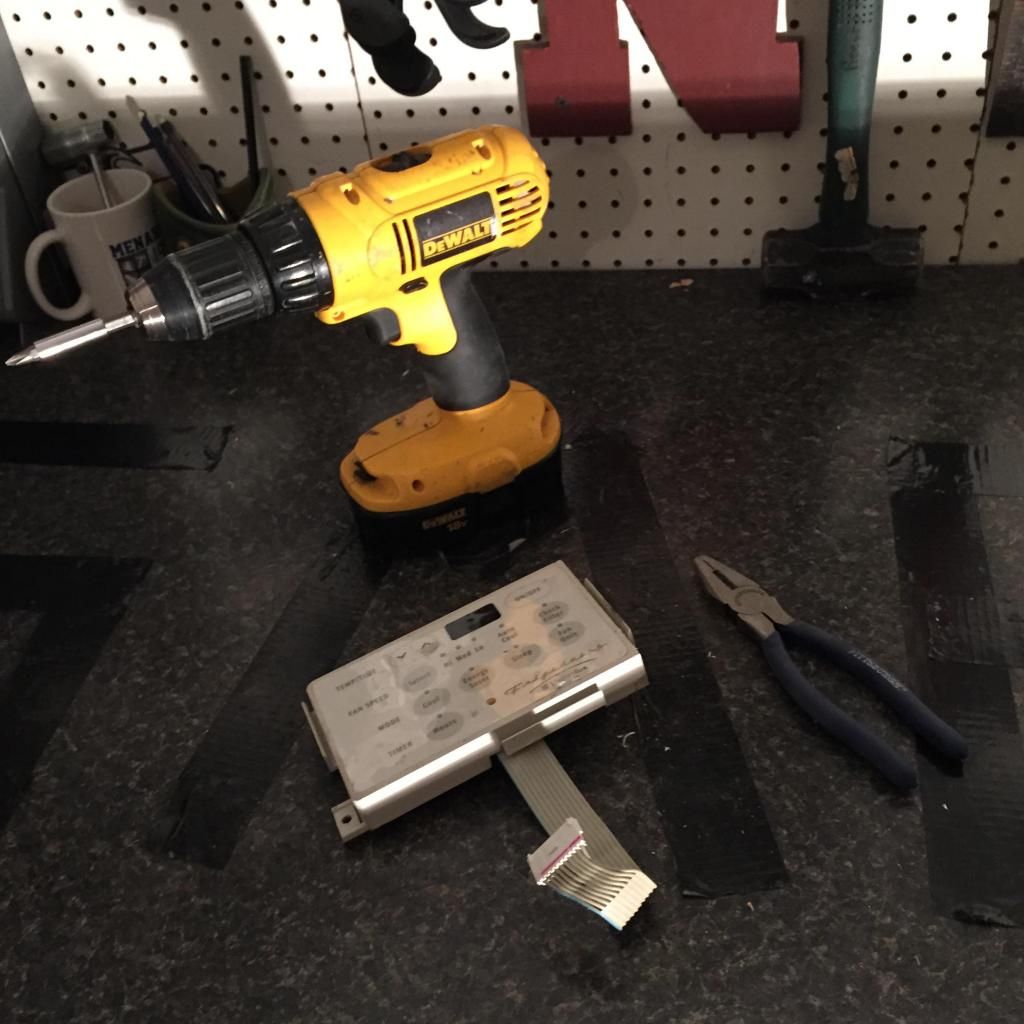
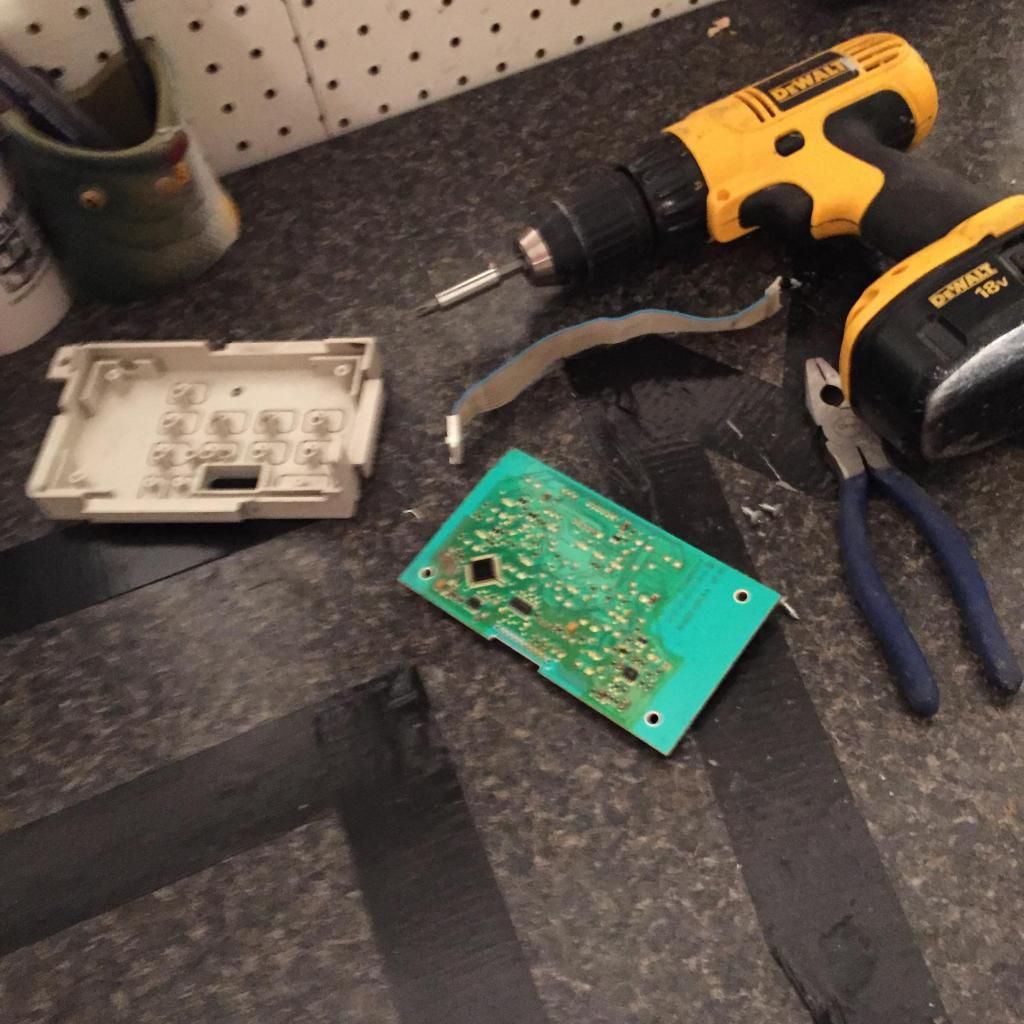
    Now we will break down the small control module with a drill and a pair of dikes:


    Remove the four screws holding the board onto the back and pull out the ribbon wire with the dikes (or cut it), than trash the front because it is plastic


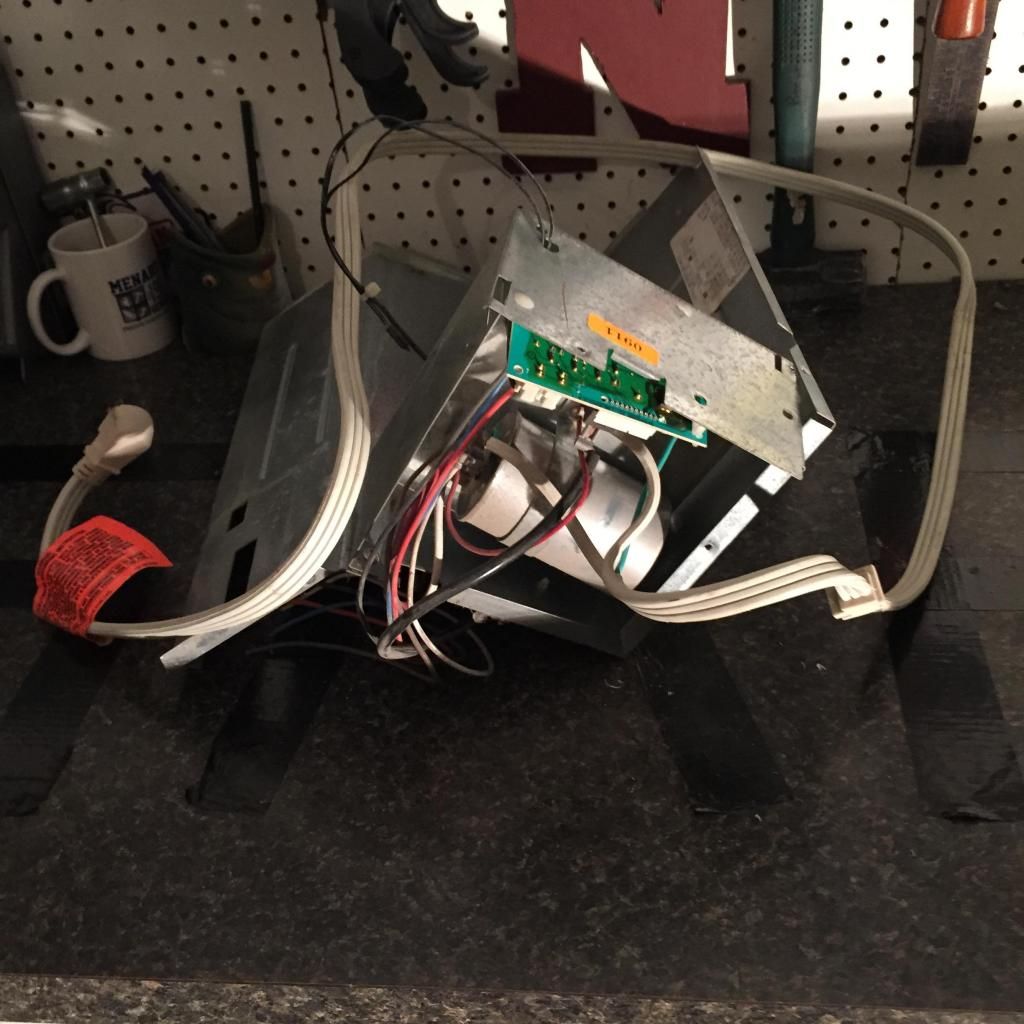
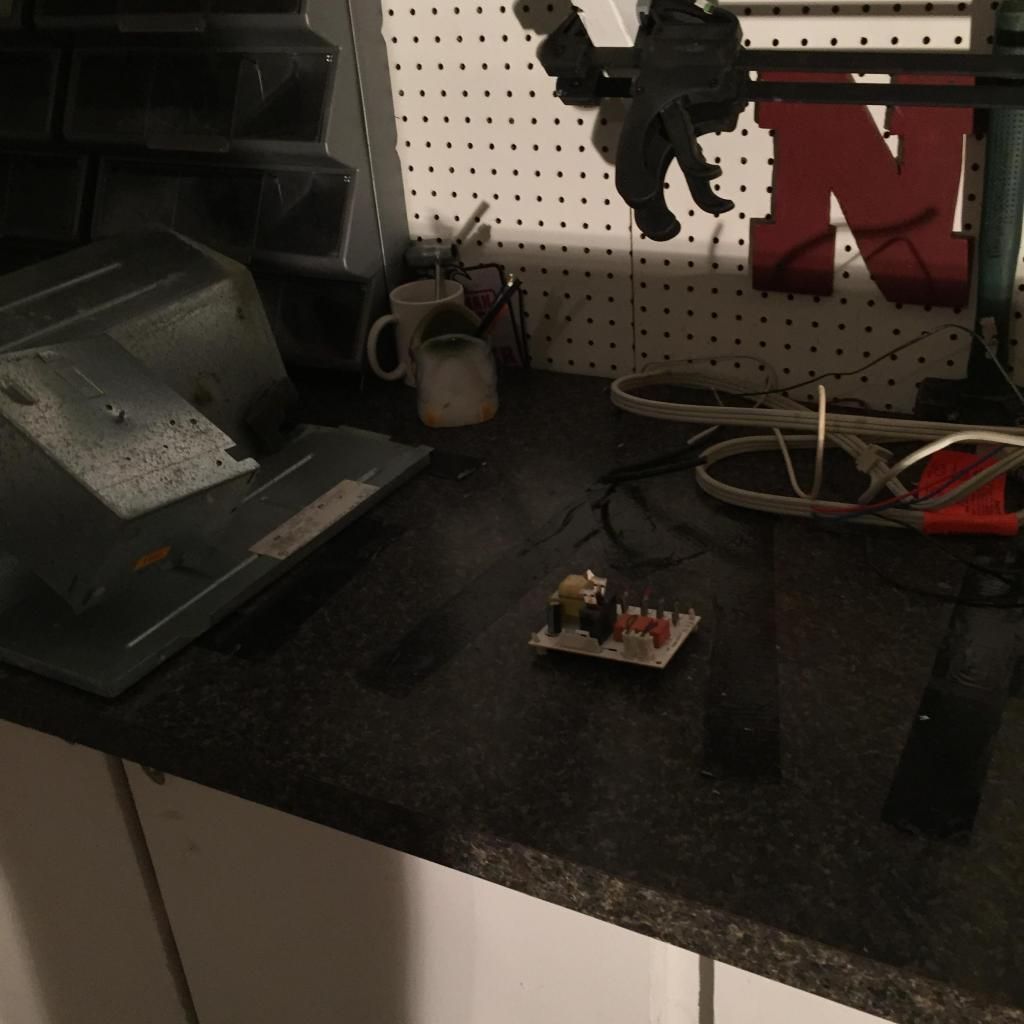
    Now we have the capacitor power module where the main power source runs to and distributes out of:


    All that needs to be done on this is to pry back the small box and unscrew the board, and snip or pull out the wires. None of the wire is worth stripping, so I left it as is.


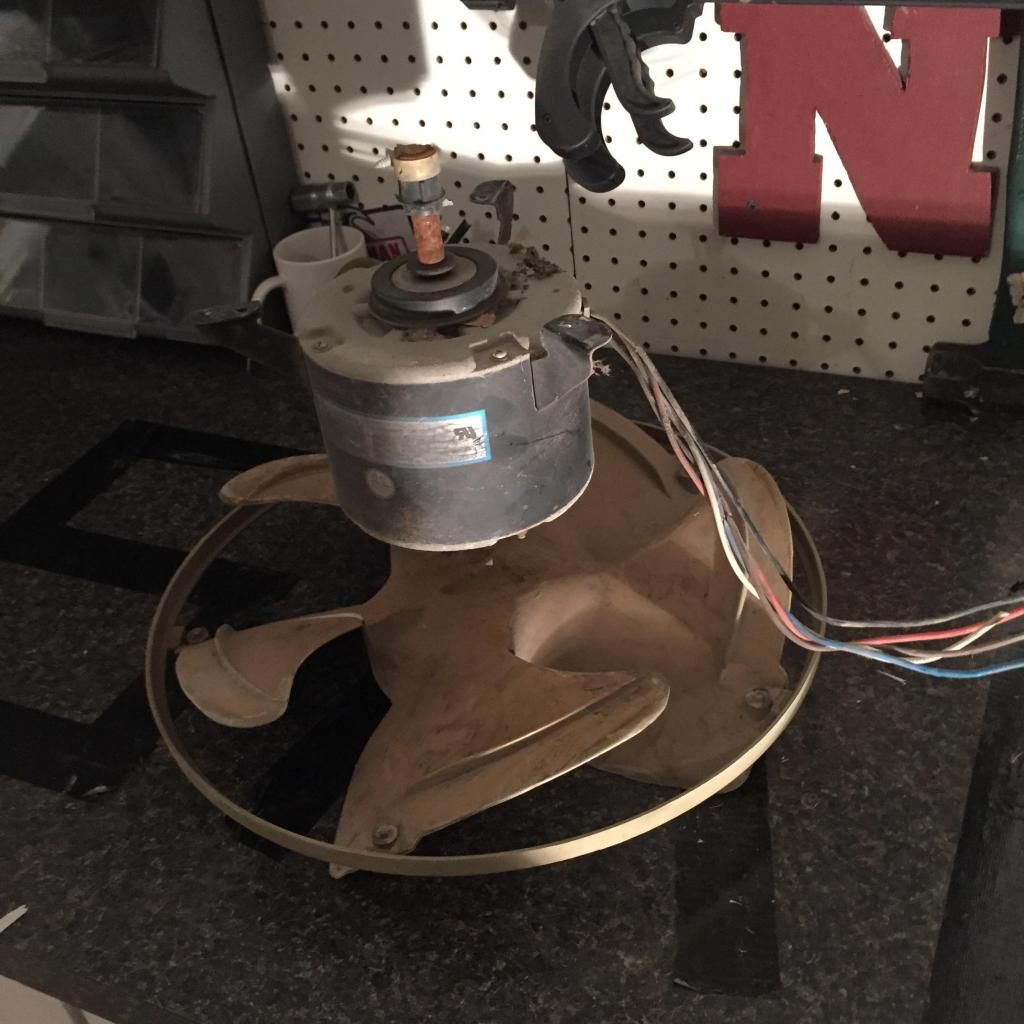
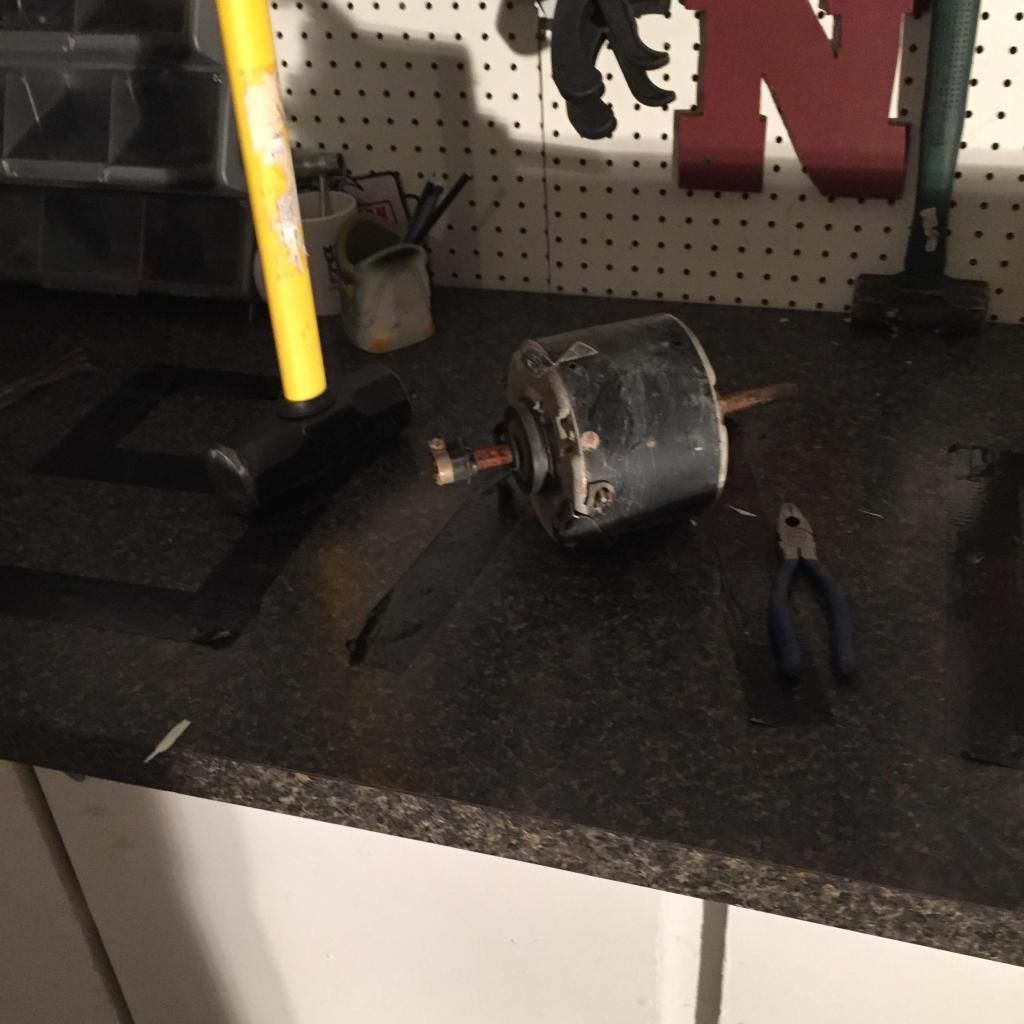
    Now to dismantle the fan just smash the plastic off I just smashed it with my sledge hammer and cut the wire as close to the motor as possible, and turned the motor in as is. You can take the motor apart, but in this case it was not worth the time for me.

    Before:


    After:


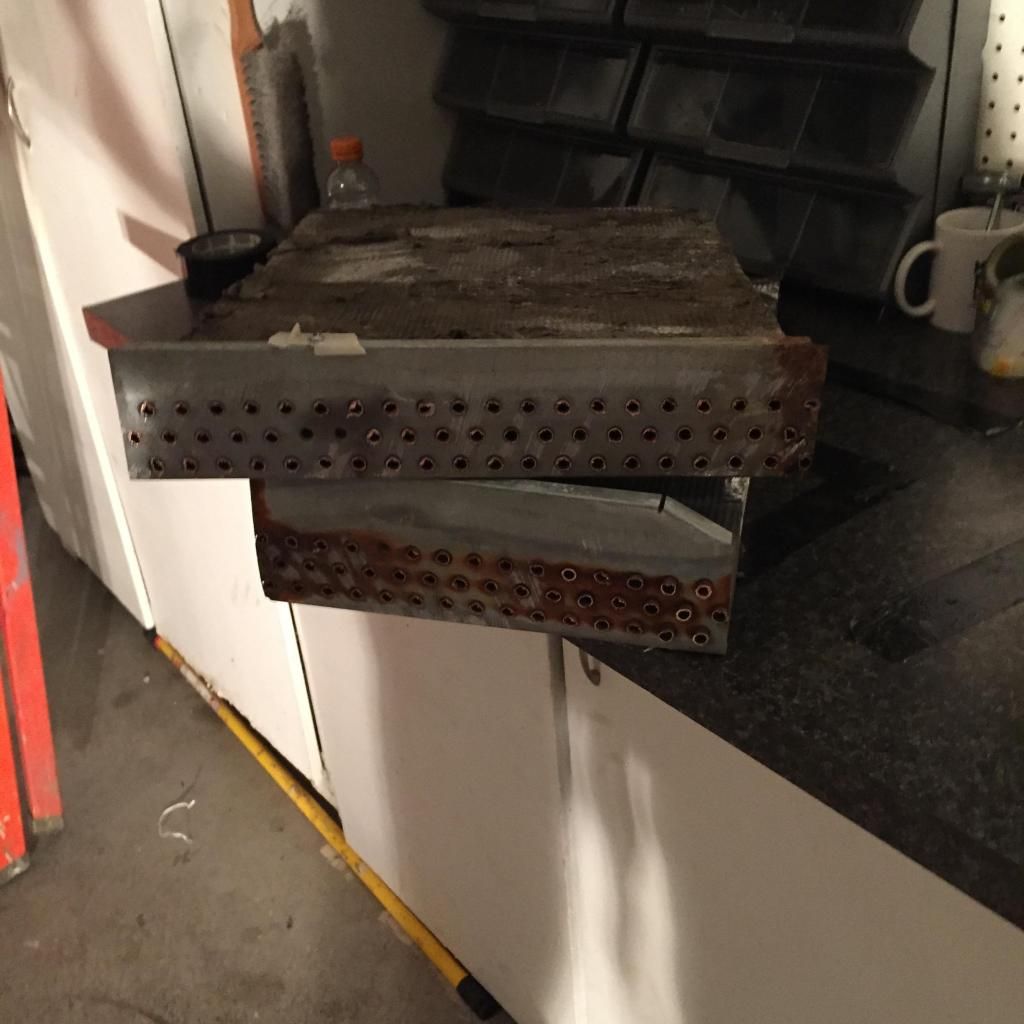
    Now we are back to the copper fins other side (the first ones we cut) this is showing the first method of cutting them. So basically I cut the elbows off, and not behind the metal, so the metal is still on there:


    Read ahead to next post to continue.

    DIRECT ALL LIKES TOWARDS THE FIRST POST IN THIS THREAD, Thank you

  4. #4
    gabrielservices's Avatar
    SMF Badges of Honor


    Member since
    Aug 2012
    Location
    Carson city nv
    Posts
    152
    Thanks
    44
    Thanked 125 Times in 63 Posts
    huh, excellent idea in cutting the coils off beforehand..... I'll have to try that. Also check that expantion tank on the sealed unit(compressor). Sometimes its copper.
    Last edited by gabrielservices; 12-29-2014 at 11:29 PM.

  5. The Following User Says Thank You to gabrielservices for This Post:


  6. #5
    DevinThaScrapper started this thread.
    DevinThaScrapper's Avatar
    SMF Badges of Honor

    Member since
    Nov 2012
    Location
    Nebraska
    Posts
    588
    Thanks
    120
    Thanked 605 Times in 247 Posts
    Direct all likes to first post in this thread, thanks


    To clean this off we will be using a hammer and hitting it off, it comes off fairly easy, and if you have any issues put it upright and jam a flatbar in it and it will peel it right down:
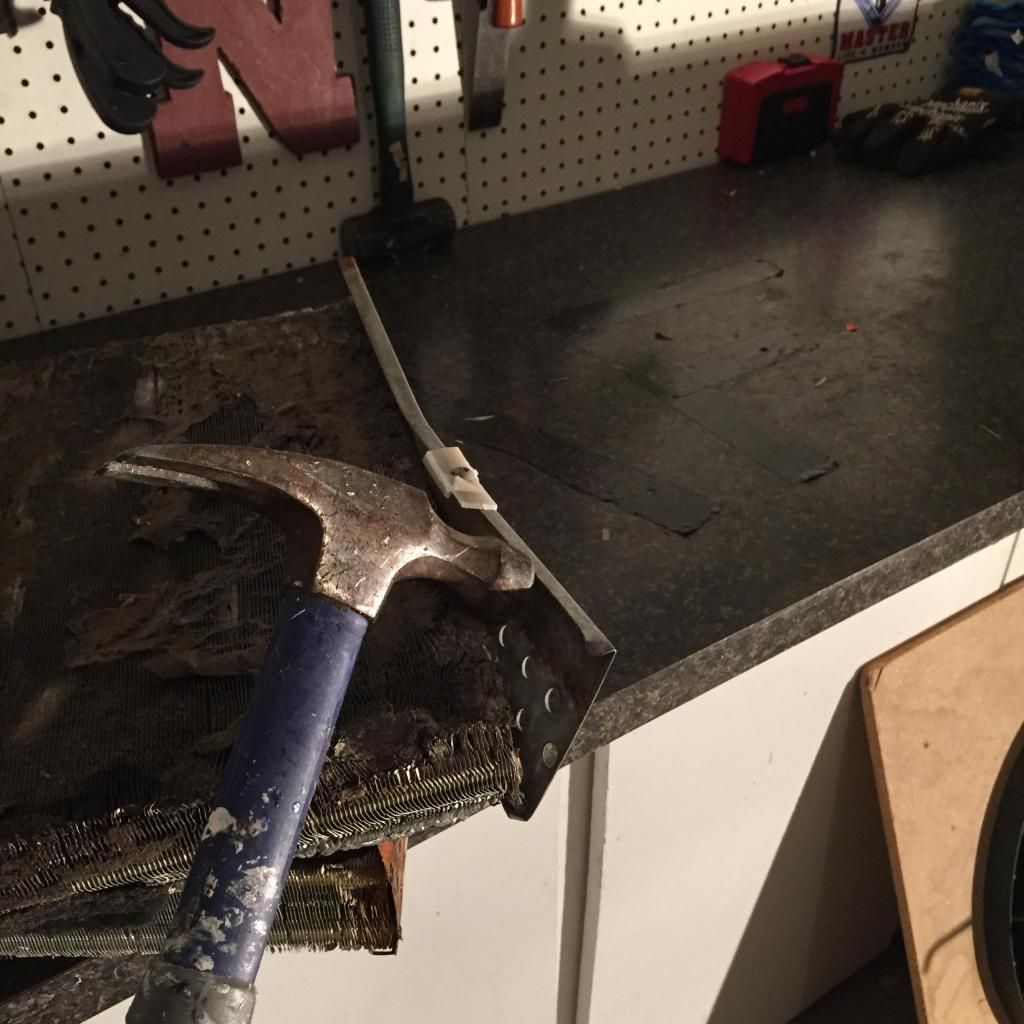


    Heres the result, clean fins, and some shred:
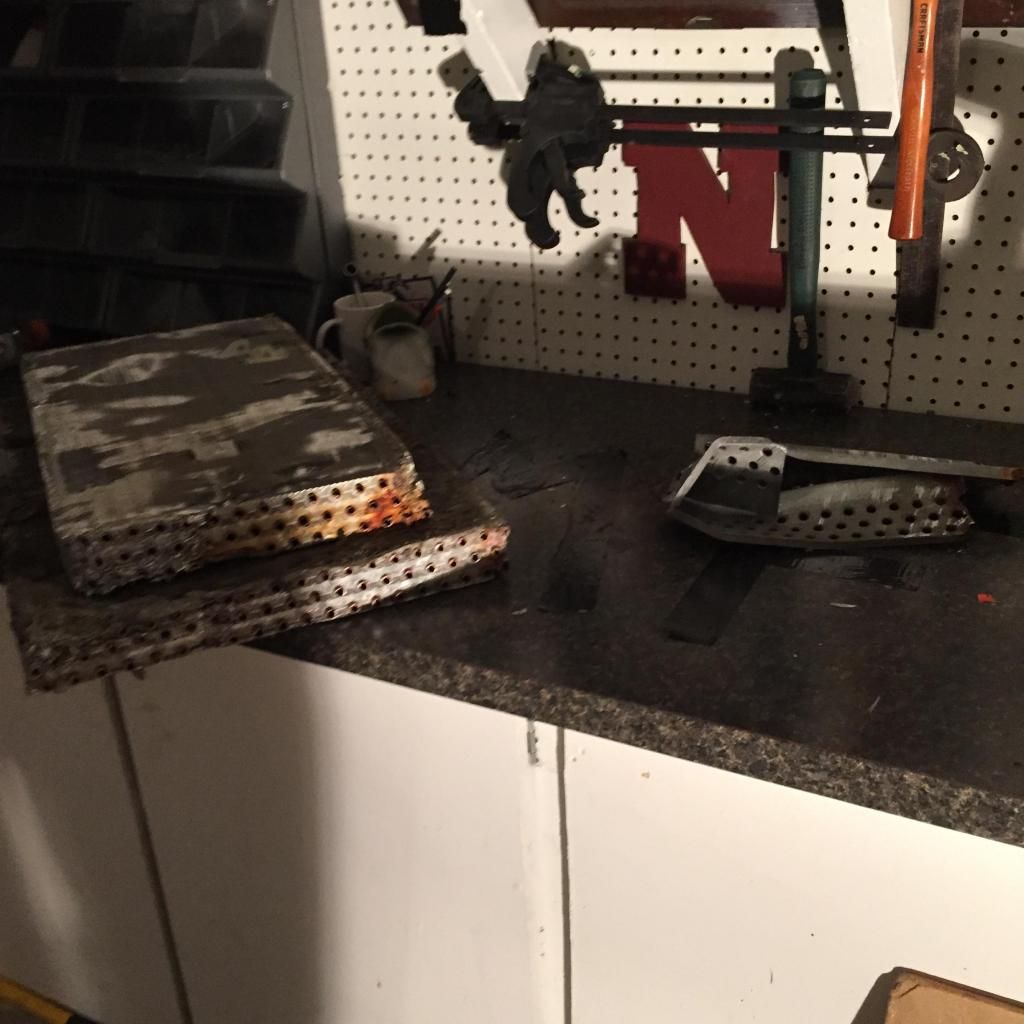


    WEIGHT TIME:

    (weight may be off by a little because I was using a human scale)


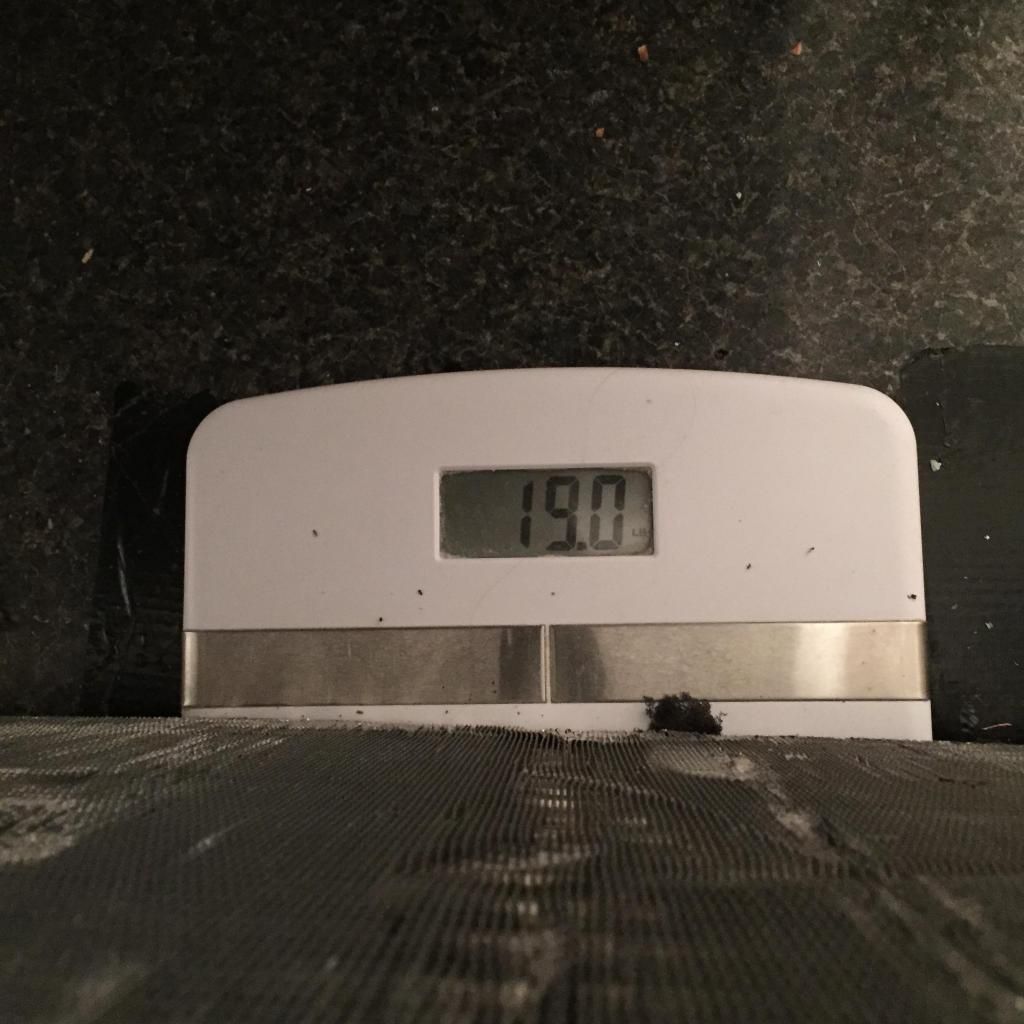
    Weighing in the 2 clean copper fins:


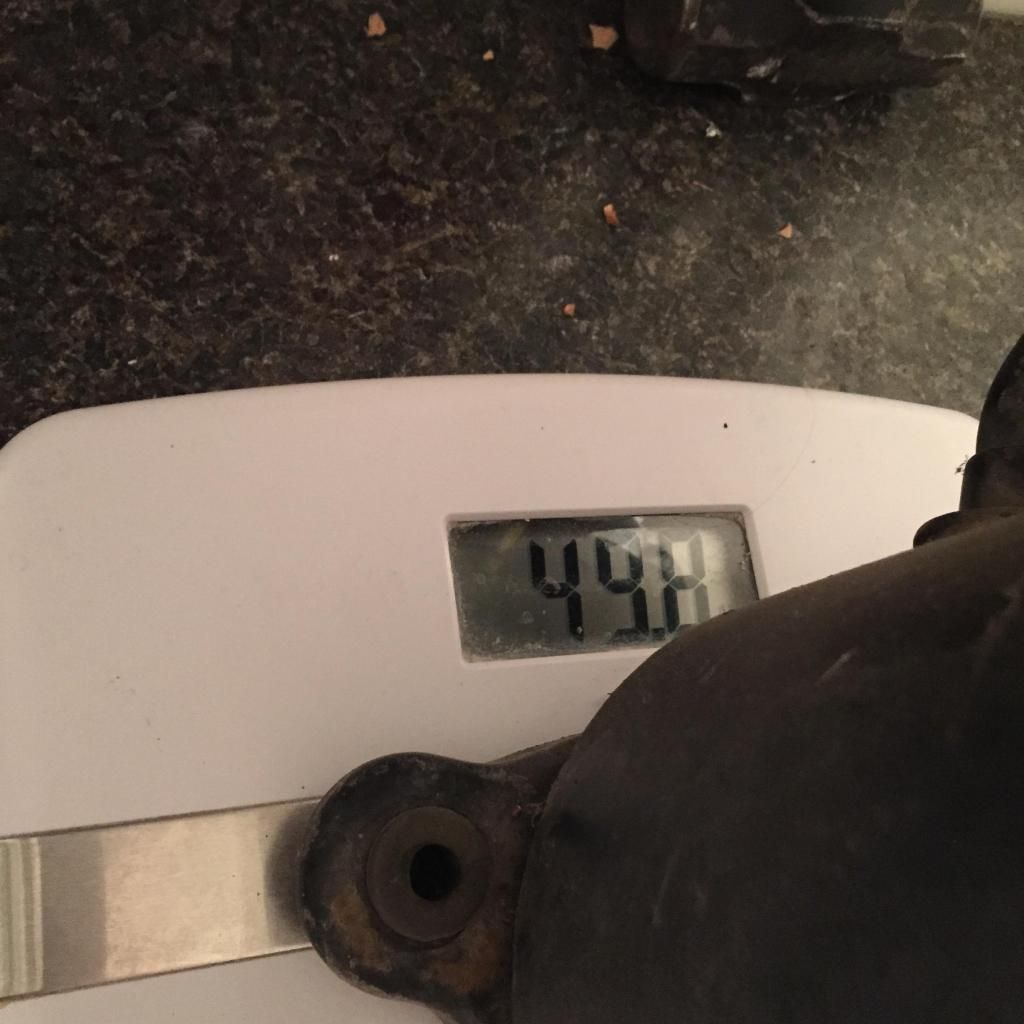
    Weighing in the compressor:


    Weighing in the CBM:


    Shred was weighed in at 18 lbs, I do not have picture because it covered the weight screen on scale, so I had to lift to see quickly.


    #2 Copper: 1lb

    #1 Copper: Too small of an amt Est. 1/2 lb

    Low grade: Too small of an amt Est. 1/4 lb'

    Wire: Too small of an amt Est. 1/2 lb

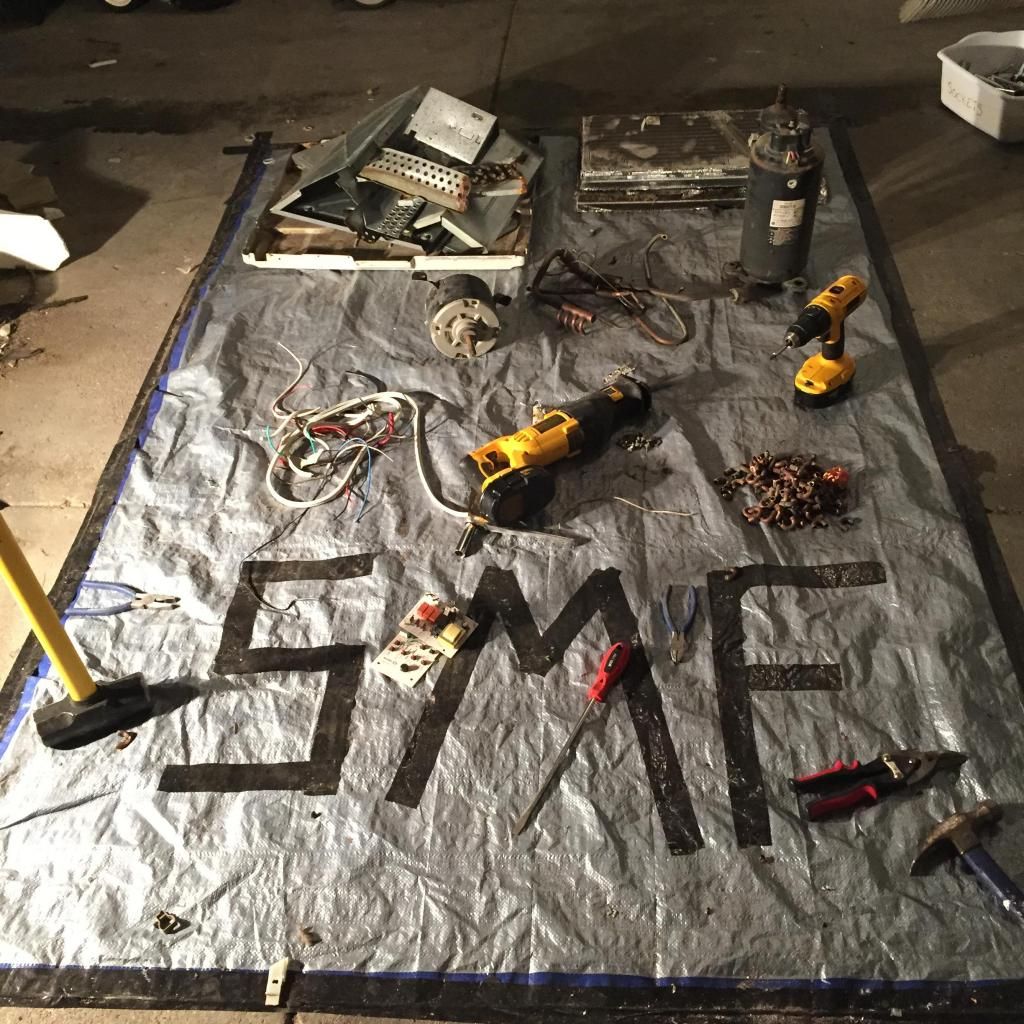
    Here is picture of all the items torn down to what I will sell them as, and the tools I used.


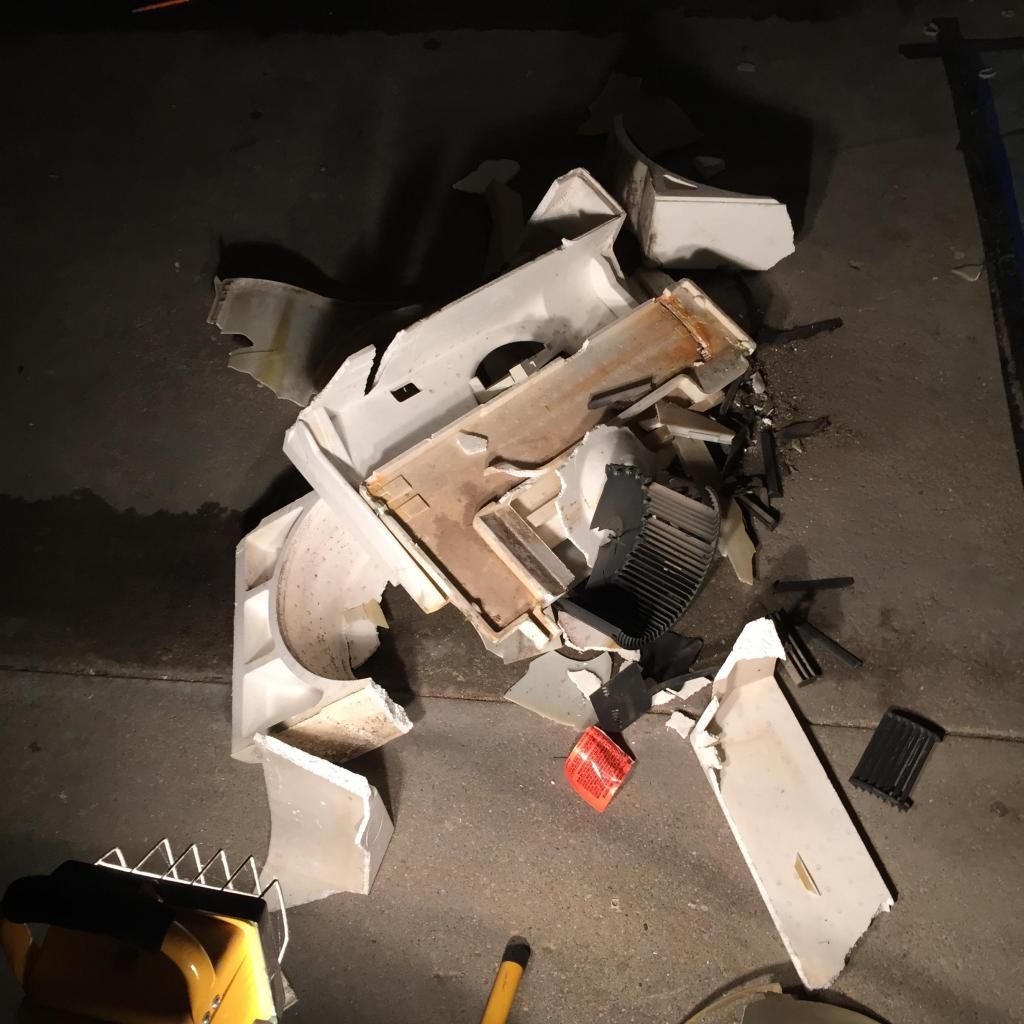
    Trash:


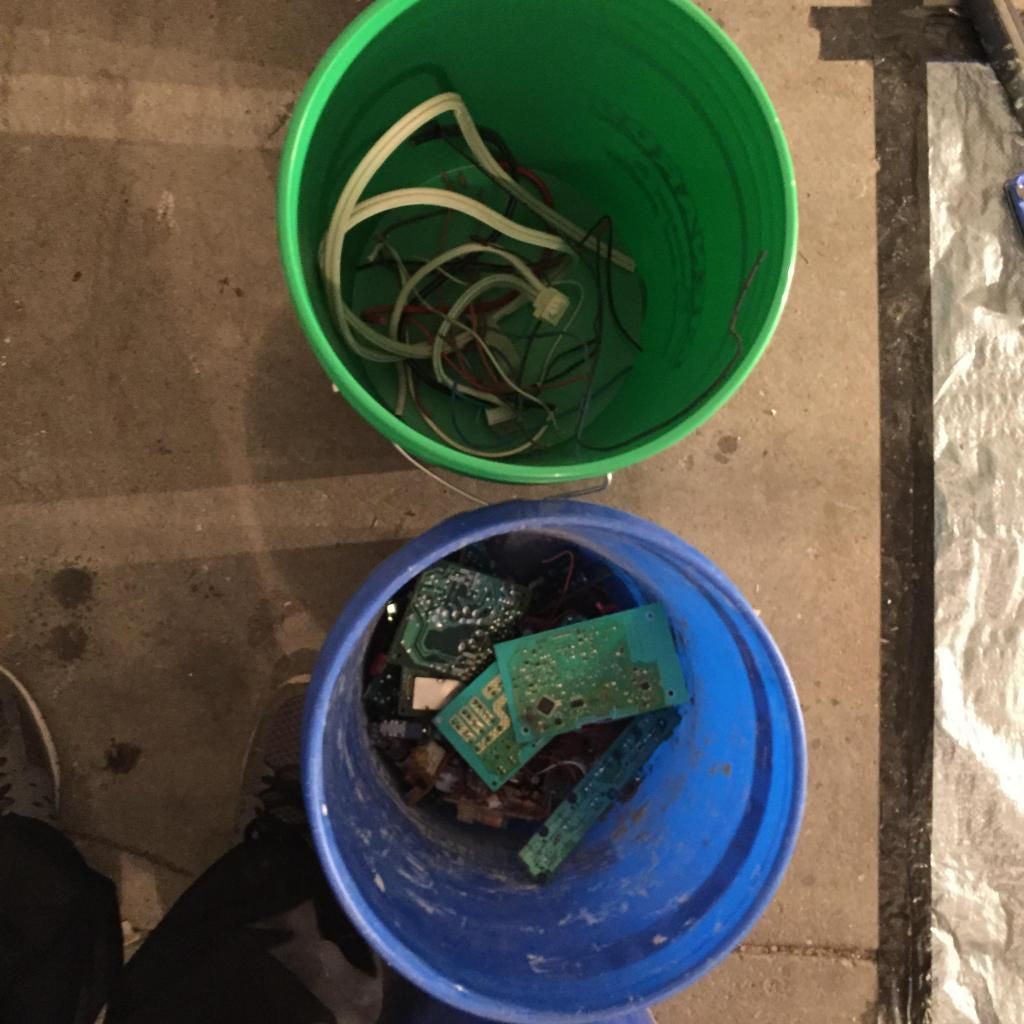
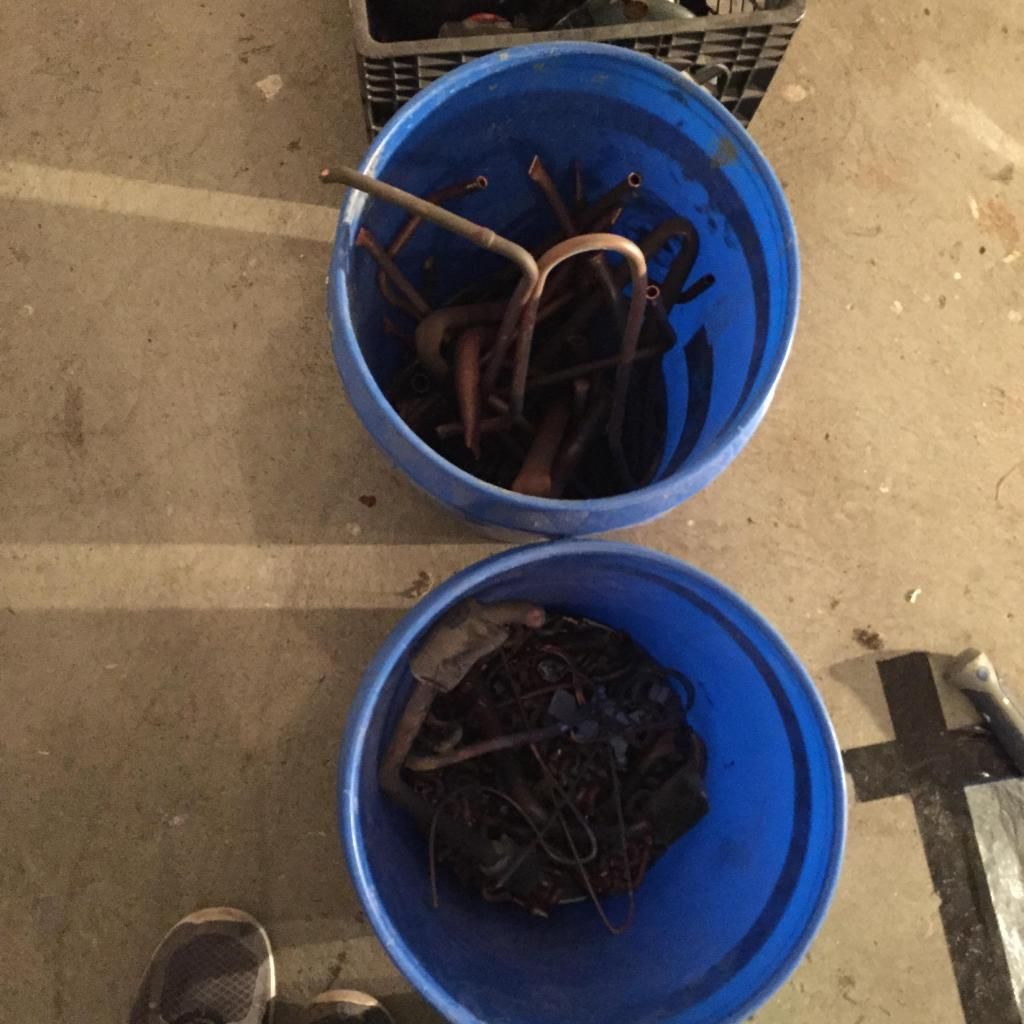
    Sorting the items into proper buckets:
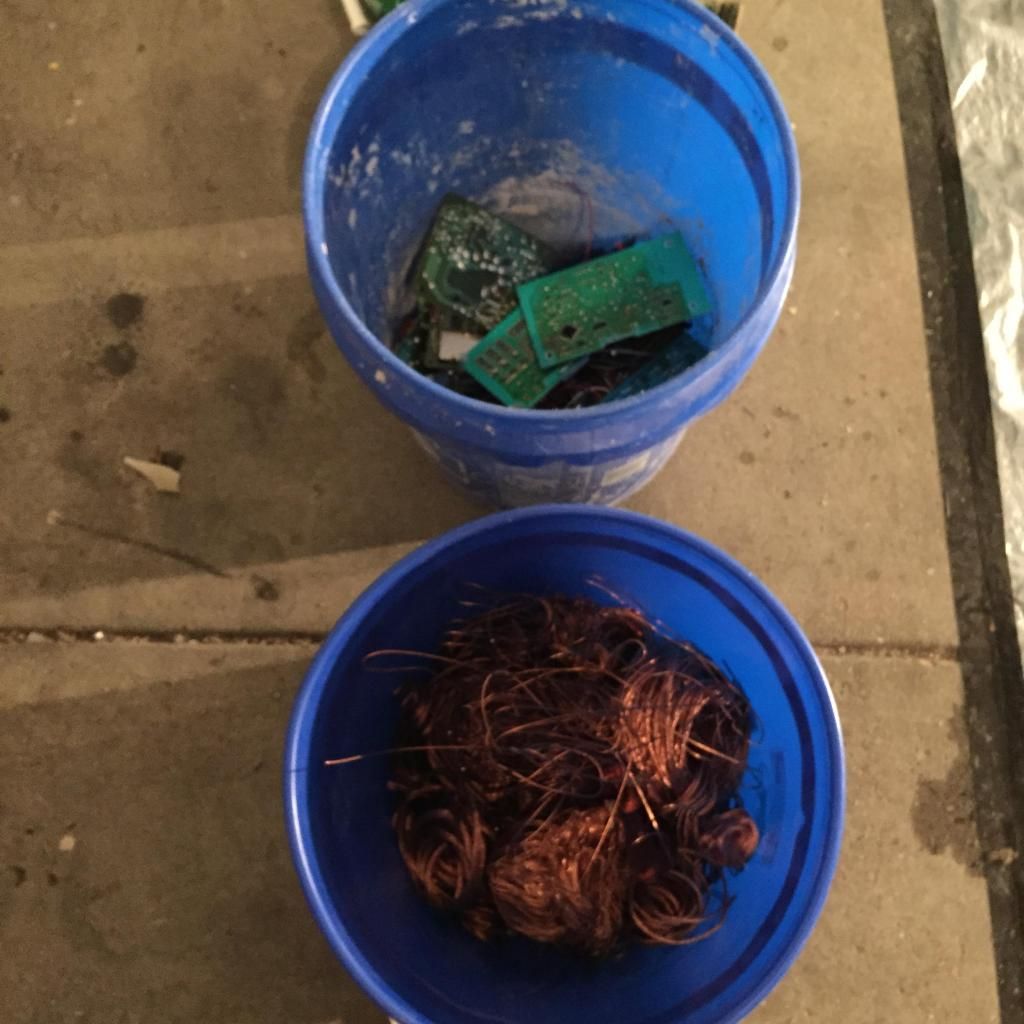


    Now here is the final price list, I based this off 4 yards prices I found off websites in a couple different places.

    Compressors, .15/lb @ 49.8 lbs = $7.47

    Clean copper a/c coils, 1.05/lb @ 19.0 lbs = $19.95

    Copper Bearing Motor, .20/lb @ 12.0 lbs = $2.40

    Shred / Steel, .07/lb @ 9.0 lbs = $.063

    #2 Copper
    #1 Copper
    Low Grade
    Wire

    Not enough of any of this to make a difference, I estimated around $5.00 for all of it


    Total after torn apart:

    $35.45

    Approx. Shred total:

    Under $15.00 Depending on prices

    I have broken down a lot of a/c units in the past year and they take me under 30 minutes plus cleanup time. They are worth it in my opinion.


    I spent a lot of time on this break down so if you like it throw me a thanks! (DIRECT ALL THANKS'S TO FIRST POST IN THE THREAD)

    Thanks much for reading!

  7. #6
    SMF Badges of Honor


    Member since
    Dec 2012
    Location
    elkton,md
    Posts
    1,062
    Thanks
    8,524
    Thanked 1,470 Times in 600 Posts
    What size unit was it? BTW nice job!

  8. #7
    DevinThaScrapper started this thread.
    DevinThaScrapper's Avatar
    SMF Badges of Honor

    Member since
    Nov 2012
    Location
    Nebraska
    Posts
    588
    Thanks
    120
    Thanked 605 Times in 247 Posts
    Theres a picture of it, I have no idea of the specs though, If you add up the weight it was around 100 lbs before I tore it apart.


  9. Similar threads on the Scrap Metal Forum

    1. Replies: 9
      Last Post: 01-05-2014, 01:53 AM
    2. First PC Breakdown
      By jord0690 in forum General Electronics Recycling
      Replies: 11
      Last Post: 10-04-2013, 03:02 PM
    3. Yet another computer breakdown breakdown
      By volvoscrapper in forum Dismantling, Breaking Down & Maximizing Scrap
      Replies: 11
      Last Post: 05-02-2013, 09:25 PM
    4. VERY detailed E-Scrap informaion
      By NMatheson in forum General Electronics Recycling
      Replies: 5
      Last Post: 08-18-2012, 11:57 AM

Thread Information

Users Browsing this Thread

There are currently 1 users browsing this thread. (0 members and 1 guests)

 
Browse the Most Recent Threads
On SMF In THIS CATEGORY.


OR

Bookmarks

Posting Permissions

  • You may not post new threads
  • You may not post replies
  • You may not post attachments
  • You may not edit your posts
  •  

The Scrap Metal Forum

    The Scrap Metal Forum is the #1 scrap metal recycling community in the world. Here we talk about the scrap metal business, making money, where we connect with other scrappers, scrap yards and more.

SMF on Facebook and Twitter

Twitter Facebook