


I was asked to post pictures of my process for getting circuit boards out of CFL bulbs on this thread: http://www.scrapmetalforum.com/scrap...ght-bulbs.html
It seems kind of odd for the "Scrap Spots" section so I thought I would post it here.
CFL bulbs are everywhere now and when they burn out it is because something goes wrong on a little circuit board inside of them. I was being a geeky engineer and decided to take one apart to see what was wrong. Since then I have taken all the ones I get apart, mostly for fun, and rescued what scrap I can out of them. Now I am always very careful and make sure not to damage the tube as it contains a small amount of gas containing mercury. These bulbs can be taken apart leaving only this tube as seen below.
Here is the basic bulb, This one is a small one so it was a bit harder to take apart.
The first step to to break off the metal screw in endcap. This is plated copper.
As you can see once the metal is off you can already see an aluminum can capacitor peaking through.
Once the end cap is off you can begin removing the plastic shell. Once you get practiced you can break the whole shell of at once with a large pair of pliers or channel locks and just crush the plastic. However, it is easy to take it off one piece at a time with a pair of diagonal cutters. It only take a few seconds to break it all away.
Now you can see the circuit board. This is the spot you have to be careful. Wires come up from underneath the board and connect it to the tube itself. This is the only time you are near the tube that many people are afraid of. You can see the wires from each side of the board connecting to two terminals on each side. Just a few snips and the board is free.
Now the circuit board is free! And the tube is intact. I know where I am from I can take the tubes to Home Depot or the local landfill for free recycling. Here is a picture of the remains of the bulb. You can see the two ends of the tube intact.
Here is the underside of the board. As you can see there are a number of rectifying diodes (the black boxes), a surface mounted monolithic capacitor, and some ruthenium surface mount resistors. I know both the monolithic capacitors and the ruthenium resistors have value in large numbers. If someone was saving them up each bulb would contribute a few.
Here is the top of the board. There is a small transformer, a number of capacitors, a few transistors, a copper wrapped ferrite torroid, and a few other components.
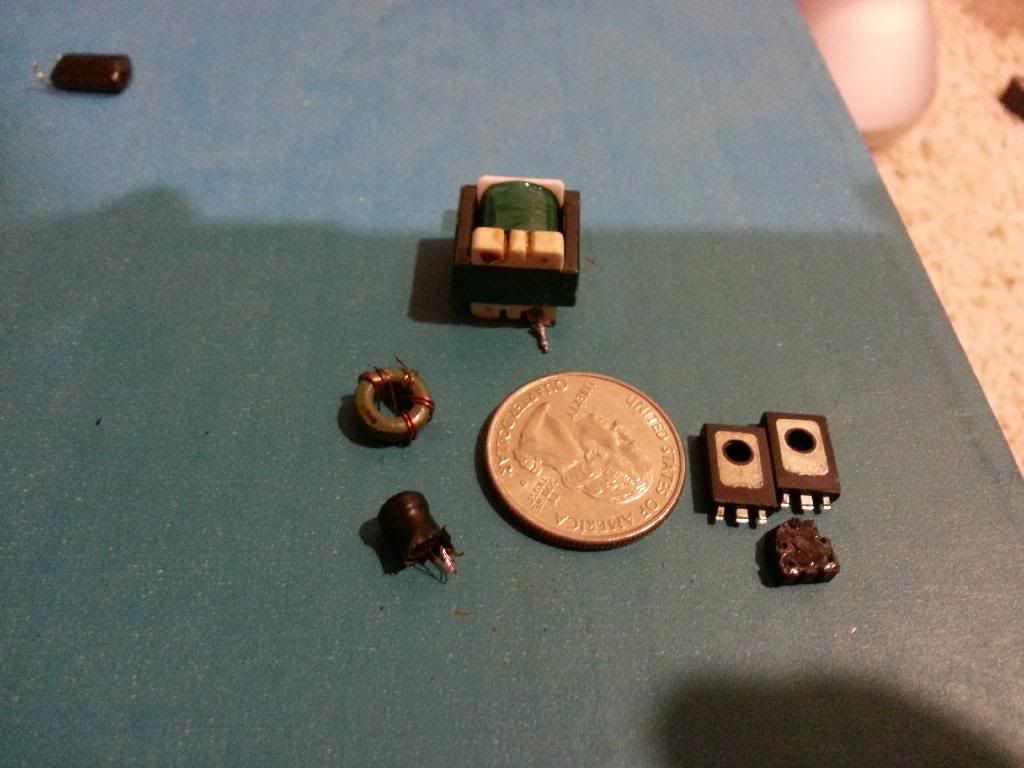
Here is the main take from the bulb. The small transformer, the black copper filled induction coil, three transistors (The square one was under the ferrite torroid) and the torroid itself with a bit of copper around it. I know the torroids can sell on fleebay in numbers.


Bookmarks