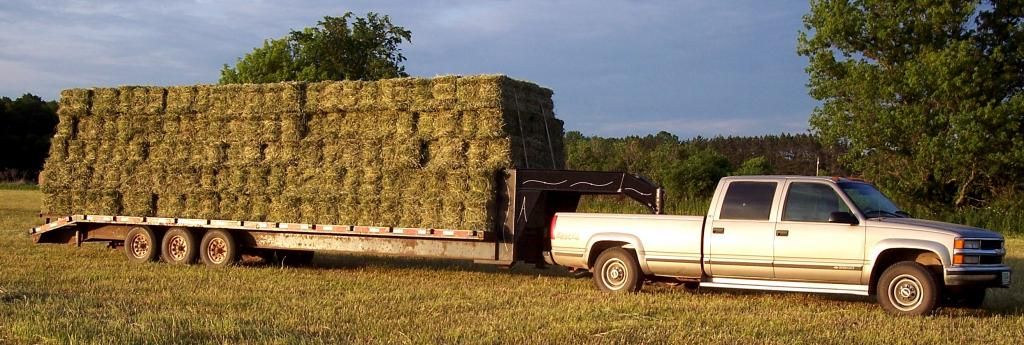
10 miles. Piece of cake. Happy motoring!
The largest thing is to make the sides come apart. I didn't on my rack, and it's awkward to set up!
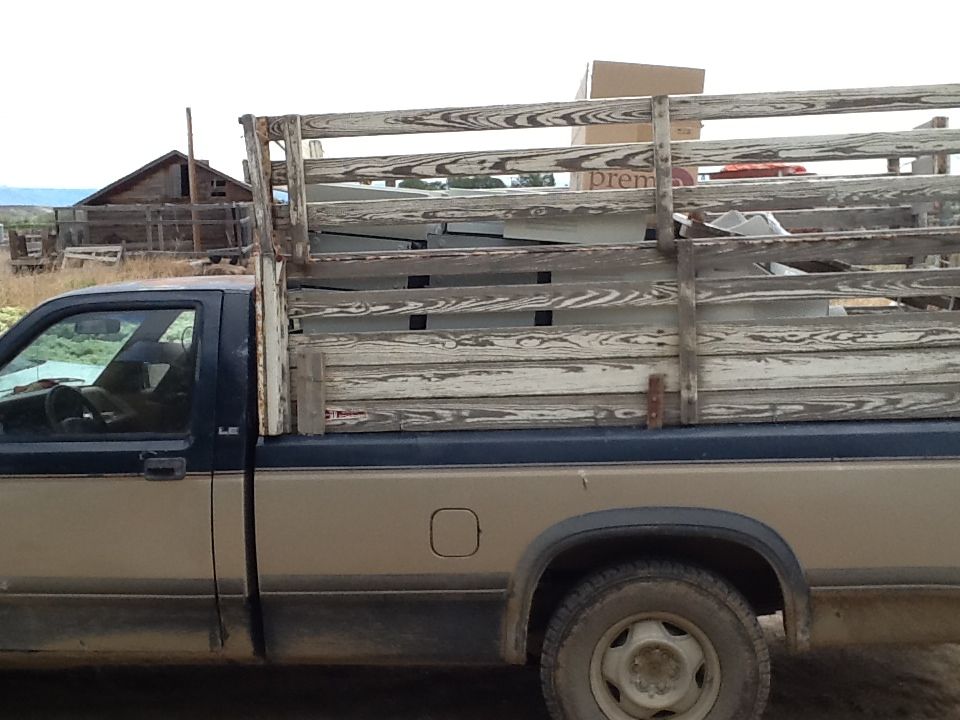
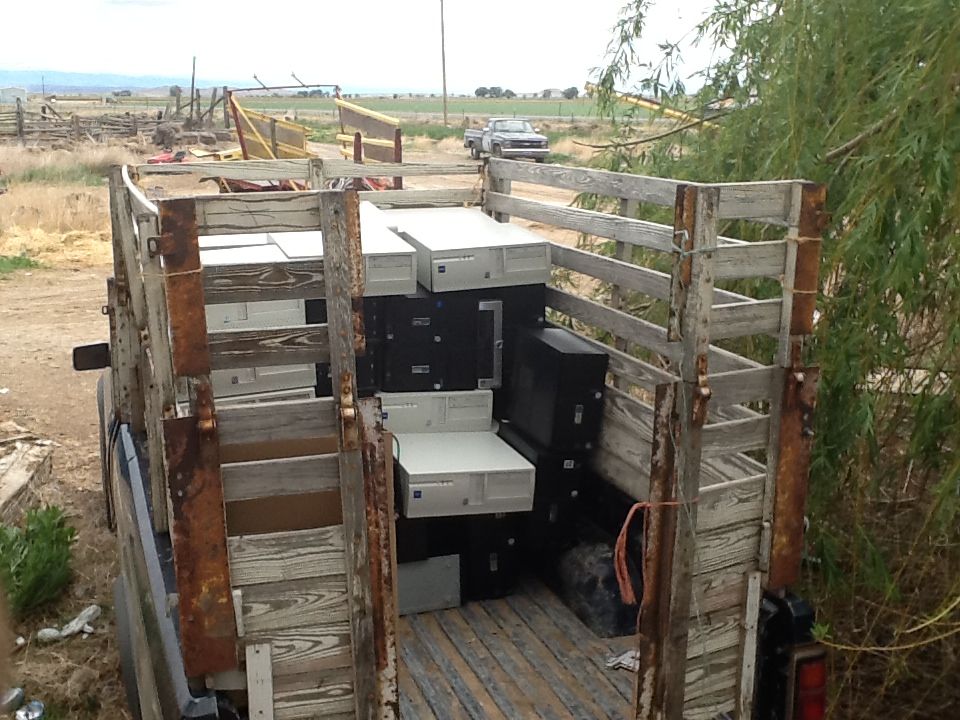
We have an Omaha Standard rack that my father bought in the 1980s. We've mounted it on 4 trucks; it's too modified to be very good any more. We've hauled hogs and cattle with it, though. These are the best pictures of it that I have:


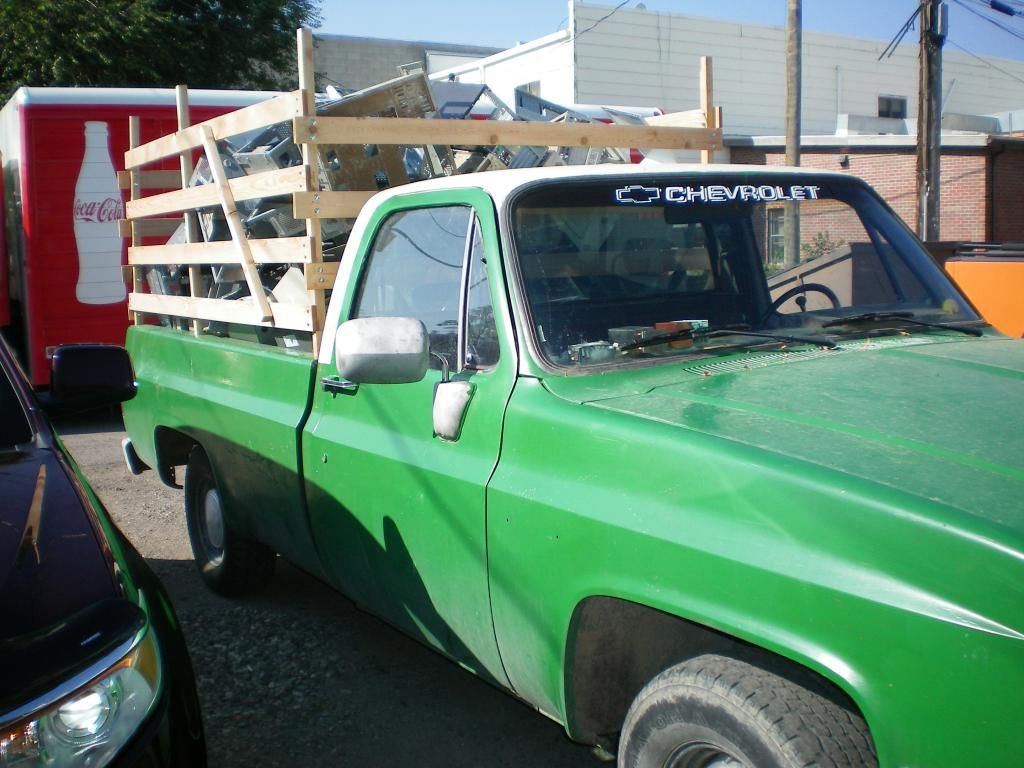
Those pictures are all from the same load. If you're really paying attention, you might know that the grey Chevy in the background is the same truck that's now green and white.
As you can kind of see, the sides go into the pockets, and the front bolts to the sides. The rear bolts to the sides. We drilled two holes in the back of the bed and added L-brackets. This was for jumping animals, though. The tailgate should hold it fine for what you're doing. That was one heck of a rack! If it can hold pigs that want to jump, it'll hold ferrous just fine.
The back gate slid up and down. There was a top piece that went on top of the door. With just me, I could have the full rack on and off a truck in 15 minutes... until it was modified. Then, it went downhill from there.
The Omaha standard rack was all tongue and groove 1" boards. It lasted us almost 30 years.
If you have the tools, I'd probably go for metal in the pockets, and boards for the sides. Since you're in the city, I'd go for 1" boards that touch, like the Omaha Standard rack did. Add a vertical cross-support for good measure, and you'll have a durable, lightweight rack.
You'll want slats above the cab top if you want any fuel economy whatsoever. otherwise, you've just built a box truck with an open top that will serve as an air brake. I made that on my old 1995 F150- it killed any level of performance or economy that was ever there.


 Register To Reply


Bookmarks