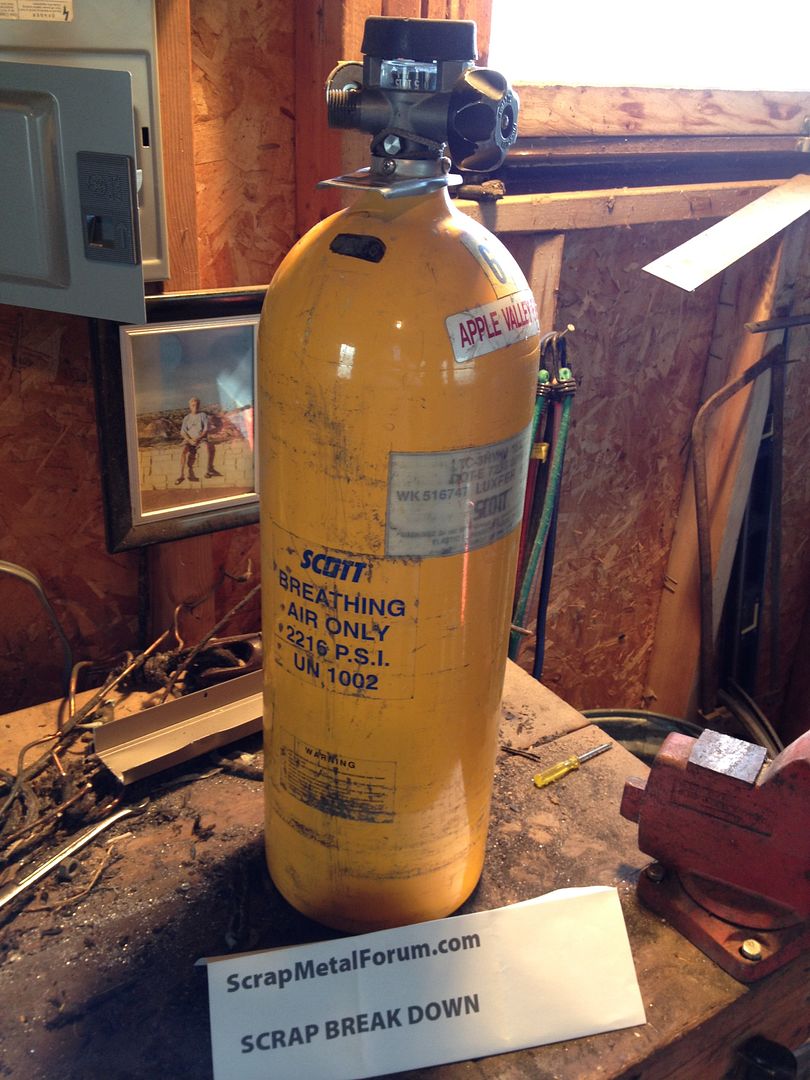
Hello everyone. For the SMF Scrap Breakdown Contest I thought I would scrap something unique. Fire Fighter oxygen tanks are not something I get everyday. I got about 20 of these tanks. One of the guys at a regular pickup is a volunteer firefighter. He threw them on my pile. Of the 20 about 14 were aluminum, and 6 were steel. Of the 14 aluminum, about half have the valve attached.
*Disclaimer - Every tank has a hole drilled in it by the fire dept., so no chance of being pressurized. Safety first.
I'll work on the tank first, then the valve. Leave the valve on as a holding point for the tank. If you take it off there is no way to secure the tank in a small vice.
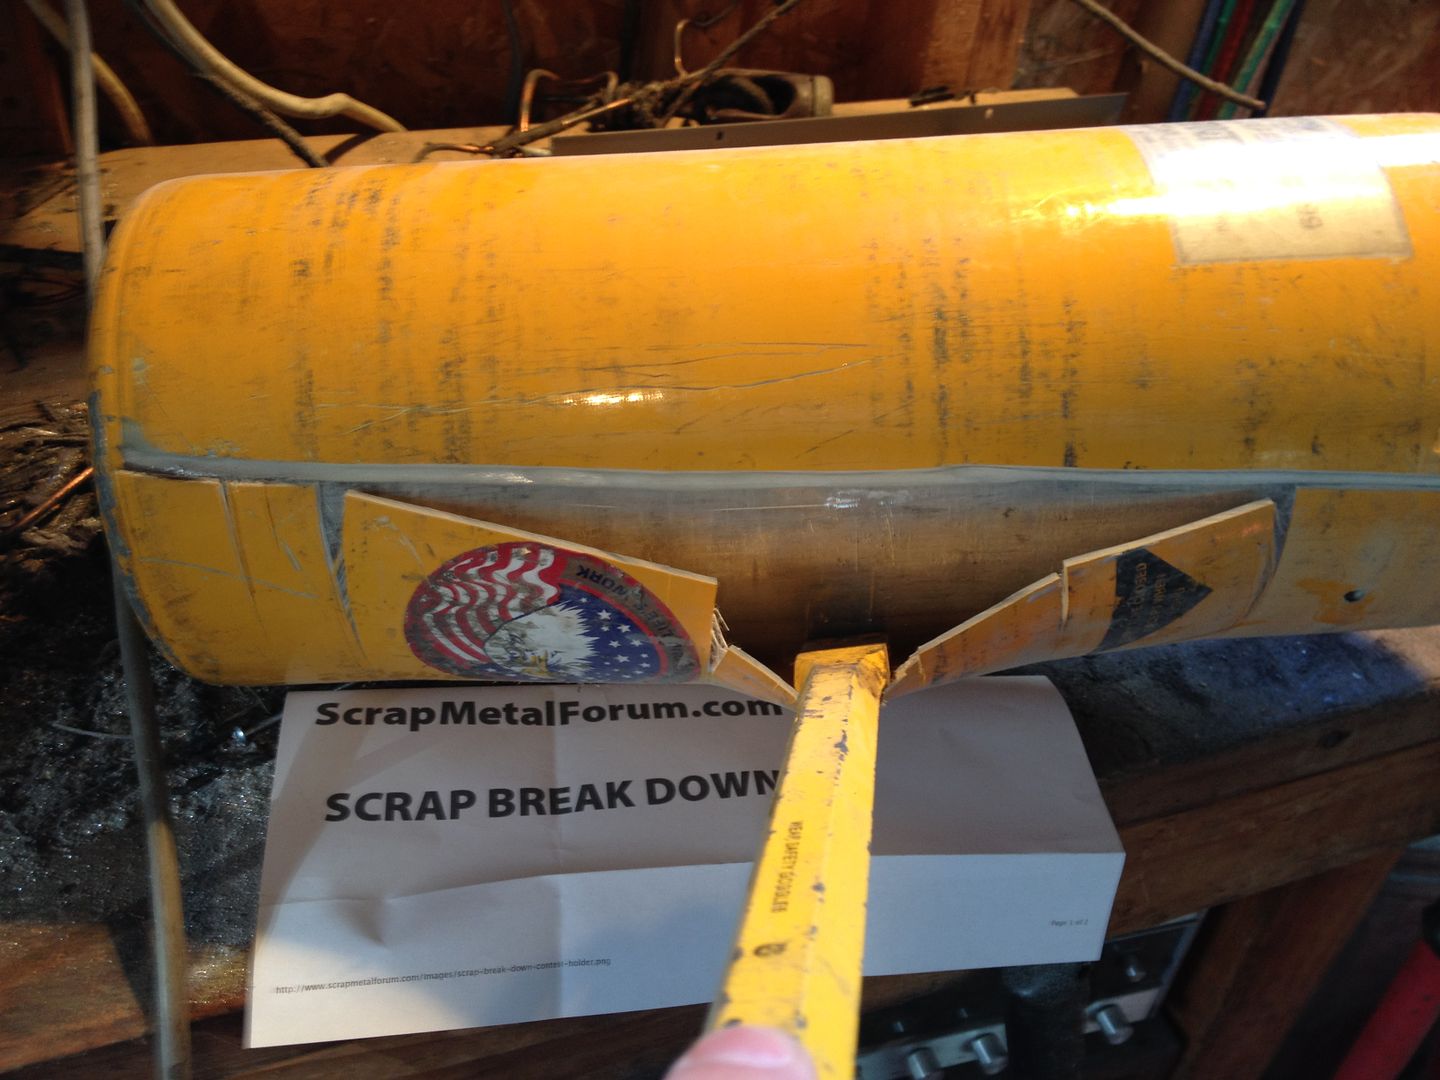
These particular tanks appear to be painted, but actually they are wrapped in yellow fiberglass. Only the ends are painted. Take an angle grinder to the length of the tank, just deep enough to cut the fiberglass. Then take a chisel and peel the fiberglass off. Pretty easy.
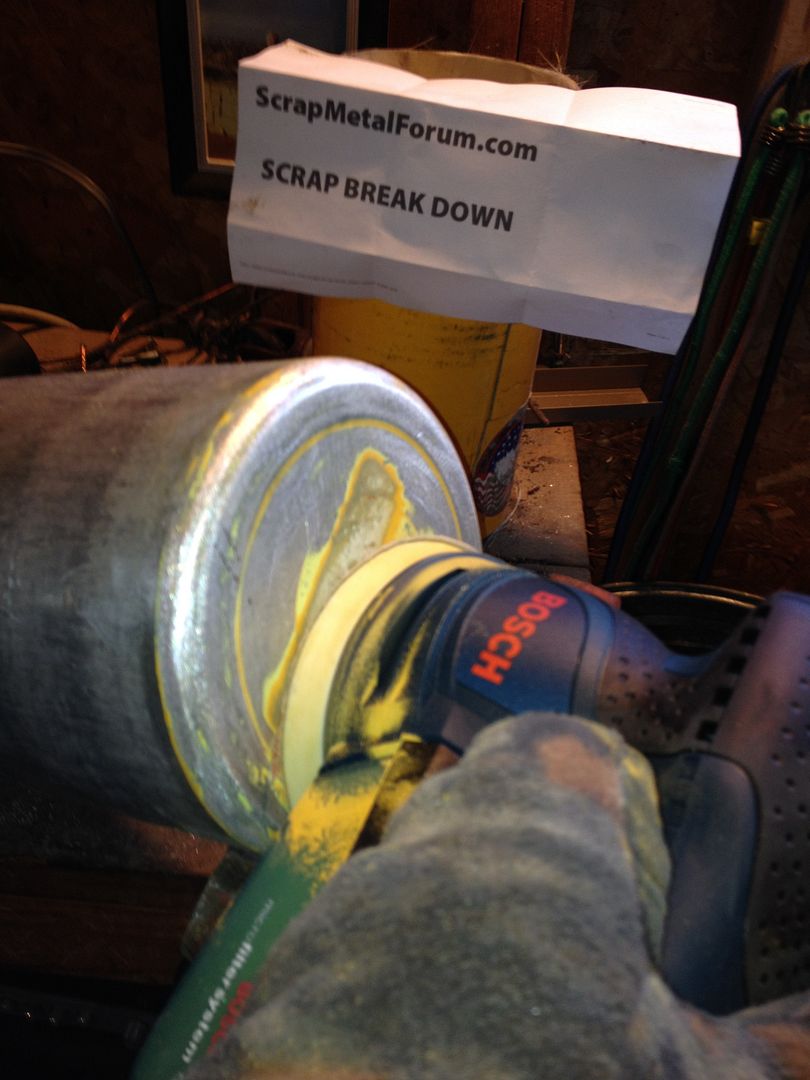
Then I took an orbital sander to the bottom of the tank just to get the paint off. Then the entire bottom section can go as clean aluminum. I was debating wether or not to sand the paint off, or make another cut. The paint came off pretty easily though, so went with that option.
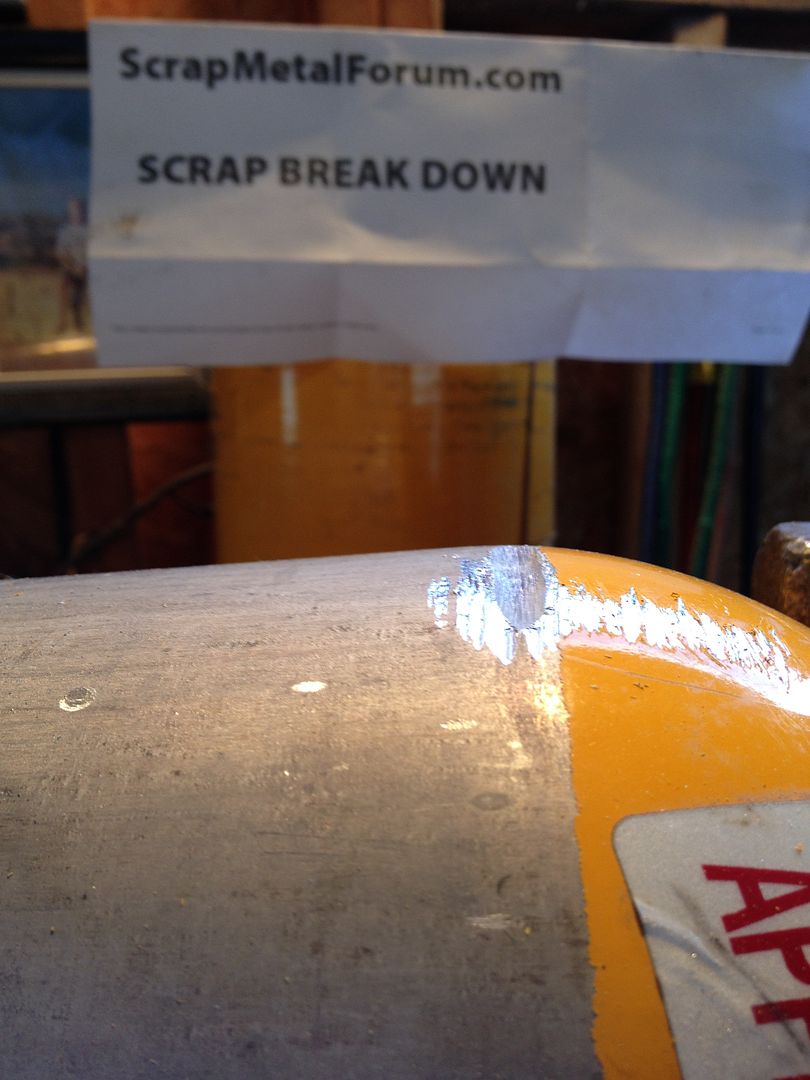
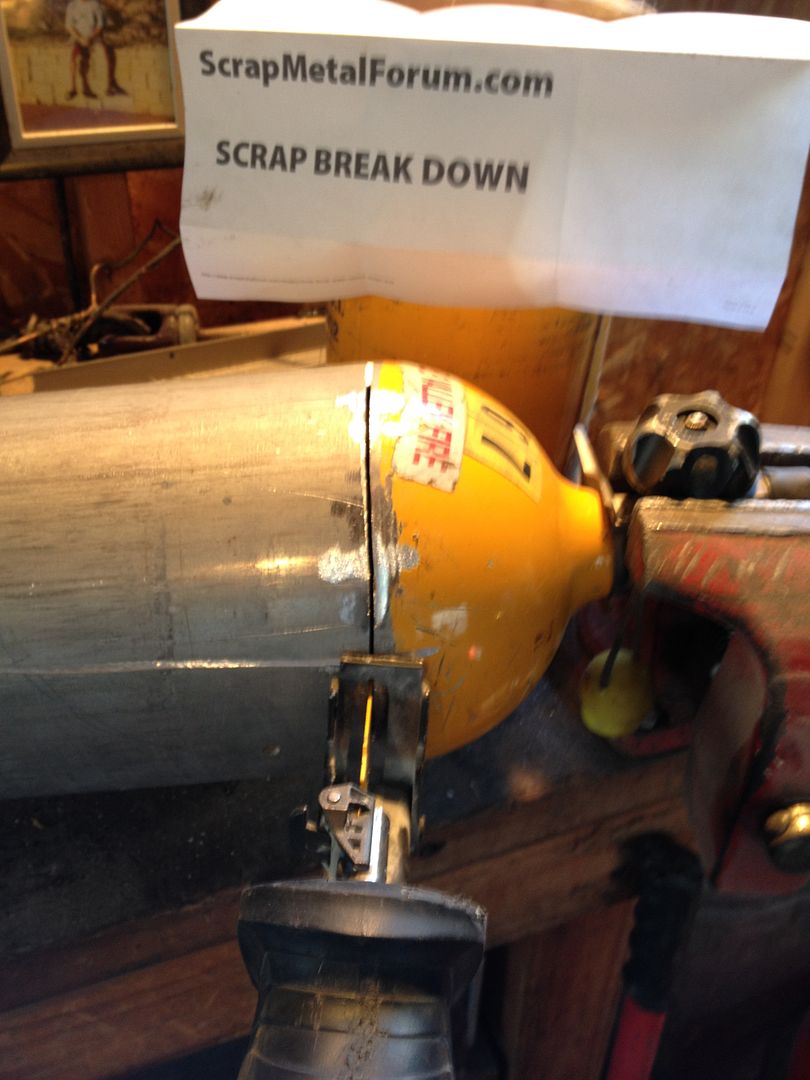
Grind a small notch to get your saw blade started in. As you can see, I tried just starting the saw without a notch, and it bounced all over.
Take a reciprocating saw and cut along the paint line. Most yards will not accept tanks that aren't cut open!!!
A pipe wrench will loosen the valve, then it just turns out by hand.
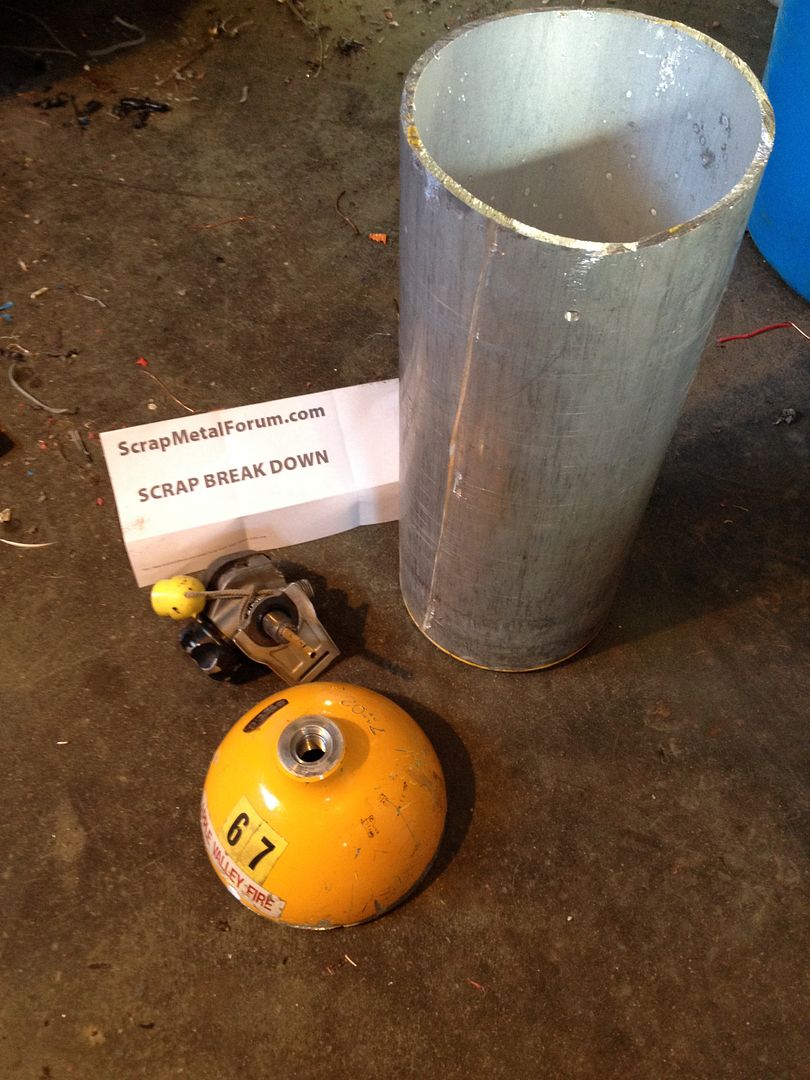
Results (tank): 10lbs clean aluminum, 2lbs painted aluminum.
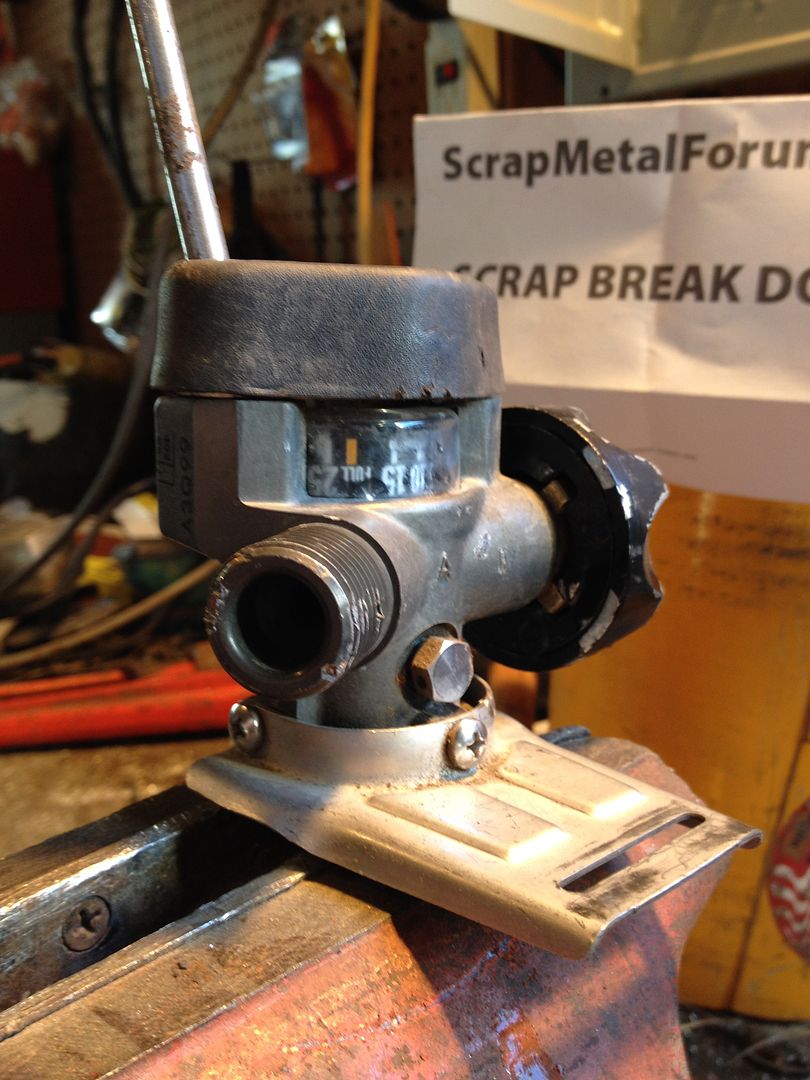
To keep this breakdown to one post I am not going to show pics of taking out every screw and bolt from the valve. It's all very obvious, nothing is hidden. The top cap has a couple Phillips head screws in it (you can see the screw driver sticking out), then there are three screws holding the flat stainless piece on, and a stainless nut on the side. The knob also comes off by removing one nut.
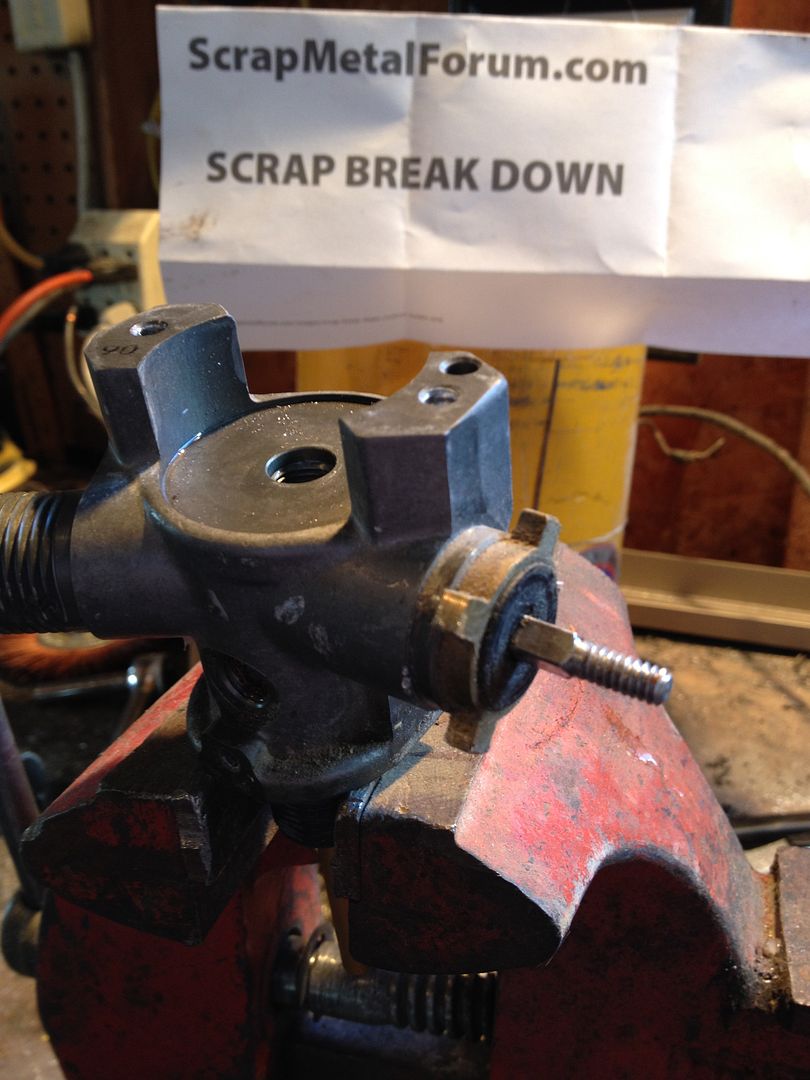
There is a nice little hunk of brass behind the knob, and that brass nut holds in a stainless steel valve stem. Brass nut comes off with a pipe wrench.
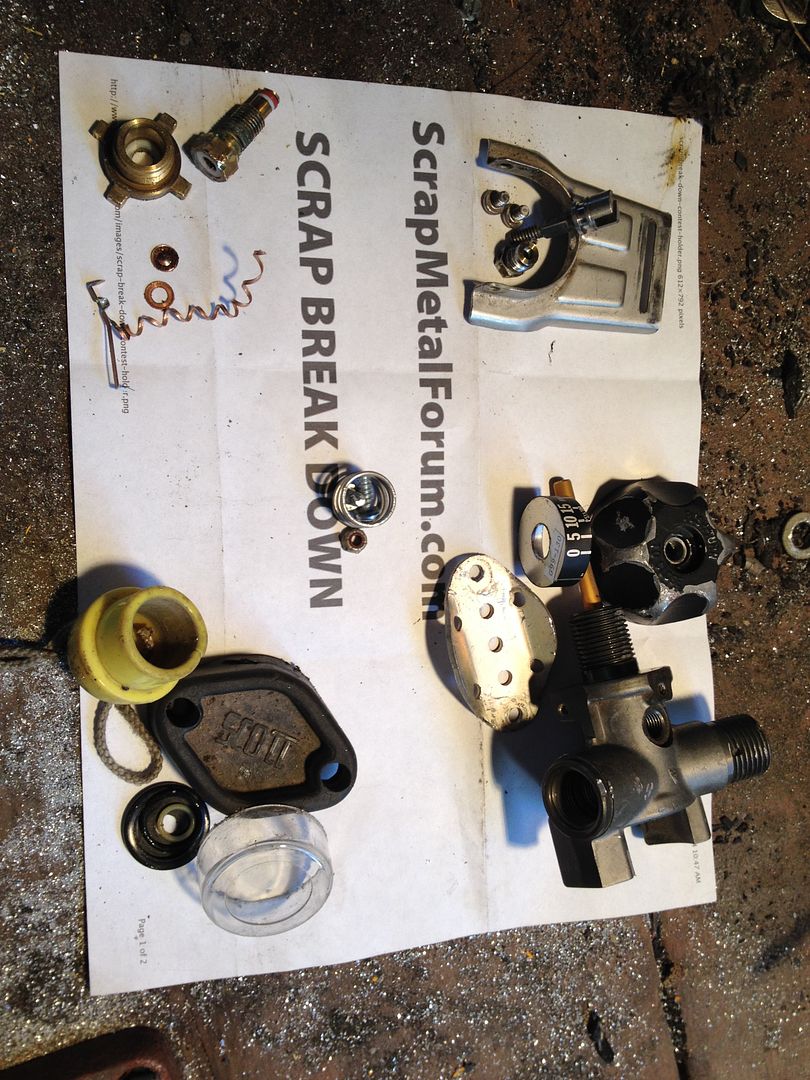
Results (pressure gage) upper left hand corner- some brass and a couple small copper washers plus the needle on the pressure gage was copper.
Upper right hand corner - some stainless steel maybe .5 lbs.
Middle - ferrous spring and a couple screws.
Lower right hand corner - 1lb of painted aluminum.
Lower left hand corner - plastic, o-rings' etc.
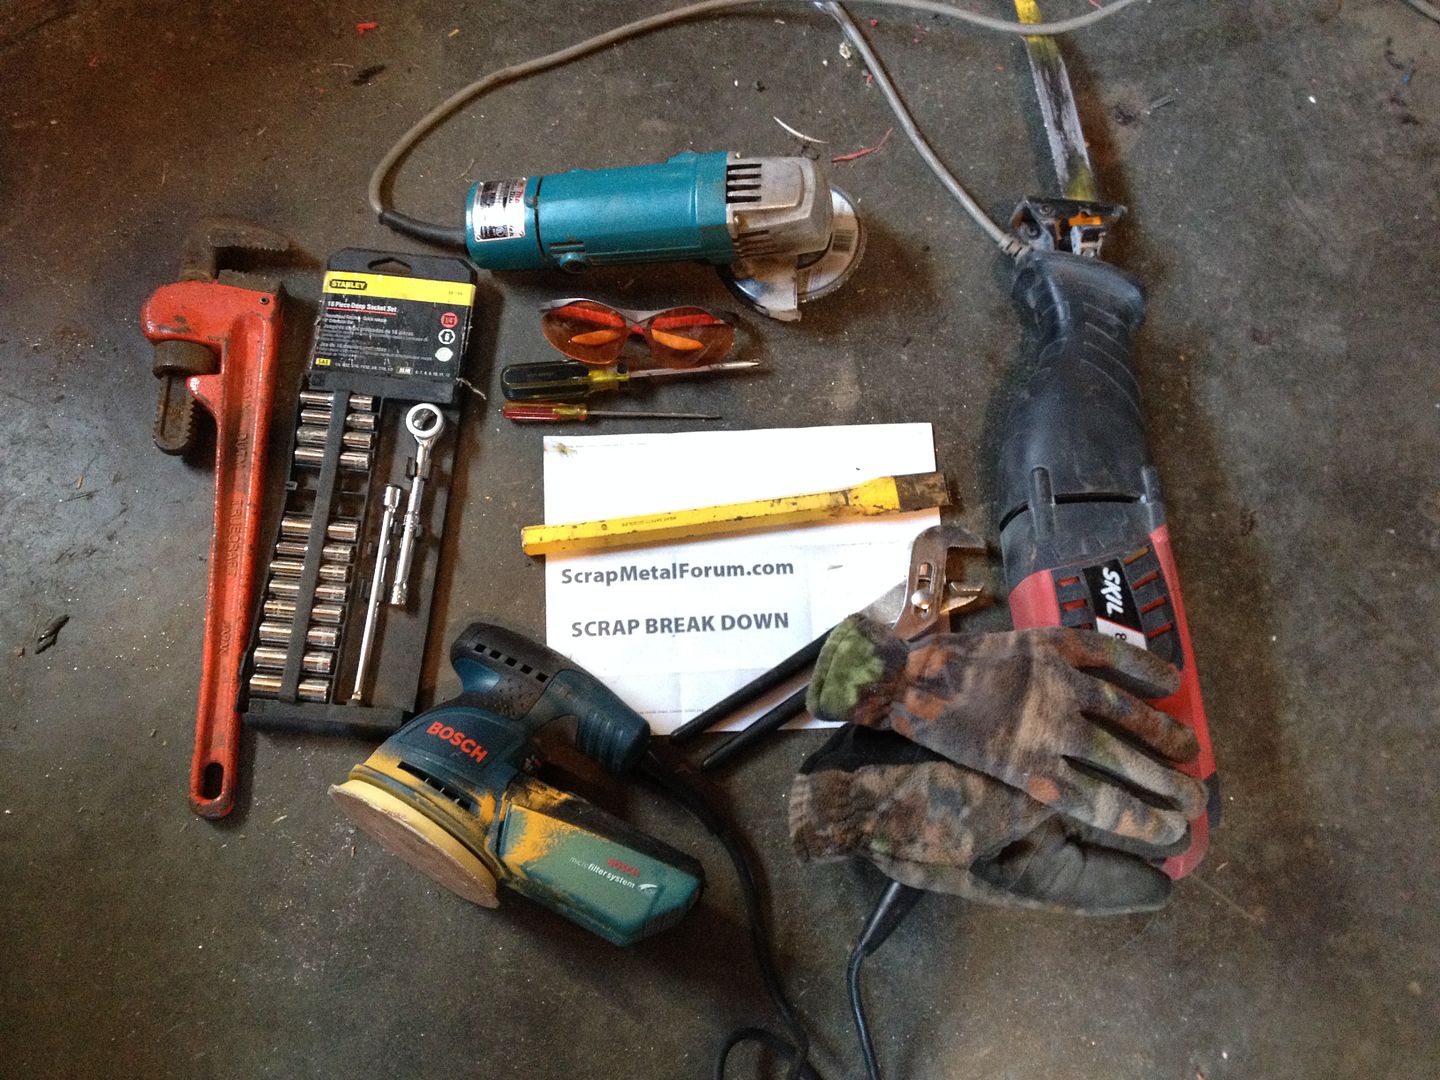
Tools used: pipe wrench, 1/4 inch socket set, angle grinder, Phillips & flat screwdrivers, punch, channel lock pliers, orbital sander, reciprocating saw and of course safety glasses and gloves.
Also broken down but not pictured was 4 cans of Busch Light weighing in at a couple ounces. Beer cans were broken down AFTER using power tools. For You kids out there: never drink beer and operate your power tools. Heck, don't even start drinking if you can help it. Safety first.
Please thank me for this breakdown. I froze my *** off doing it. Thanks.



 Register To Reply


Bookmarks