Page 1 of 2 12 LastLast
Results 1 to 20 of 25
  1. #1
    Phantoms001 started this thread.
    Phantoms001's Avatar
    SMF Badges of Honor


    Member since
    Mar 2012
    Location
    Indiana
    Posts
    556
    Thanks
    167
    Thanked 529 Times in 243 Posts

    How to make a Solar Generator from a Battery Backup

    As promised, this is going to be a detailed thread on making a solar generator from several different types of backups. It will be very detailed, indepth, and will walk you through step by step. You may be able to skip some of the info and later come back to reference some of the material, but it will all be here. This thread will be an on-going project, I can't do it all in one day or even two weeks but once you understand the basics there are just some small nuances as we go through from small retail backups into large rackmounted backups.


    Off we go...............

  2. The Following 14 Users say Thank You for This Post by Phantoms001:


  3. #2
    Phantoms001 started this thread.
    Phantoms001's Avatar
    SMF Badges of Honor


    Member since
    Mar 2012
    Location
    Indiana
    Posts
    556
    Thanks
    167
    Thanked 529 Times in 243 Posts
    The first victim.

    Buy APC BACK-UPS 1200VA 120V RETAIL - Technical Specifications and Information | APC

    A retail version of the APC 1200 BX.

  4. #3
    Phantoms001 started this thread.
    Phantoms001's Avatar
    SMF Badges of Honor


    Member since
    Mar 2012
    Location
    Indiana
    Posts
    556
    Thanks
    167
    Thanked 529 Times in 243 Posts
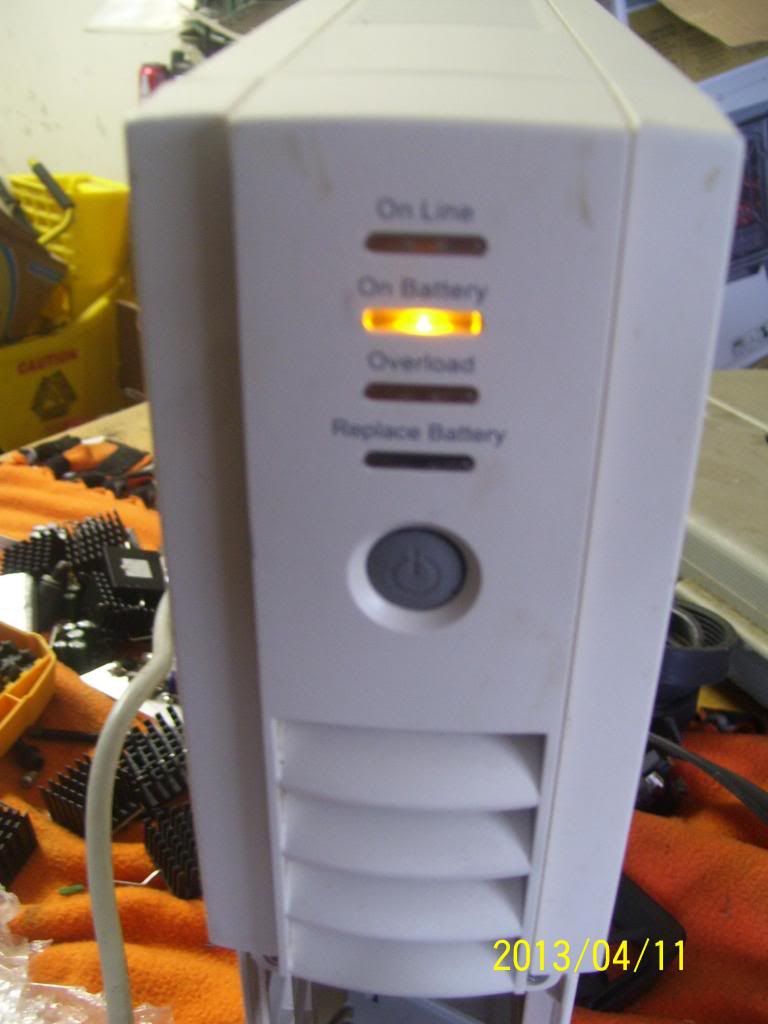
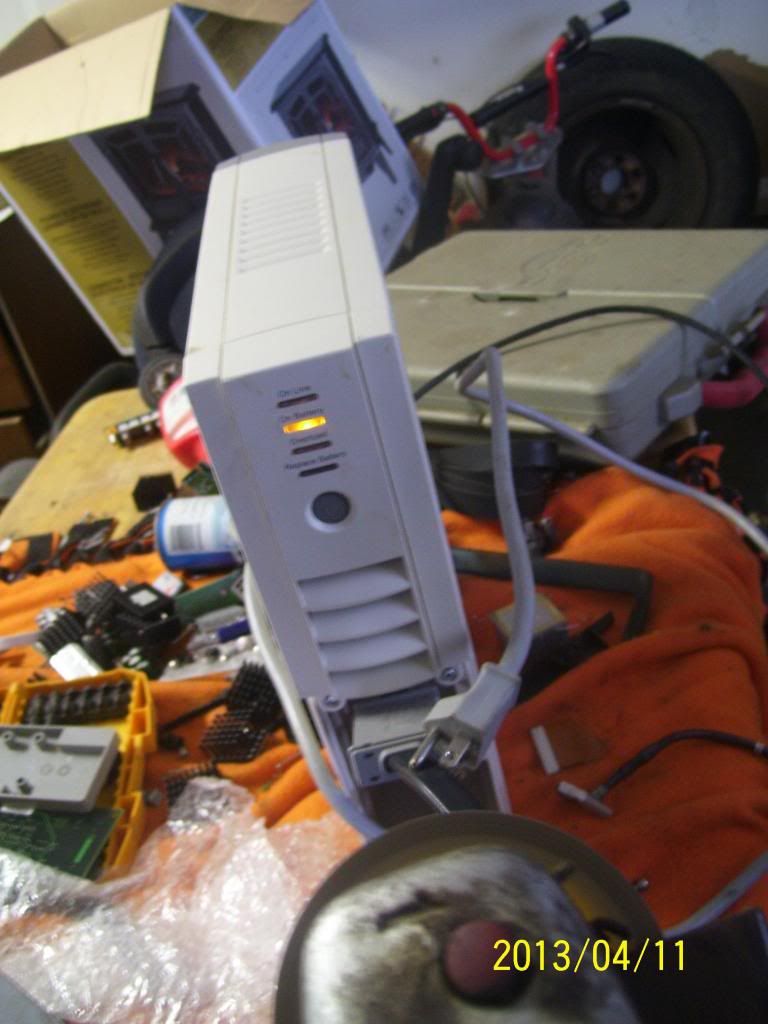
    You first need to make sure the backup works. When I received this backup it had the battery light on. I threw some different batteries in and it powered up fine. You will find that newer versions may not even power on if the batteries are dead. It will simply do nothing. Often I can put enough life into a battery by simply connecting it to my charger for a night. When the batteries are low most backups won't even try to charge them.

    Once I have a good backup (believe it or not most are good just bad batteries) I look up the specs which I provided a link for above.

  5. #4
    Phantoms001 started this thread.
    Phantoms001's Avatar
    SMF Badges of Honor


    Member since
    Mar 2012
    Location
    Indiana
    Posts
    556
    Thanks
    167
    Thanked 529 Times in 243 Posts
    Following the link you will see that it is a 1200 va system. This is NOT how many volts it puts out. Looking at the specs you will see it will have 870 volts. This is plenty for what I plan on using this system for.

    You will notice that there is a runtime/voltage chart. This is always important. It gives me a rough guess on how long I can pull a certain amount of watts. I plan on using this in my truck to run a grinder, reciprocating saw, ect.. Most of the items I'm going to run are going to pull around 250-300 watts. Stock I should get about 15-20 mins of constant run time. I plan on doubling the battery capacity giving me 30-40 mins of constant run time. Now keep in mind, if I'm using a saw or grinder, I'm not leaving it on all the time. I'm just having it on to make any cuts I need. I want this to be small and light so it's easy to move around. I could easily add a larger battery or add additional batteries increasing the weight and the capacity but it's not necessary for my needs on this project.
    Last edited by Phantoms001; 12-08-2013 at 05:36 PM.

  6. #5
    Phantoms001 started this thread.
    Phantoms001's Avatar
    SMF Badges of Honor


    Member since
    Mar 2012
    Location
    Indiana
    Posts
    556
    Thanks
    167
    Thanked 529 Times in 243 Posts
    When you are taking a backup apart do not cut any wires or discard and pieces until you are sure you don't need them. Most parts are reused. I especially always use the battery connection.

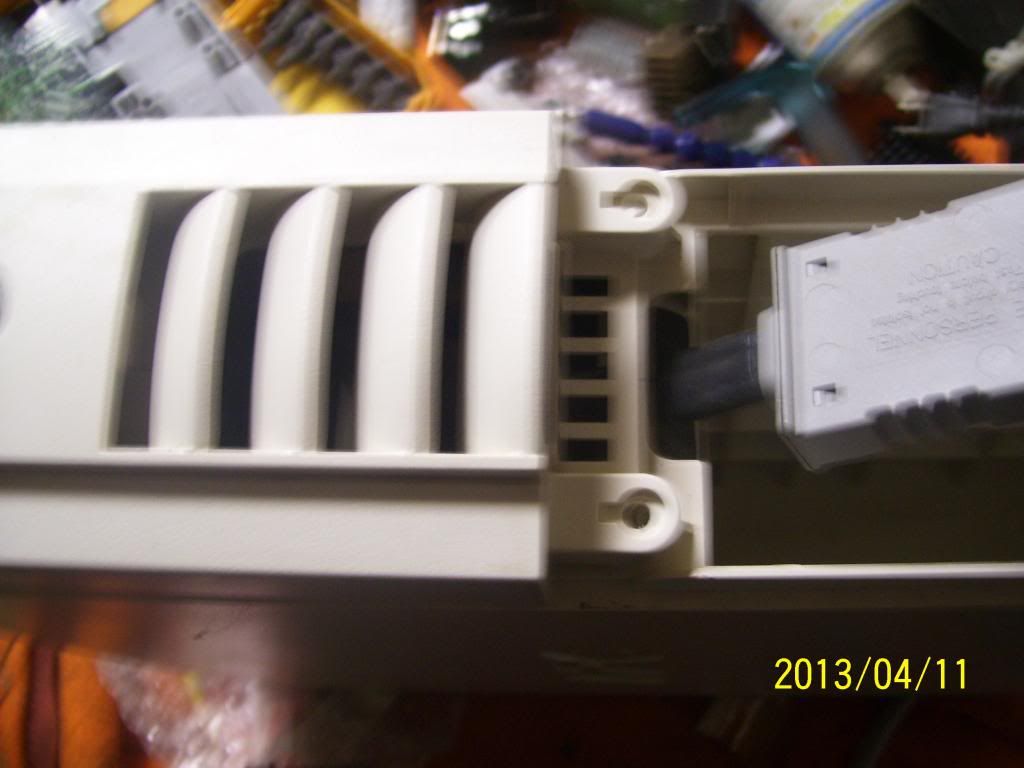
    I removed the front cover and pulled the batteries.


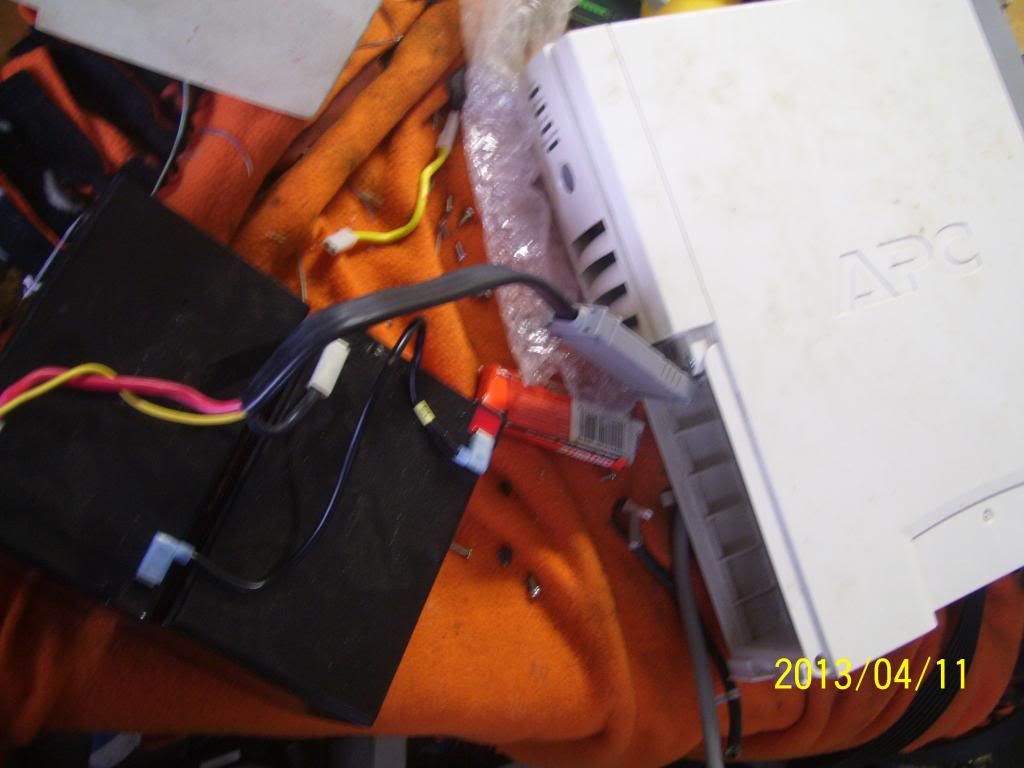
    The batteries just simply unplug and pull out leaving a large empty space and the battery connector. You can see that half of the backup is really just space to hold the batteries and get an idea of how small the electronics really are.

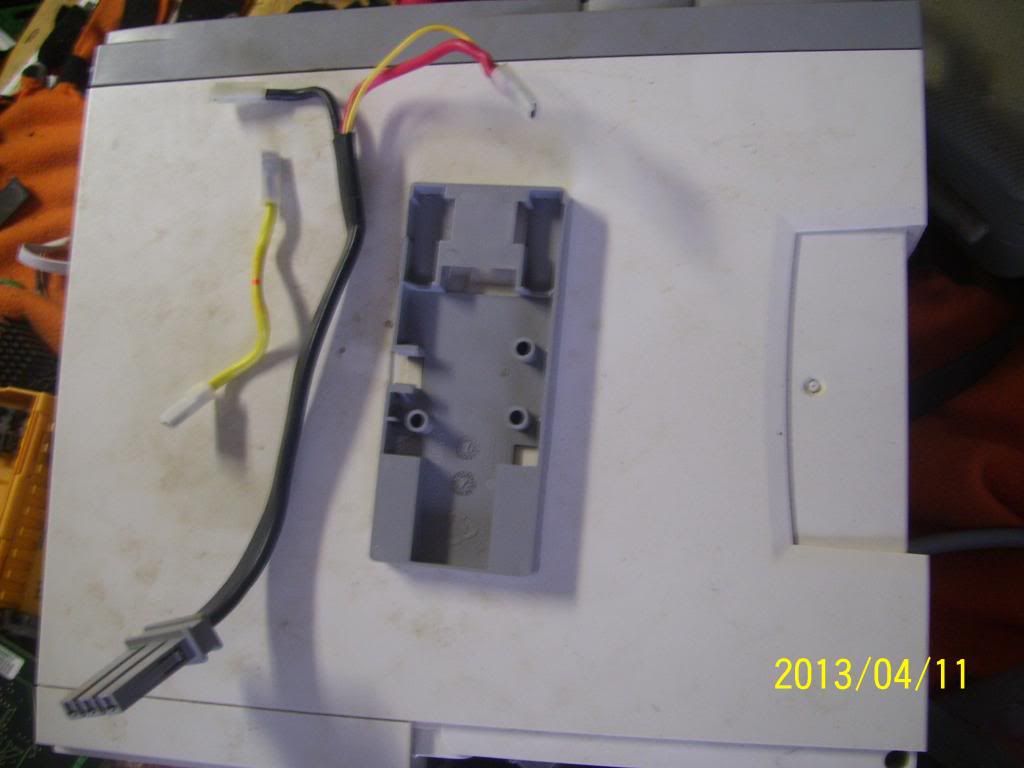
    After disconnecting the batteries, I was left with this plug.
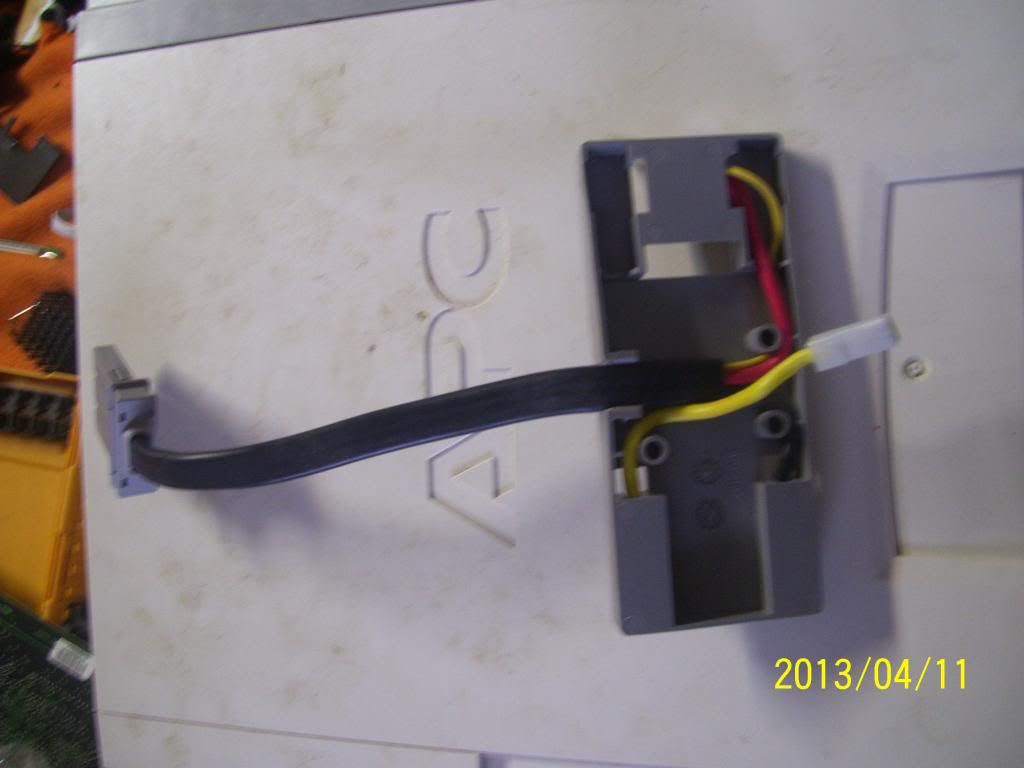


    You will notice the plug has 3 wires. Red, Black, and a third wire. There are only 2 terminals on a battery. This is because the batteries are wired in Series +-+-
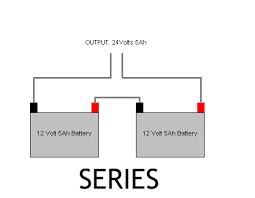


    Because the batteries are wired positive to negative this doubles the amount of voltage. This backup is using 24v.

  7. #6
    Phantoms001 started this thread.
    Phantoms001's Avatar
    SMF Badges of Honor


    Member since
    Mar 2012
    Location
    Indiana
    Posts
    556
    Thanks
    167
    Thanked 529 Times in 243 Posts
    The simplest and cleanest way to connect the batteries is to use the plug that came with the backup. The wires just slide through the plastic cover.


    This leaves me with the plug containing a black and red wire, as well as the jumper.

  8. #7
    Phantoms001 started this thread.
    Phantoms001's Avatar
    SMF Badges of Honor


    Member since
    Mar 2012
    Location
    Indiana
    Posts
    556
    Thanks
    167
    Thanked 529 Times in 243 Posts
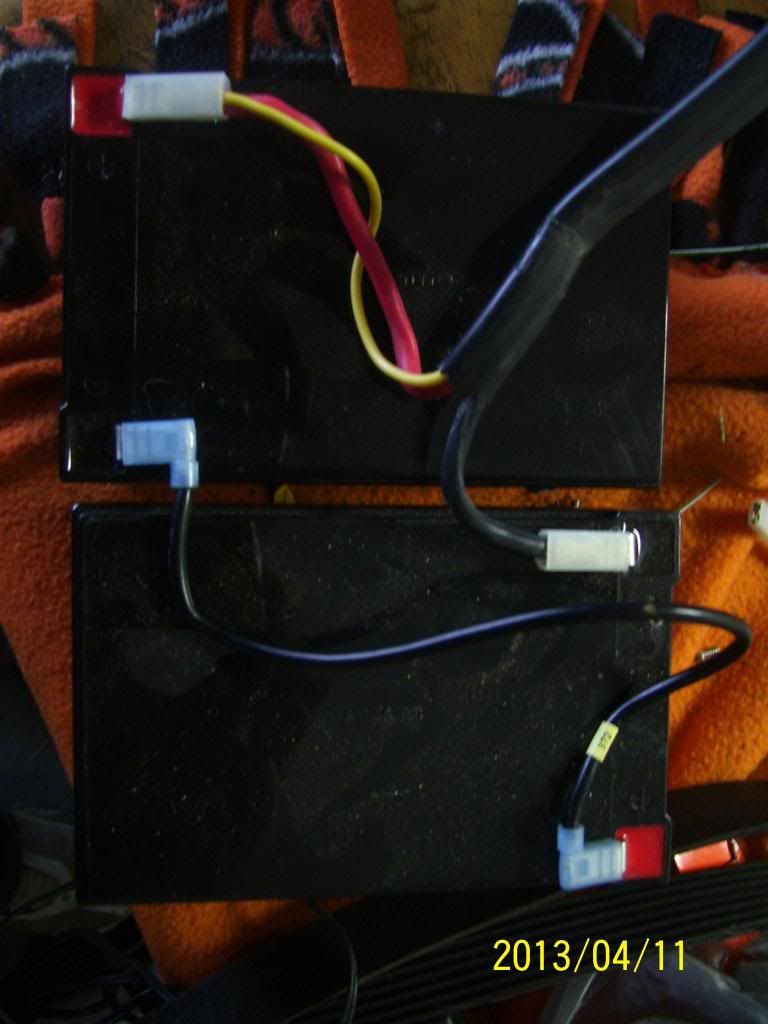
    I plan on using larger batteries. This system came with 7 amp hour batteries. I plan on using 12 amp hour batteries. I wired the batteries in series using a longer jumper to accommodate the larger batteries.


    It's pretty simple to wire. Red goes to positive on one battery, black goes to negative on the other battery, add a jumper between the other 2 terminals (red and black).

    Last edited by Phantoms001; 12-08-2013 at 08:48 PM.

  9. #8
    Phantoms001 started this thread.
    Phantoms001's Avatar
    SMF Badges of Honor


    Member since
    Mar 2012
    Location
    Indiana
    Posts
    556
    Thanks
    167
    Thanked 529 Times in 243 Posts
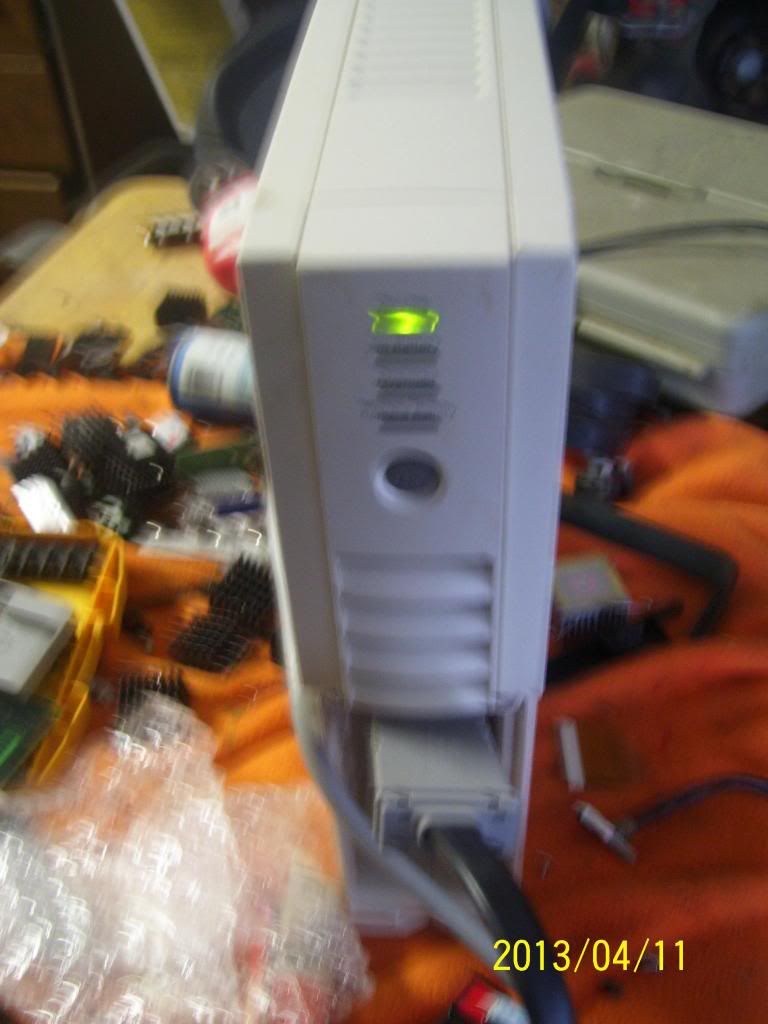
    Time to give it a test...


    Powers on..


    Unplugged...


    Unplugged running my grinder...


  10. #9
    Phantoms001 started this thread.
    Phantoms001's Avatar
    SMF Badges of Honor


    Member since
    Mar 2012
    Location
    Indiana
    Posts
    556
    Thanks
    167
    Thanked 529 Times in 243 Posts
    Now the batteries need to be disconnected, the backup unplugged, and carefully disassembled. As stated before, we are not cutting wires, hammering on stuff, ect.. We are going to reuse a variety of parts.

  11. The Following 6 Users say Thank You for This Post by Phantoms001:


  12. #10
    Phantoms001 started this thread.
    Phantoms001's Avatar
    SMF Badges of Honor


    Member since
    Mar 2012
    Location
    Indiana
    Posts
    556
    Thanks
    167
    Thanked 529 Times in 243 Posts
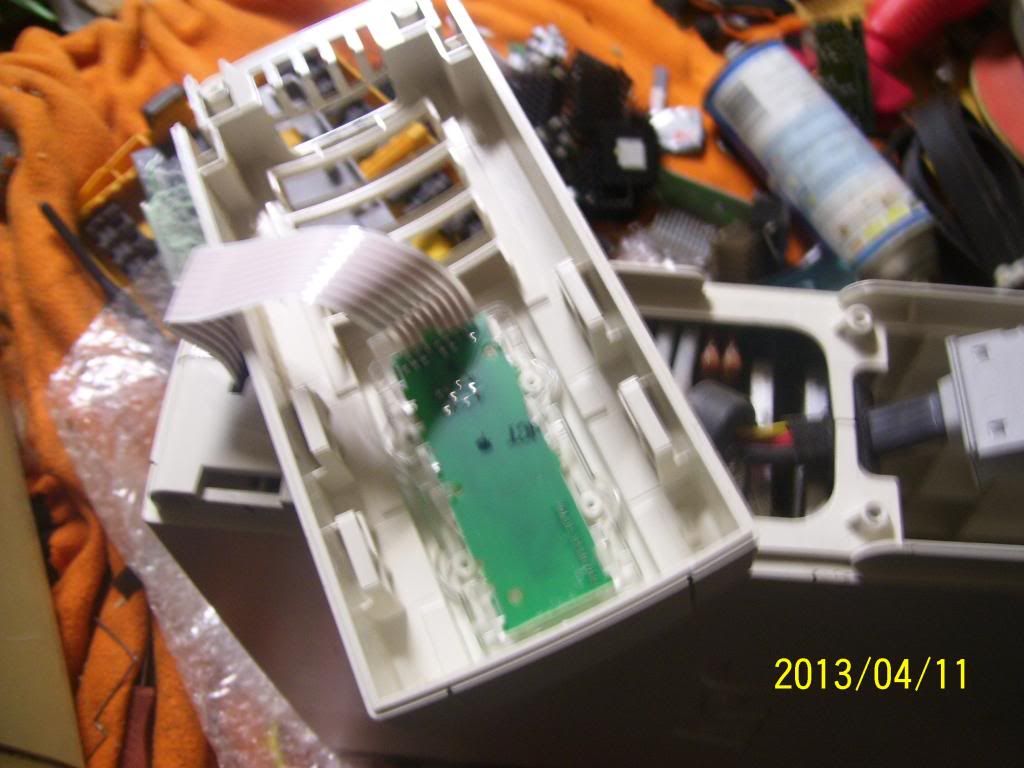
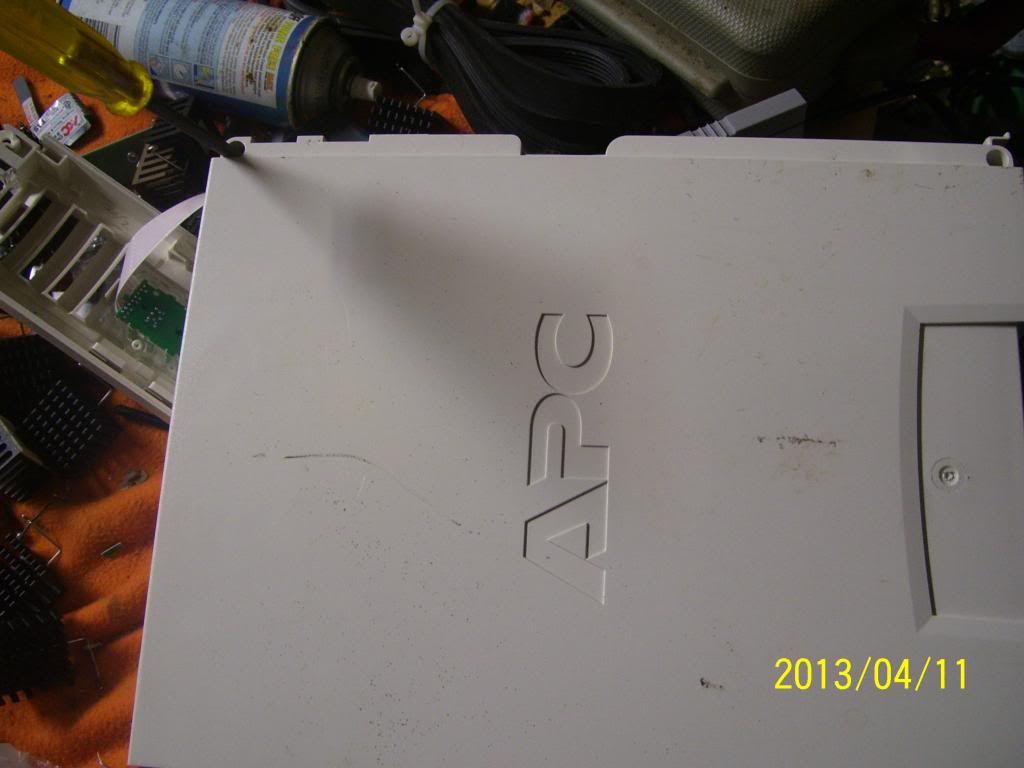
    When taking a backup apart (remember no hammers), the best advice I can give is what I tell my wife. Take out all the screws and eventually it will fall apart....

    On the front there are 2 screws.


    Then the front just lifts off.


  13. #11
    Phantoms001 started this thread.
    Phantoms001's Avatar
    SMF Badges of Honor


    Member since
    Mar 2012
    Location
    Indiana
    Posts
    556
    Thanks
    167
    Thanked 529 Times in 243 Posts
    On the back there are 6 screws.
    Two on the top.

    Two in the middle

    Two on the bottom


    The back then just lifts off.

  14. #12
    Phantoms001 started this thread.
    Phantoms001's Avatar
    SMF Badges of Honor


    Member since
    Mar 2012
    Location
    Indiana
    Posts
    556
    Thanks
    167
    Thanked 529 Times in 243 Posts
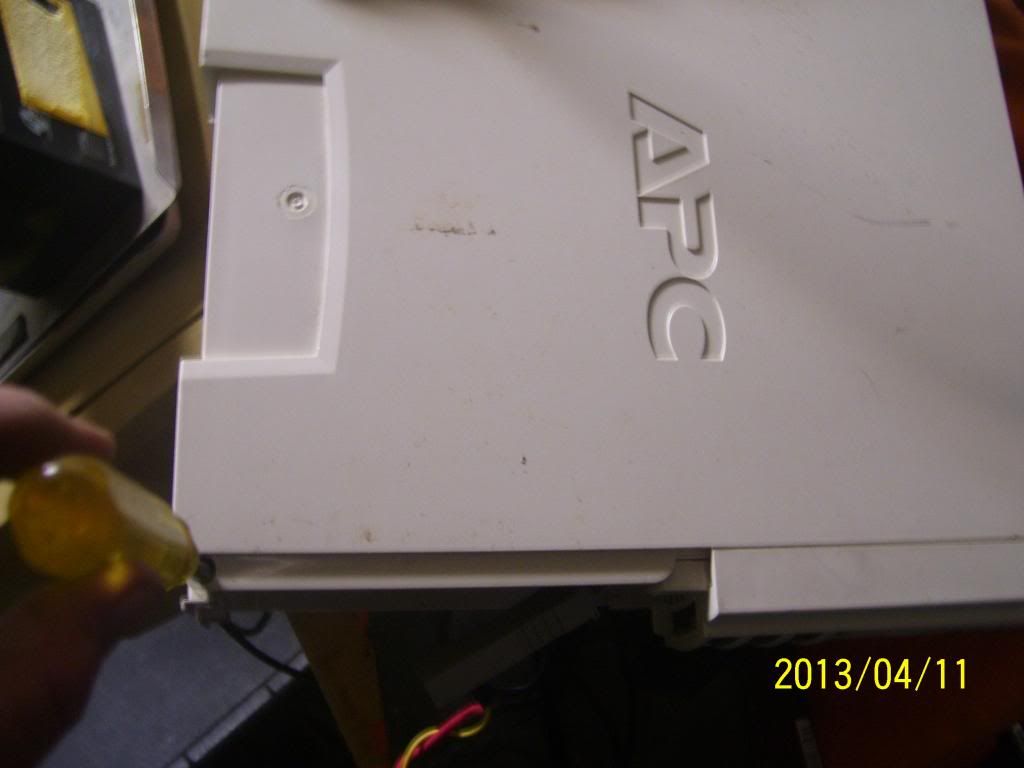
    There are 2 side screws.

    One at the top.


    One at the bottom.


    And, it opens right up.


  15. #13
    Phantoms001 started this thread.
    Phantoms001's Avatar
    SMF Badges of Honor


    Member since
    Mar 2012
    Location
    Indiana
    Posts
    556
    Thanks
    167
    Thanked 529 Times in 243 Posts
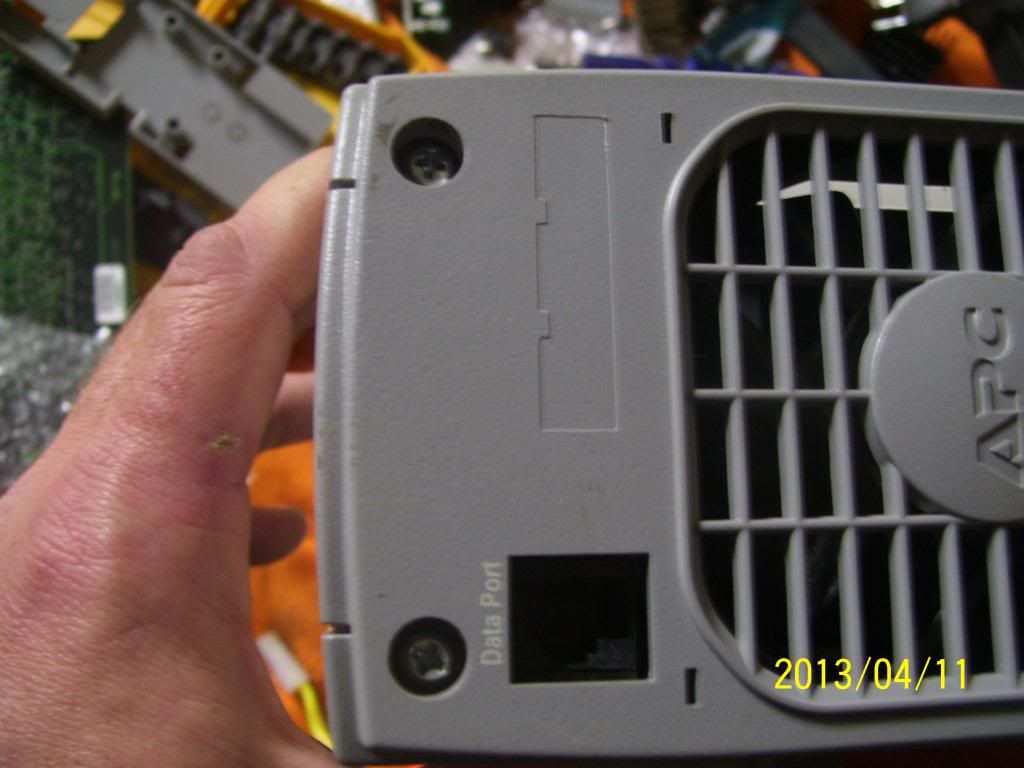
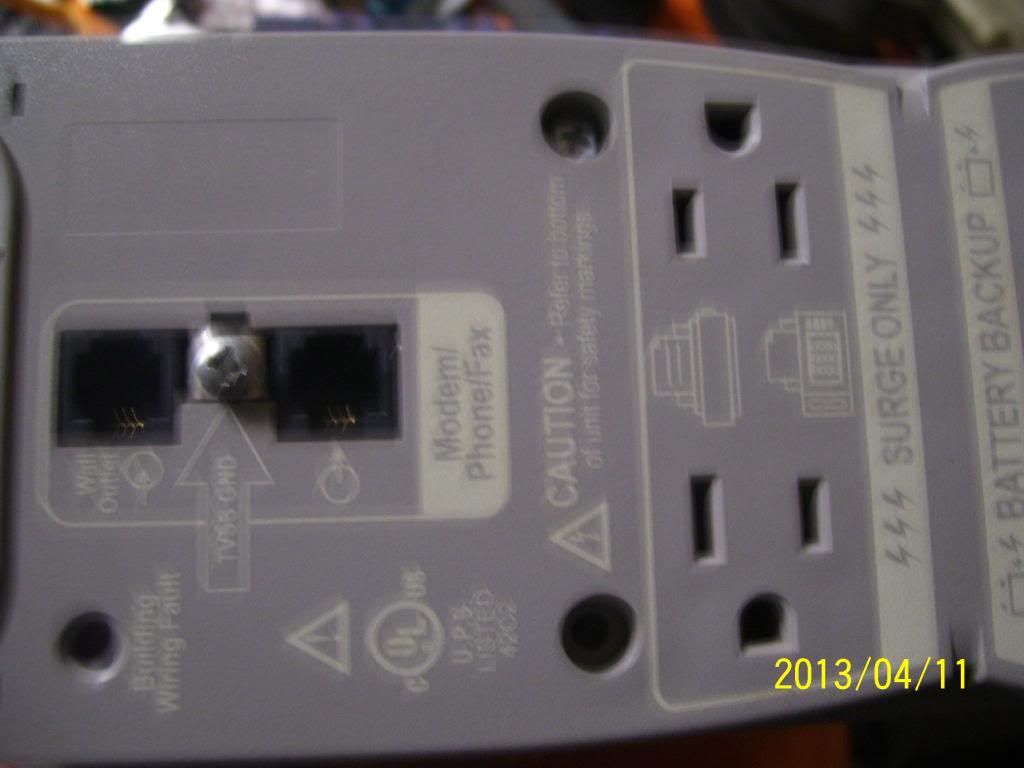
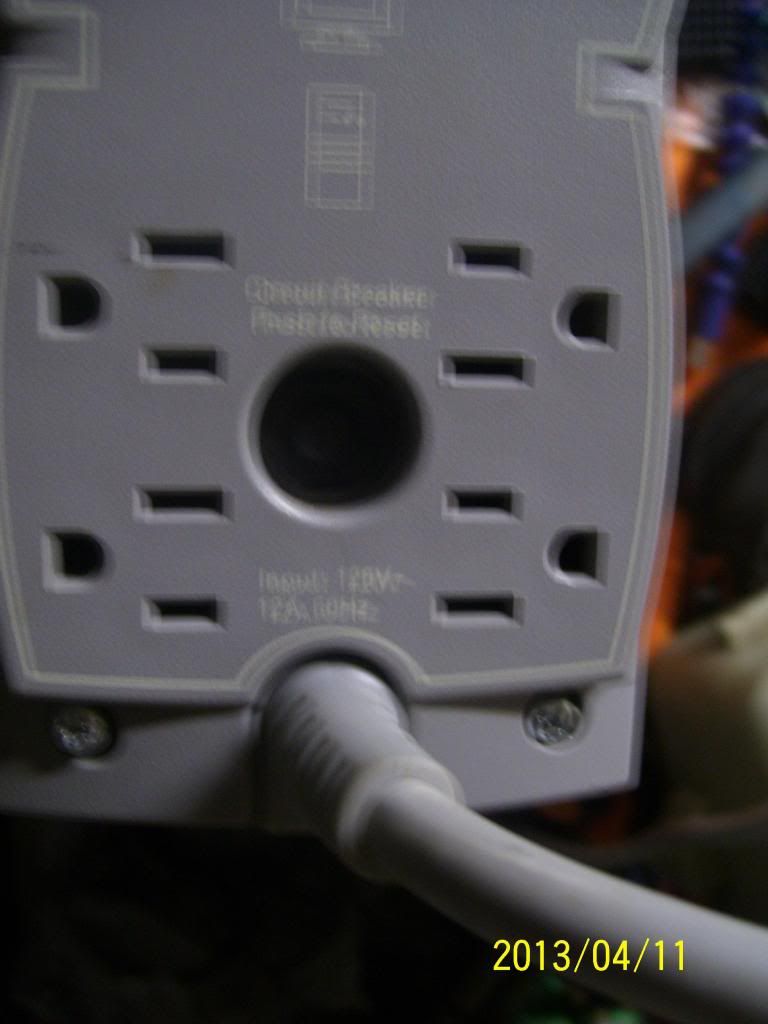
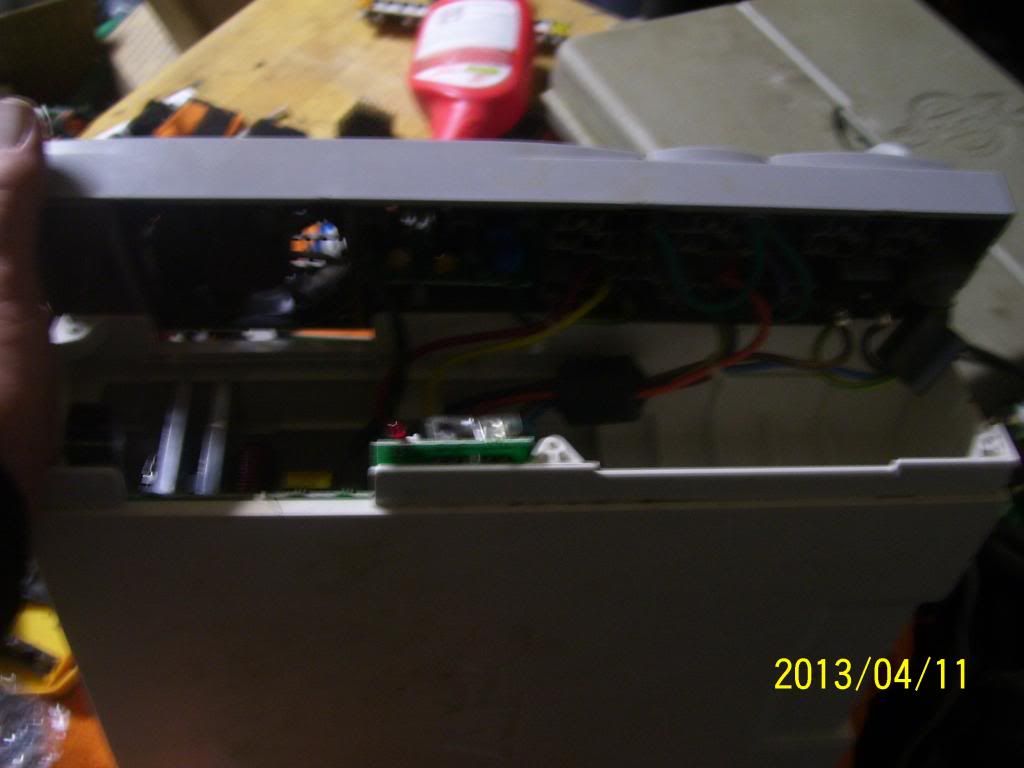
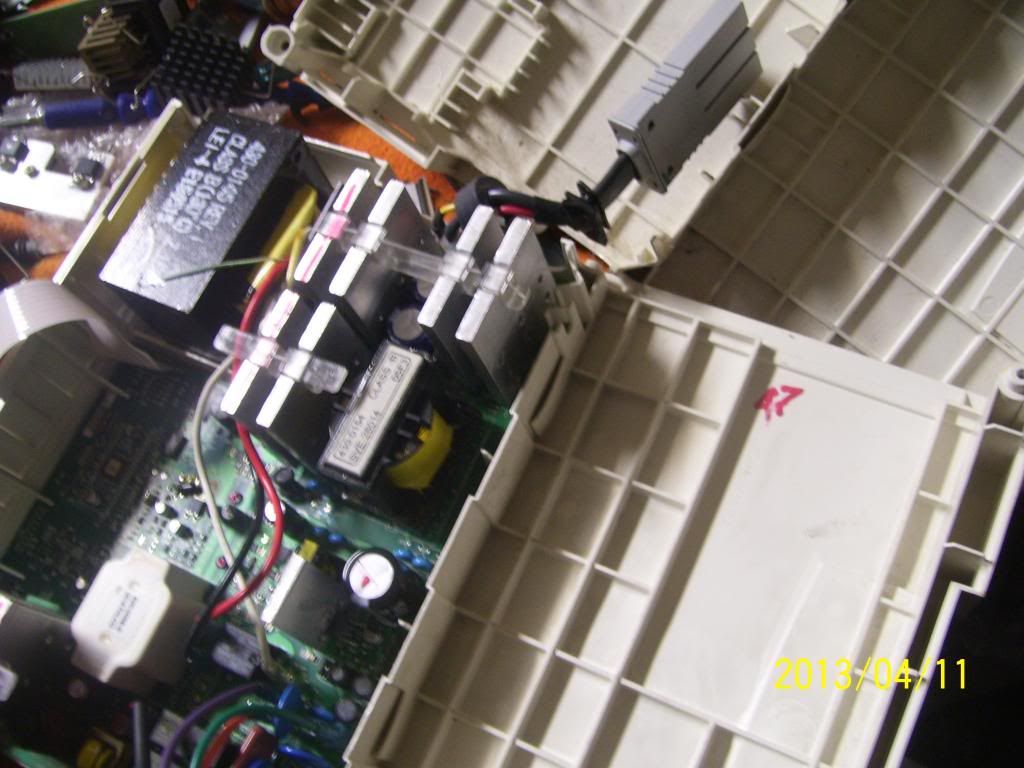
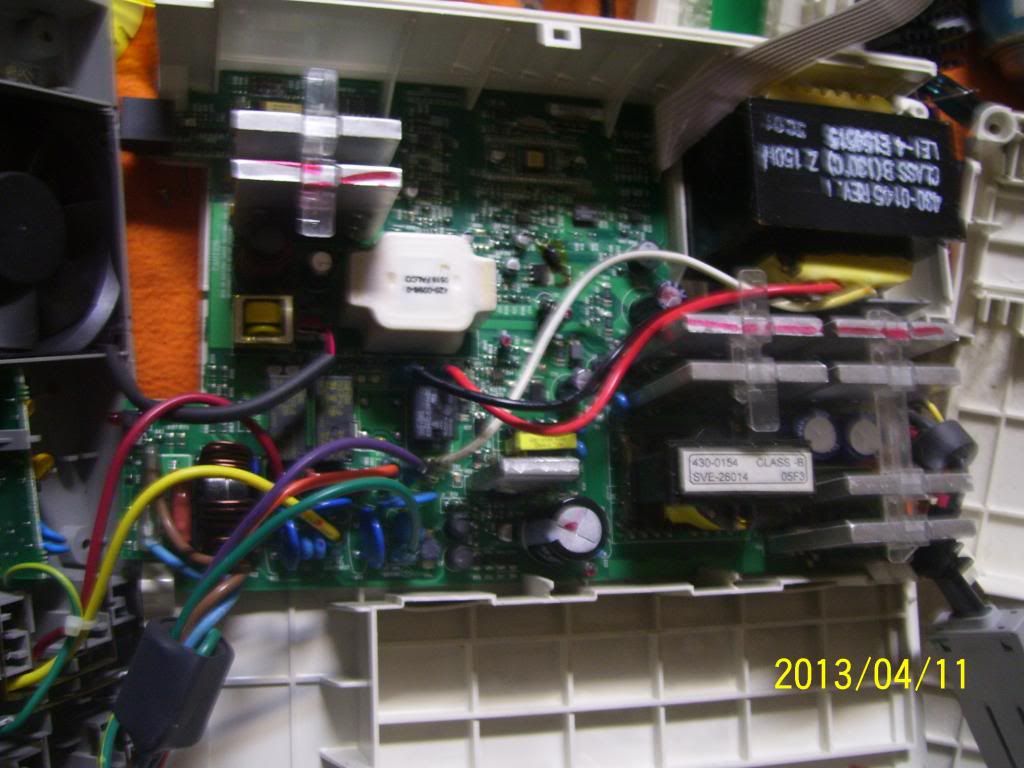
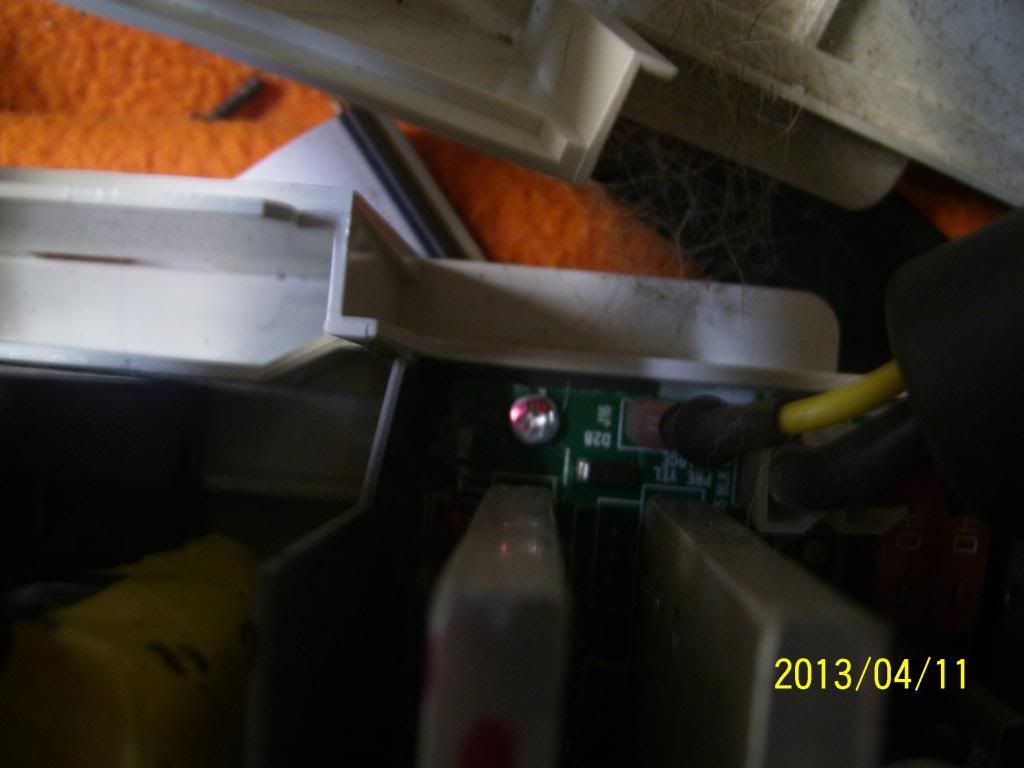
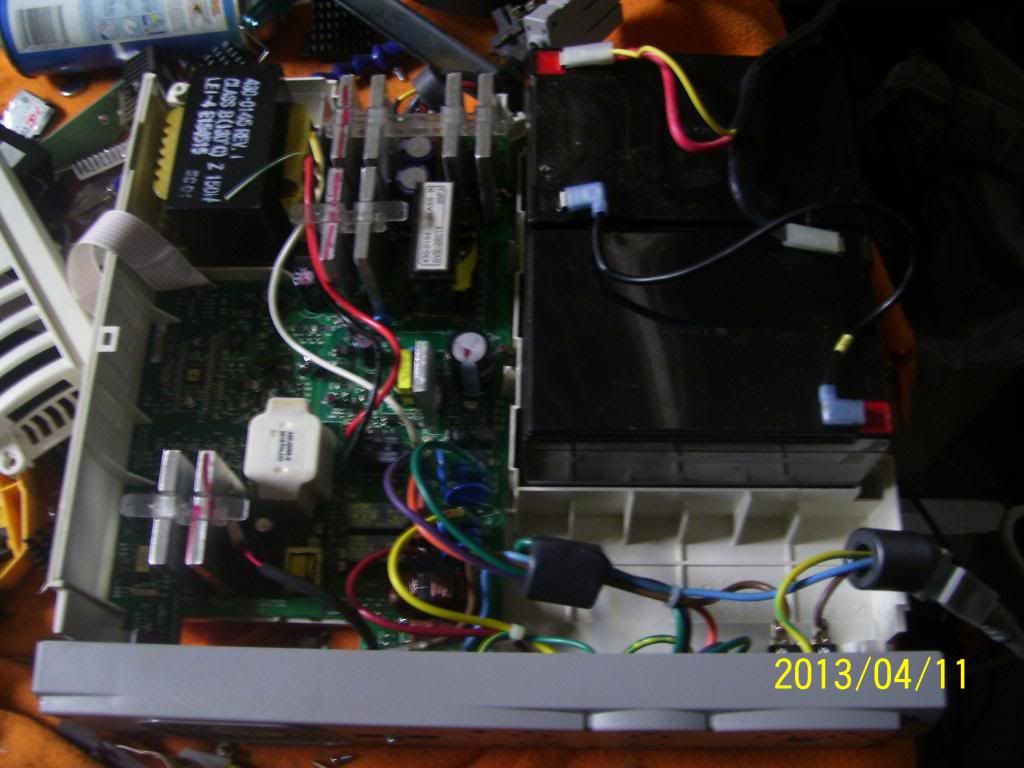
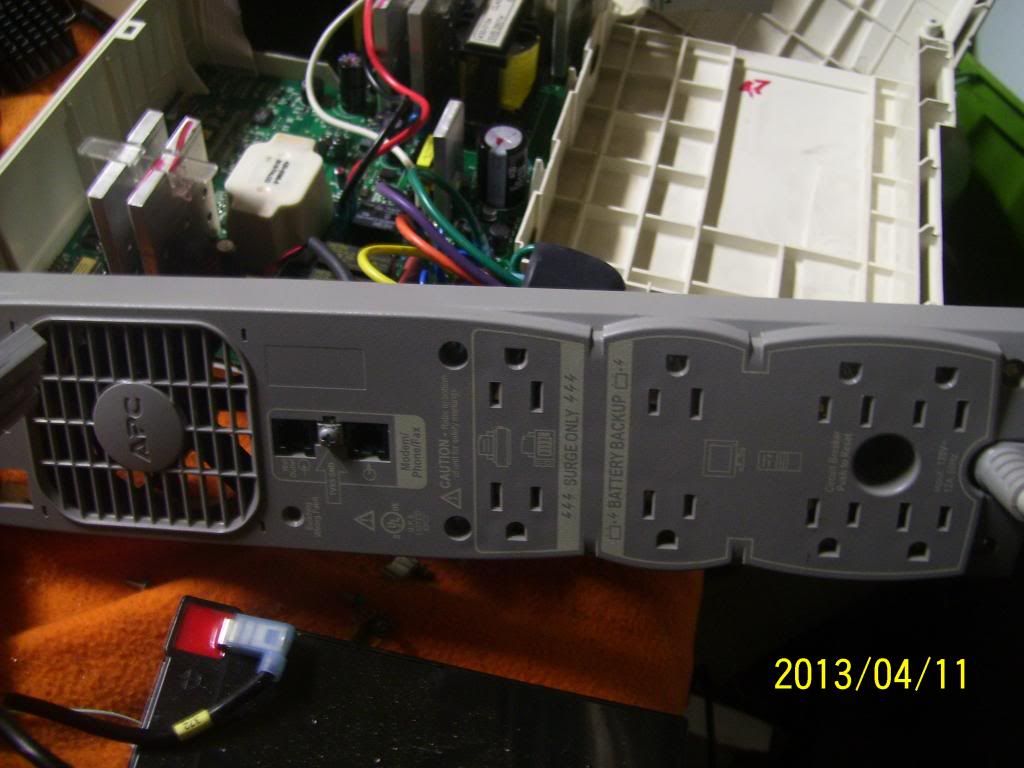
    What we are left with is a piece of light ABS plastic with a board and transformer mounted to it, a plug for the battery, a main power switch with lcd lights, and a back panel with power outlets and a fan.

    There are very few wires. Each wire is connected with a blade terminal. Each wire is clearly marked on the board.

  16. #14
    Phantoms001 started this thread.
    Phantoms001's Avatar
    SMF Badges of Honor


    Member since
    Mar 2012
    Location
    Indiana
    Posts
    556
    Thanks
    167
    Thanked 529 Times in 243 Posts
    The board is held on the plastic with 1 screw.


    Our main concern is getting rid of the bulk of the backup and remounting the "guts" of the UPS with different larger batteries in a different case.

    Each battery backup is a little different. Rack mounted backups are mounted to steel (often the case) and need to be remounted (we will cover that later). Because this backup is cleanly, firmly, ALREADY mounted on light weight plastic I am going to leave it alone and use the bottom of the case as a mount. It would make no sense to pull the board.

  17. #15
    Phantoms001 started this thread.
    Phantoms001's Avatar
    SMF Badges of Honor


    Member since
    Mar 2012
    Location
    Indiana
    Posts
    556
    Thanks
    167
    Thanked 529 Times in 243 Posts
    While the original enclosure was way too small for my larger batteries, my larger batteries still fit in the footprint of the old batteries, giving me a nice place to mount my batteries.

  18. #16
    Phantoms001 started this thread.
    Phantoms001's Avatar
    SMF Badges of Honor


    Member since
    Mar 2012
    Location
    Indiana
    Posts
    556
    Thanks
    167
    Thanked 529 Times in 243 Posts
    The only things we have left to do is figure out what to do with the plugs/fan AKA the back panel.


    And what to do with the front power button.

    Then get it mounted.

  19. The Following User Says Thank You to Phantoms001 for This Post:


  20. #17
    KzScrapper's Avatar
    SMF Badges of Honor


    Member since
    Apr 2011
    Location
    Denver Metro, CO
    Posts
    4,841
    Thanks
    7,019
    Thanked 5,792 Times in 2,417 Posts
    Thanks for taking the time...I'm looking forward to the build.
    Recyclable Material Merchant Wholesaler
    Certified Zip-Tie Mechanic
    "Give them enough so they can do something with it, but not too much that they won't do nothing."

  21. The Following User Says Thank You to KzScrapper for This Post:


  22. #18
    SMF Badges of Honor

    Member since
    Aug 2011
    Posts
    246
    Thanks
    21
    Thanked 177 Times in 73 Posts
    This thread is quickly looking more and more awesome. Thanks for the post.

  23. #19
    Phantoms001 started this thread.
    Phantoms001's Avatar
    SMF Badges of Honor


    Member since
    Mar 2012
    Location
    Indiana
    Posts
    556
    Thanks
    167
    Thanked 529 Times in 243 Posts
    Gents, overall this is a simple transfer. You are going to find that as we move up in voltage to the 2000 watt systems it gets a little more complex because of small nuances like mounting the board, but the overall idea is the same. The reason for the thread is because it is quite simple to do, a backup is super cheap, and you are going to get a much higher value out of the backup compared to scrap regardless of whether you attempt to sell the item or use it for yourself.
    Last edited by Phantoms001; 12-09-2013 at 09:39 AM.

  24. The Following 3 Users say Thank You for This Post by Phantoms001:


  25. #20
    Ecycle Atlanta's Avatar
    SMF Badges of Honor

    Member since
    Apr 2011
    Location
    Outside Atlanta
    Posts
    734
    Thanks
    291
    Thanked 692 Times in 326 Posts
    anxiously awaiting the next installment


  26. Similar threads on the Scrap Metal Forum

    1. Battery Backup - Wouldn't It be nice to scrap this?
      By ryanw in forum General Electronics Recycling
      Replies: 9
      Last Post: 12-04-2013, 12:14 AM
    2. 70 pound battery backup!!!!!!!!!!!!
      By gobean in forum A Day in the Life of a Scrapper
      Replies: 11
      Last Post: 07-26-2013, 07:19 AM
    3. APC Battery backup ??
      By ozzy214 in forum General Electronics Recycling
      Replies: 12
      Last Post: 07-20-2013, 09:05 PM
    4. removing copper from UPS battery backup transformers
      By azgard in forum Batteries, Capacitors, Heat Sinks
      Replies: 6
      Last Post: 06-17-2013, 10:02 AM
    5. Battery Backup Breakdown
      By ElectricMetal in forum Batteries, Capacitors, Heat Sinks
      Replies: 7
      Last Post: 06-14-2012, 12:52 AM

Page 1 of 2 12 LastLast

Thread Information

Users Browsing this Thread

There are currently 1 users browsing this thread. (0 members and 1 guests)

 
Browse the Most Recent Threads
On SMF In THIS CATEGORY.


OR

Bookmarks

Posting Permissions

  • You may not post new threads
  • You may not post replies
  • You may not post attachments
  • You may not edit your posts
  •  

The Scrap Metal Forum

    The Scrap Metal Forum is the #1 scrap metal recycling community in the world. Here we talk about the scrap metal business, making money, where we connect with other scrappers, scrap yards and more.

SMF on Facebook and Twitter

Twitter Facebook